
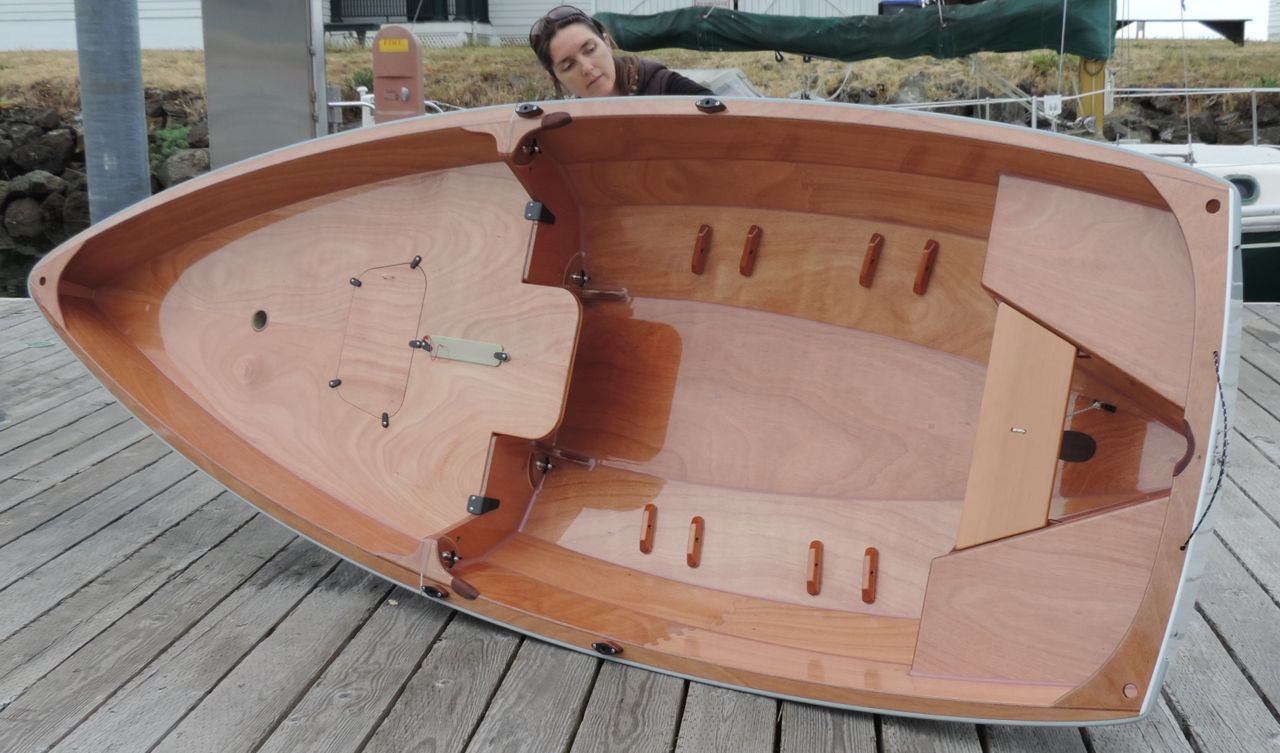
We recently finished our sixth (yes, sixth) PT 11 prototype. This was to incorporate a few design changes and re-write much of the manual in an effort to make the boat easier to build. Building this many boats can lead to some labor saving ideas and we felt that we needed to do our best to make this, “kind-of-high-tech” boat as easy to build as possible.
In the last related blog post we detailed some of the changes we have made to the boat. Everything worked well, the new manual is done, and kit parts are stacked to the ceiling and ready to fly out the door.

 Relevant details even if you already have a PT11;
We have a few new details to share. Most are in the new manual but could be useful for people that already have PT 11’s.
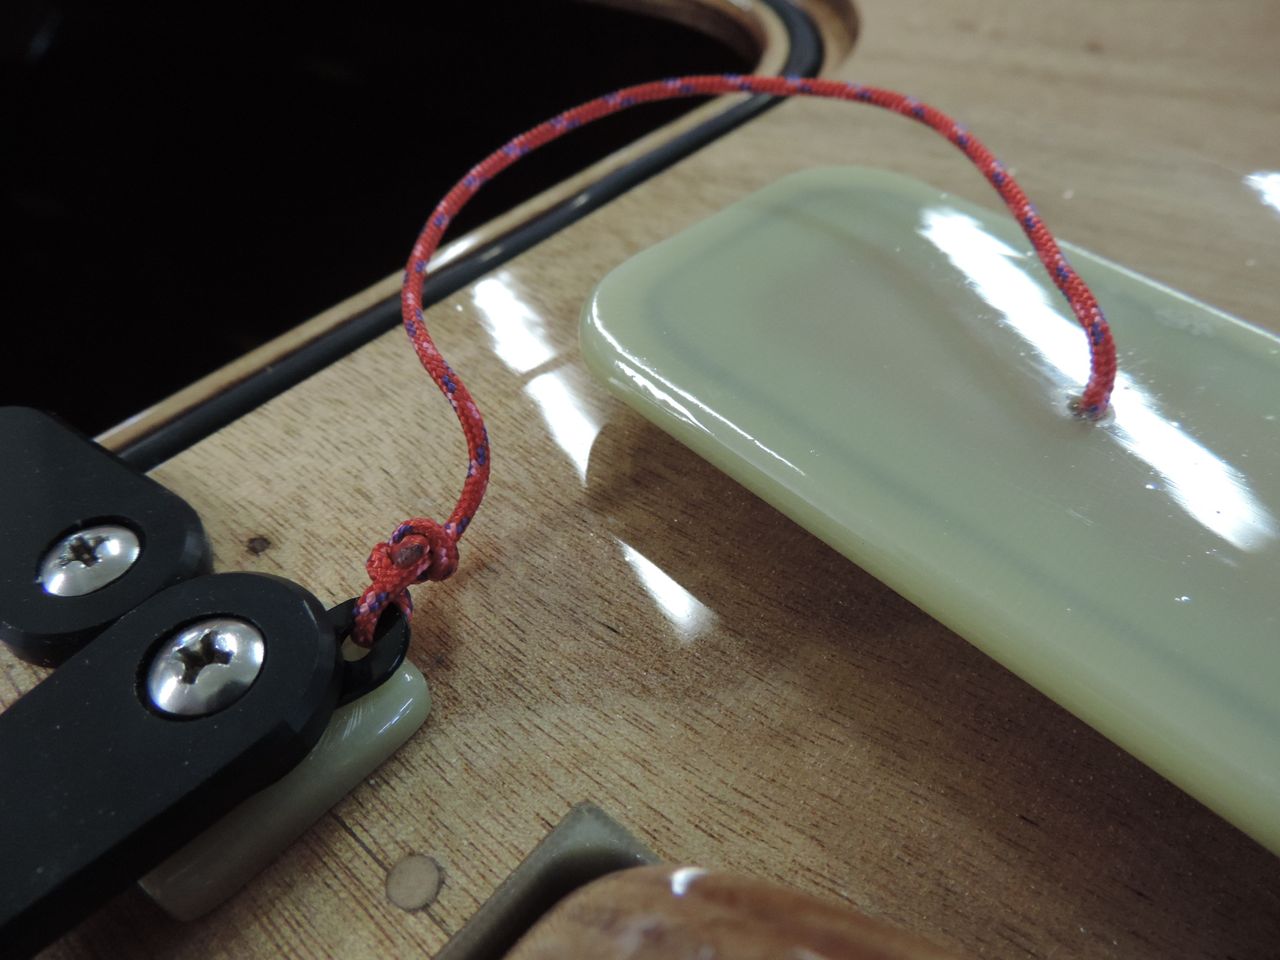
The back seat had two issues: One is that the seat needed a way to be held against the tank wall when nesting the boat. For some reason we never realized that if we trimmed 1/4” off of the aft edge of the seat (it’s now 7” wide), it could wedge between the cleat and the shock chord knot as shown below. It’s secure enough not to fall over when nesting the boat and that’s all it needs.
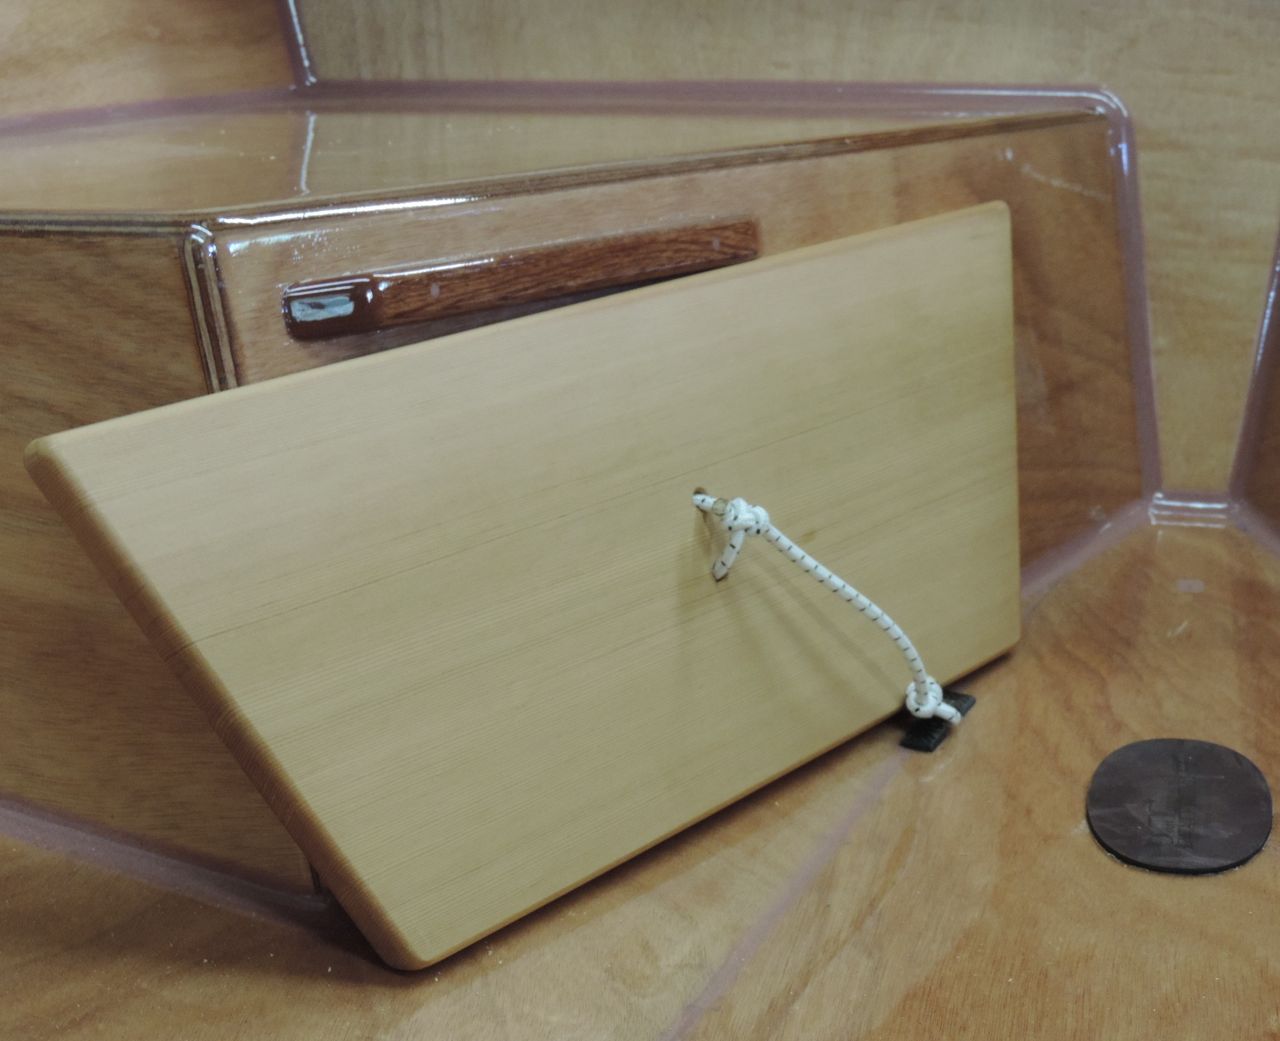
The other issue is that the back seat could slide forward, (even with the bunji cord) come off the cleats, and drop you on your butt.
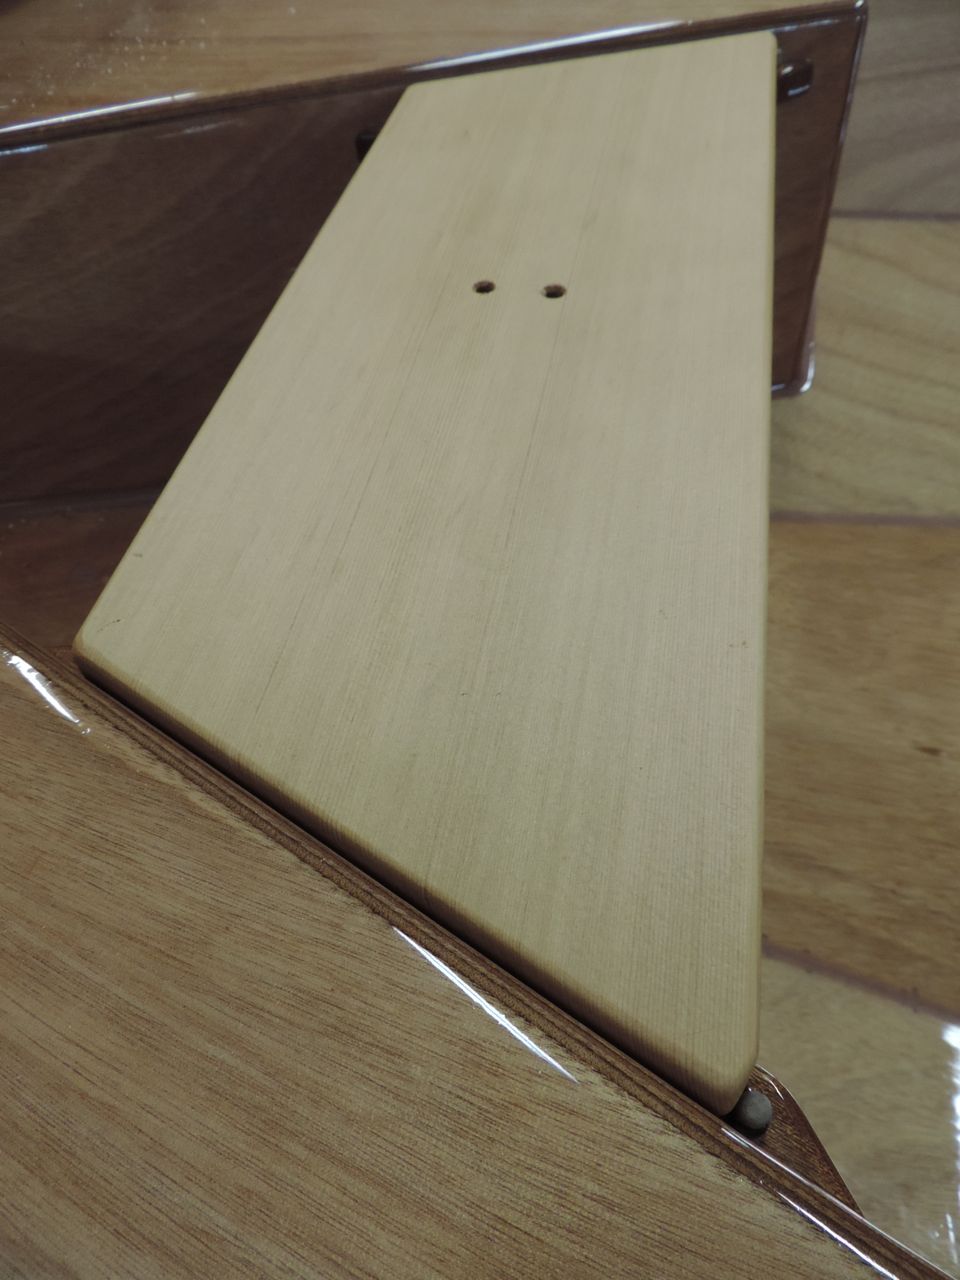
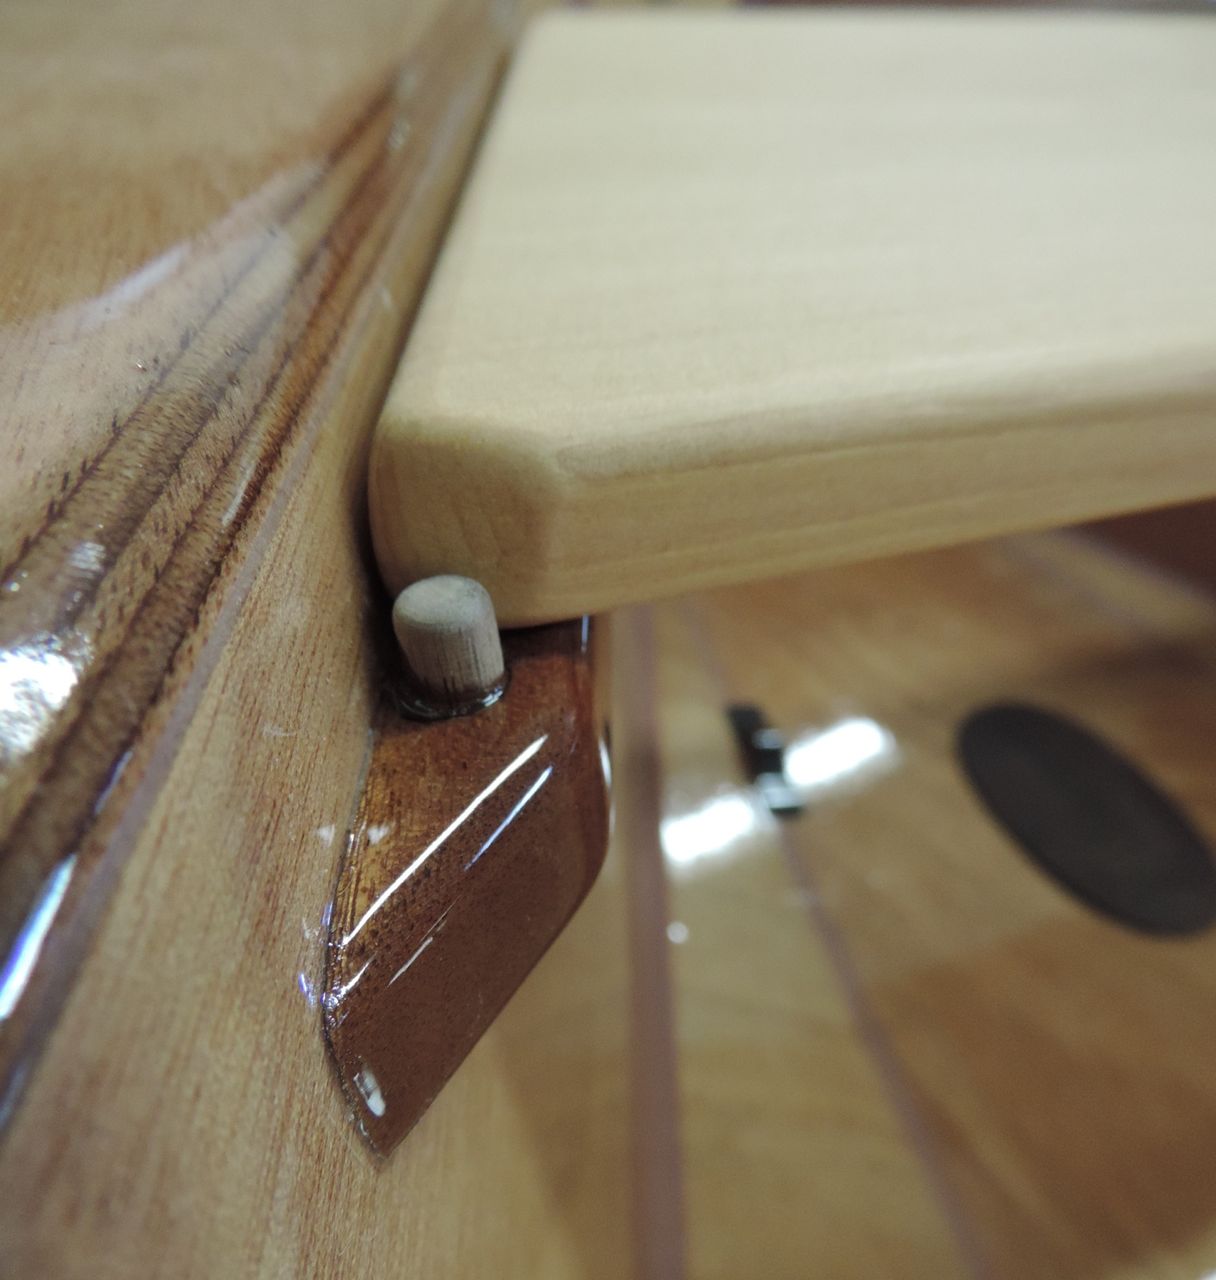
The fix is pretty simple. We trimmed a bit from the outboard edges of the seat with a sanding block (to move the seat aft) and we block sanded the forward corners of the seat as shown, all so that there was enough cleat showing to drill holes in. We then drilled 1/4” holes to a depth of 3/8” for the 5/8” long hardwood dowels to glue into.
This works well, it’s an easy fix, and if you already have a boat, we can send the dowels to you along with the handy-dandy tether washer we shown below.

We have always kept our dagger-board trunk cap in the forward compartment, but it can be hard to find in there if it’s full of stuff. It’s easy to glue a tether into a hole drilled in the cap, but where to tie the tether? To the washer under the forward turn dog, that’s where.
It’s a special washer made for us by a neighbor who laser cuts other parts for us as well. This is a thin Delrin(TM) part, but we had a very hard time breaking one.
Replace the round washer with this one and rotate the washer aft for fishing the tether through the hole.
Holding the dagger-board down has always been done with a rope loop that can hook over the aft turn dog, but having the loop fairly snug (as shown below) keeps the board down all the way.
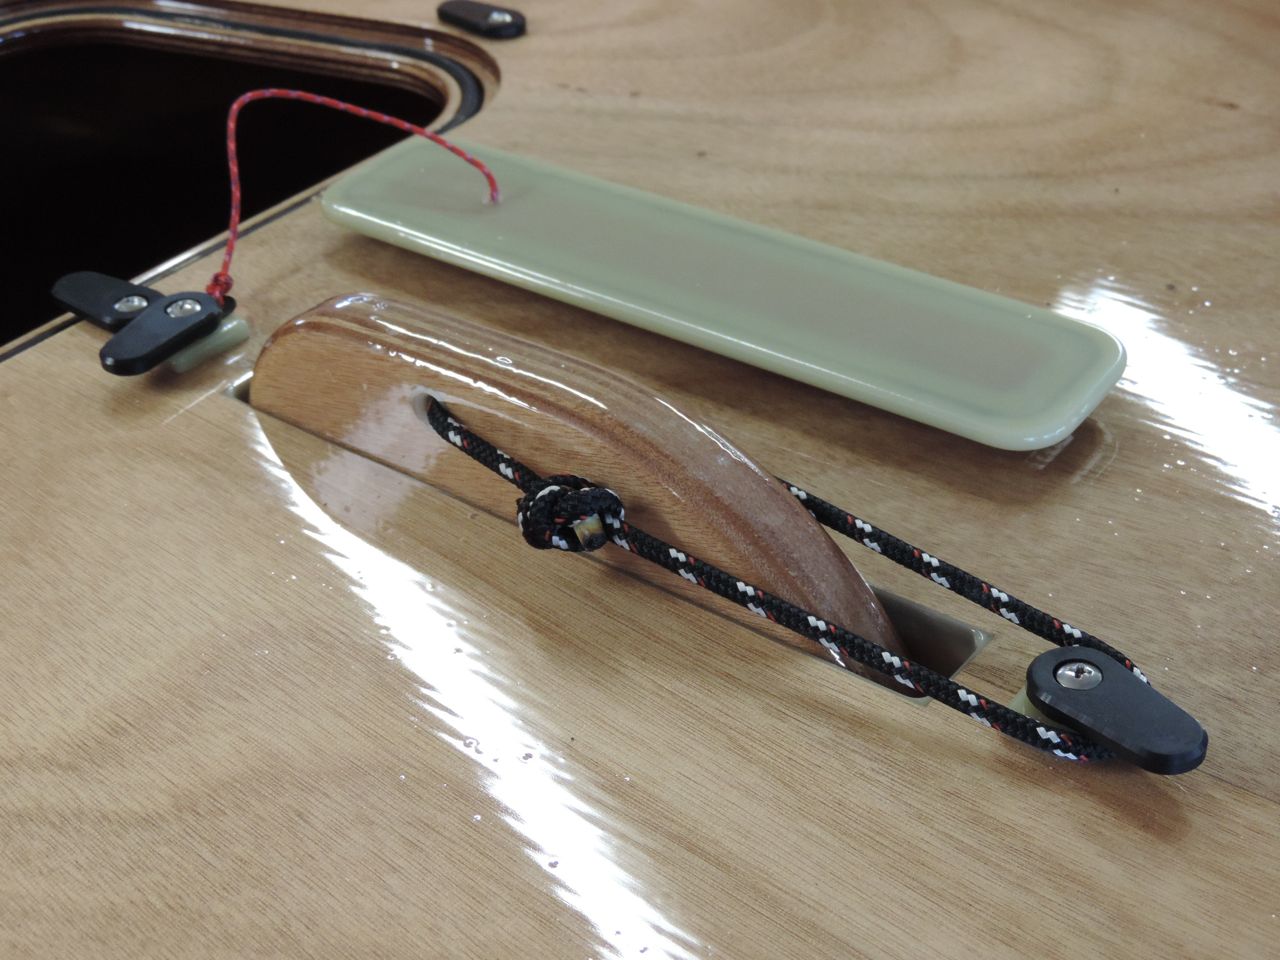
Having the board down fully will make the boat climb like a 12 meter when sailing upwind and it will also help you run aground. No, what I meant is that it will help if you run aground.

We hit a rock very hard and not only did it nearly throw us out of the boat, but the sharp trailing edge of the board hit the aft end of the trunk (because the board was up about four inches) and did a small amount of damage to the trunk. The dagger-board was fine, but we now sail with the dagger-board down all the way or we unhook it and let it float up (about a third of the way).
RB PTW