THE SPEAR is identical in hull shape to the PT 11, but the interior geometry and construction are quite different and deserve explanation. The PT 11 has a full width foredeck so that water drains into the aft compartment, otherwise there would be three areas that would need bailing of rain and spray. The Spear can have scuppers through the main bulkhead (the nesting PT 11 can’t) and therefore can have what I call a “trunk” seat.
When rowing with three, the trunk seat allows more comfortable seating for the person sitting in the bow. The areas to the sides of the seat are good for holding oars and other things in the boat.
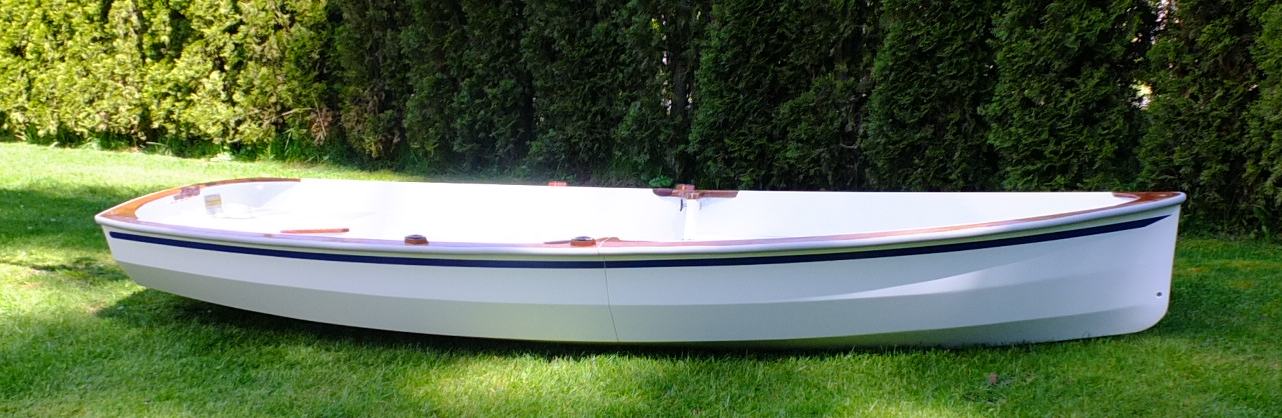
The trunk seat also keeps the hull from twisting under sailing loads. It’s like a torsion box. (Shown below are the PT11, left, and the beta prototype of the Spear)

Below photo taken in March 2013 of the prototype being built to figure out the process and to write the manual.
 Two of the watertight hatch kits that we offer as options fit really well in this boat, making the boat versatile for carrying (and keeping dry) groceries, camping gear, cameras, safety gear, etc.
The aft hatch is easier to access when sailing and is great for things like cameras, jackets, and food, but because of the baffles under the back seat (more on that next), the volume of area under the forward hatch is much greater.
While the hatches are work to install, the cost of the kits is very small compared to the utility and safety they offer. They also provide access and visibility to the daggerboard trunk, mast socket, and rudder hardware, not to mention a good place to hide valuables left in the dinghy. Coast Guard regulations play a large role in the interior geometry of the PT 11 and the Spear. This may sound like big brother getting in the way of art, but it’s quite the opposite. The regulations are to protect us, the kit provider and especially you, the end user.
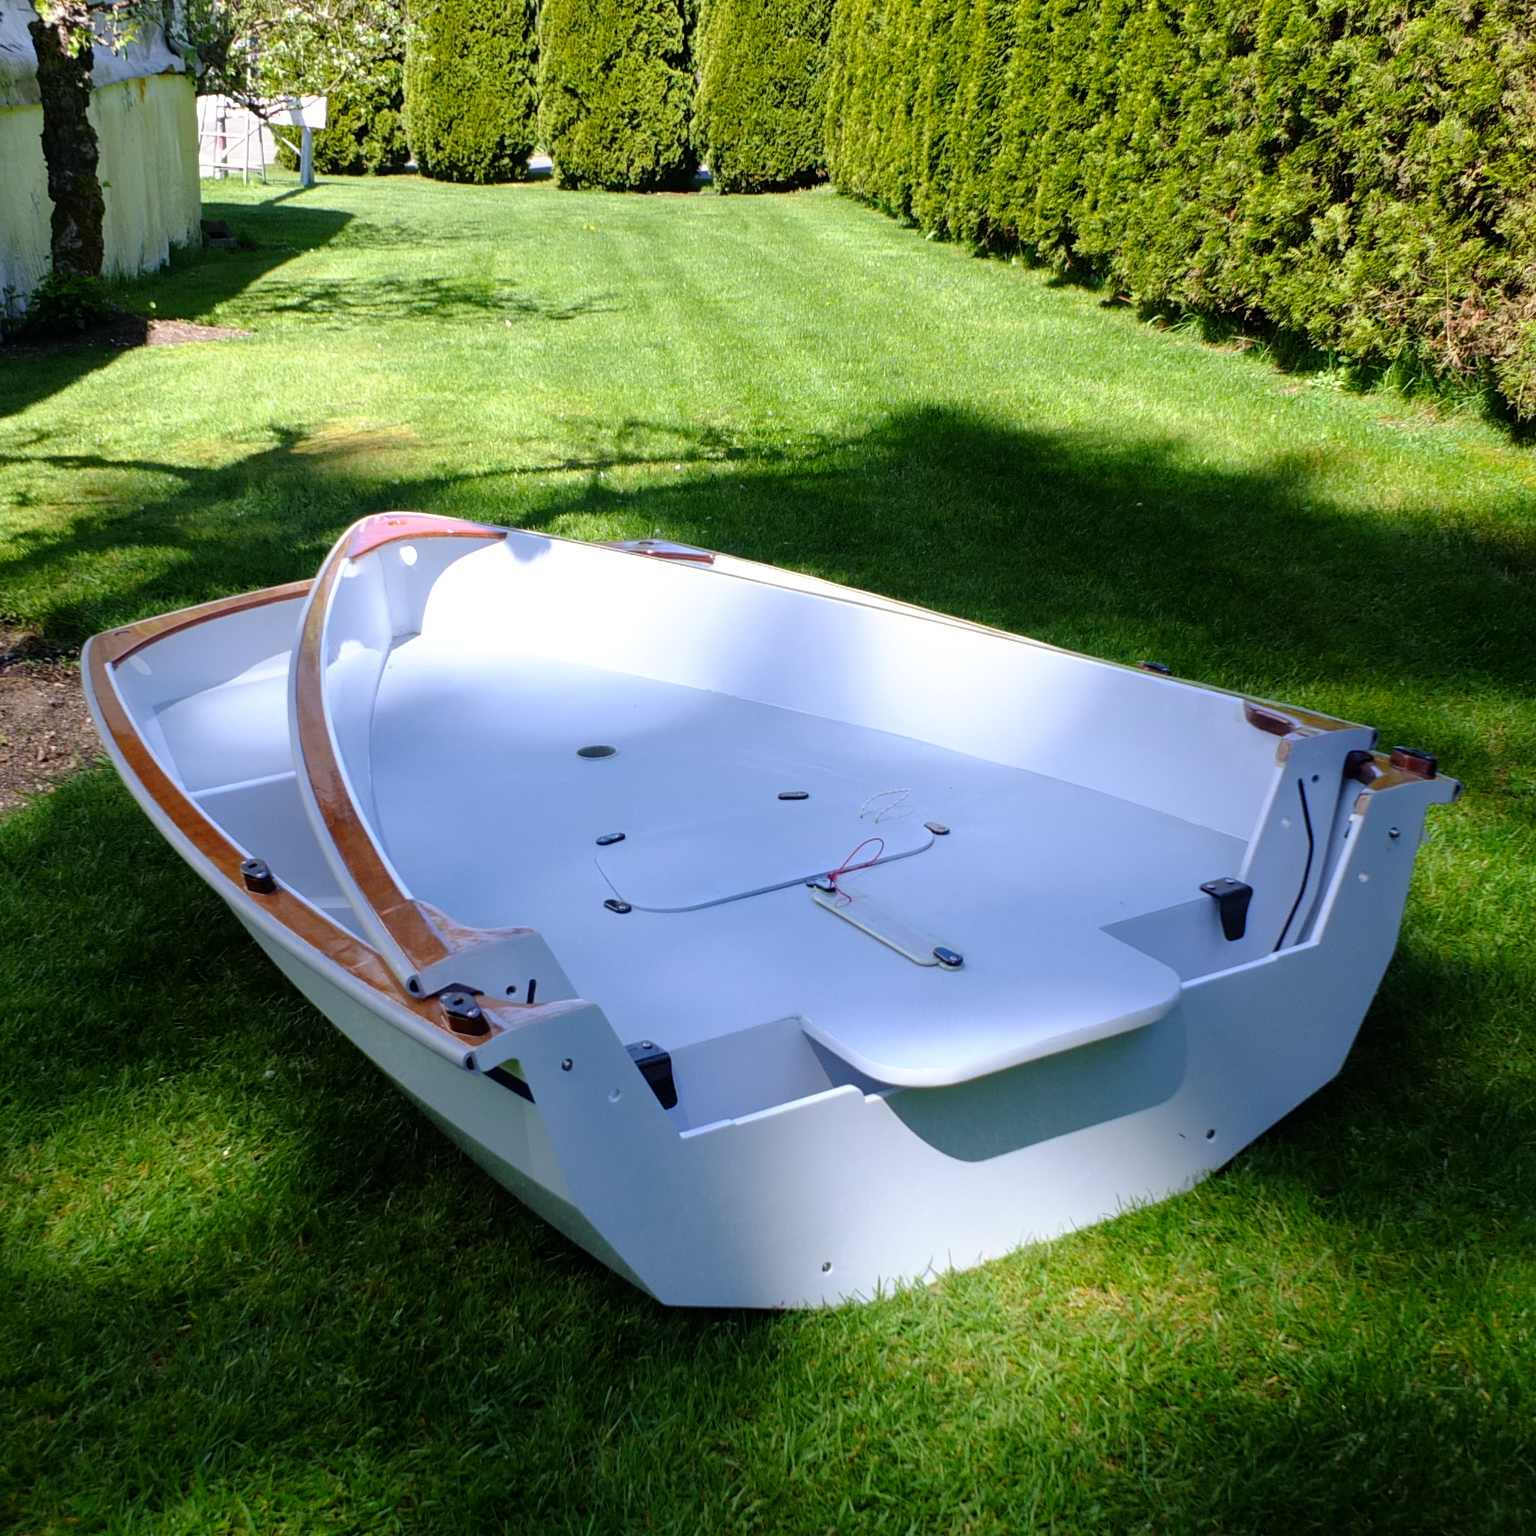
Buoyancy built into the right parts of the boat is necessary for safety. Sealed air voids (compartments) have the same value as flotation foam, but access ports or hatches are not allowed in sealed air voids. If the builder insists on inspection ports, it is then necessary to fill these voids completely with foam flotation in order to comply with safety standards. The Below Photo shows the boat before the deck and back seat lid are installed. 
 The bow area (forward of the mast step bulkhead) is a sealed air void in the PT 11 and the Spear. The PT 11 has built in buoyancy tanks in the back of the boat on either side (outboard) that are equal to the volume in the bow. This is what the Coast Guard wants, and it makes sense.
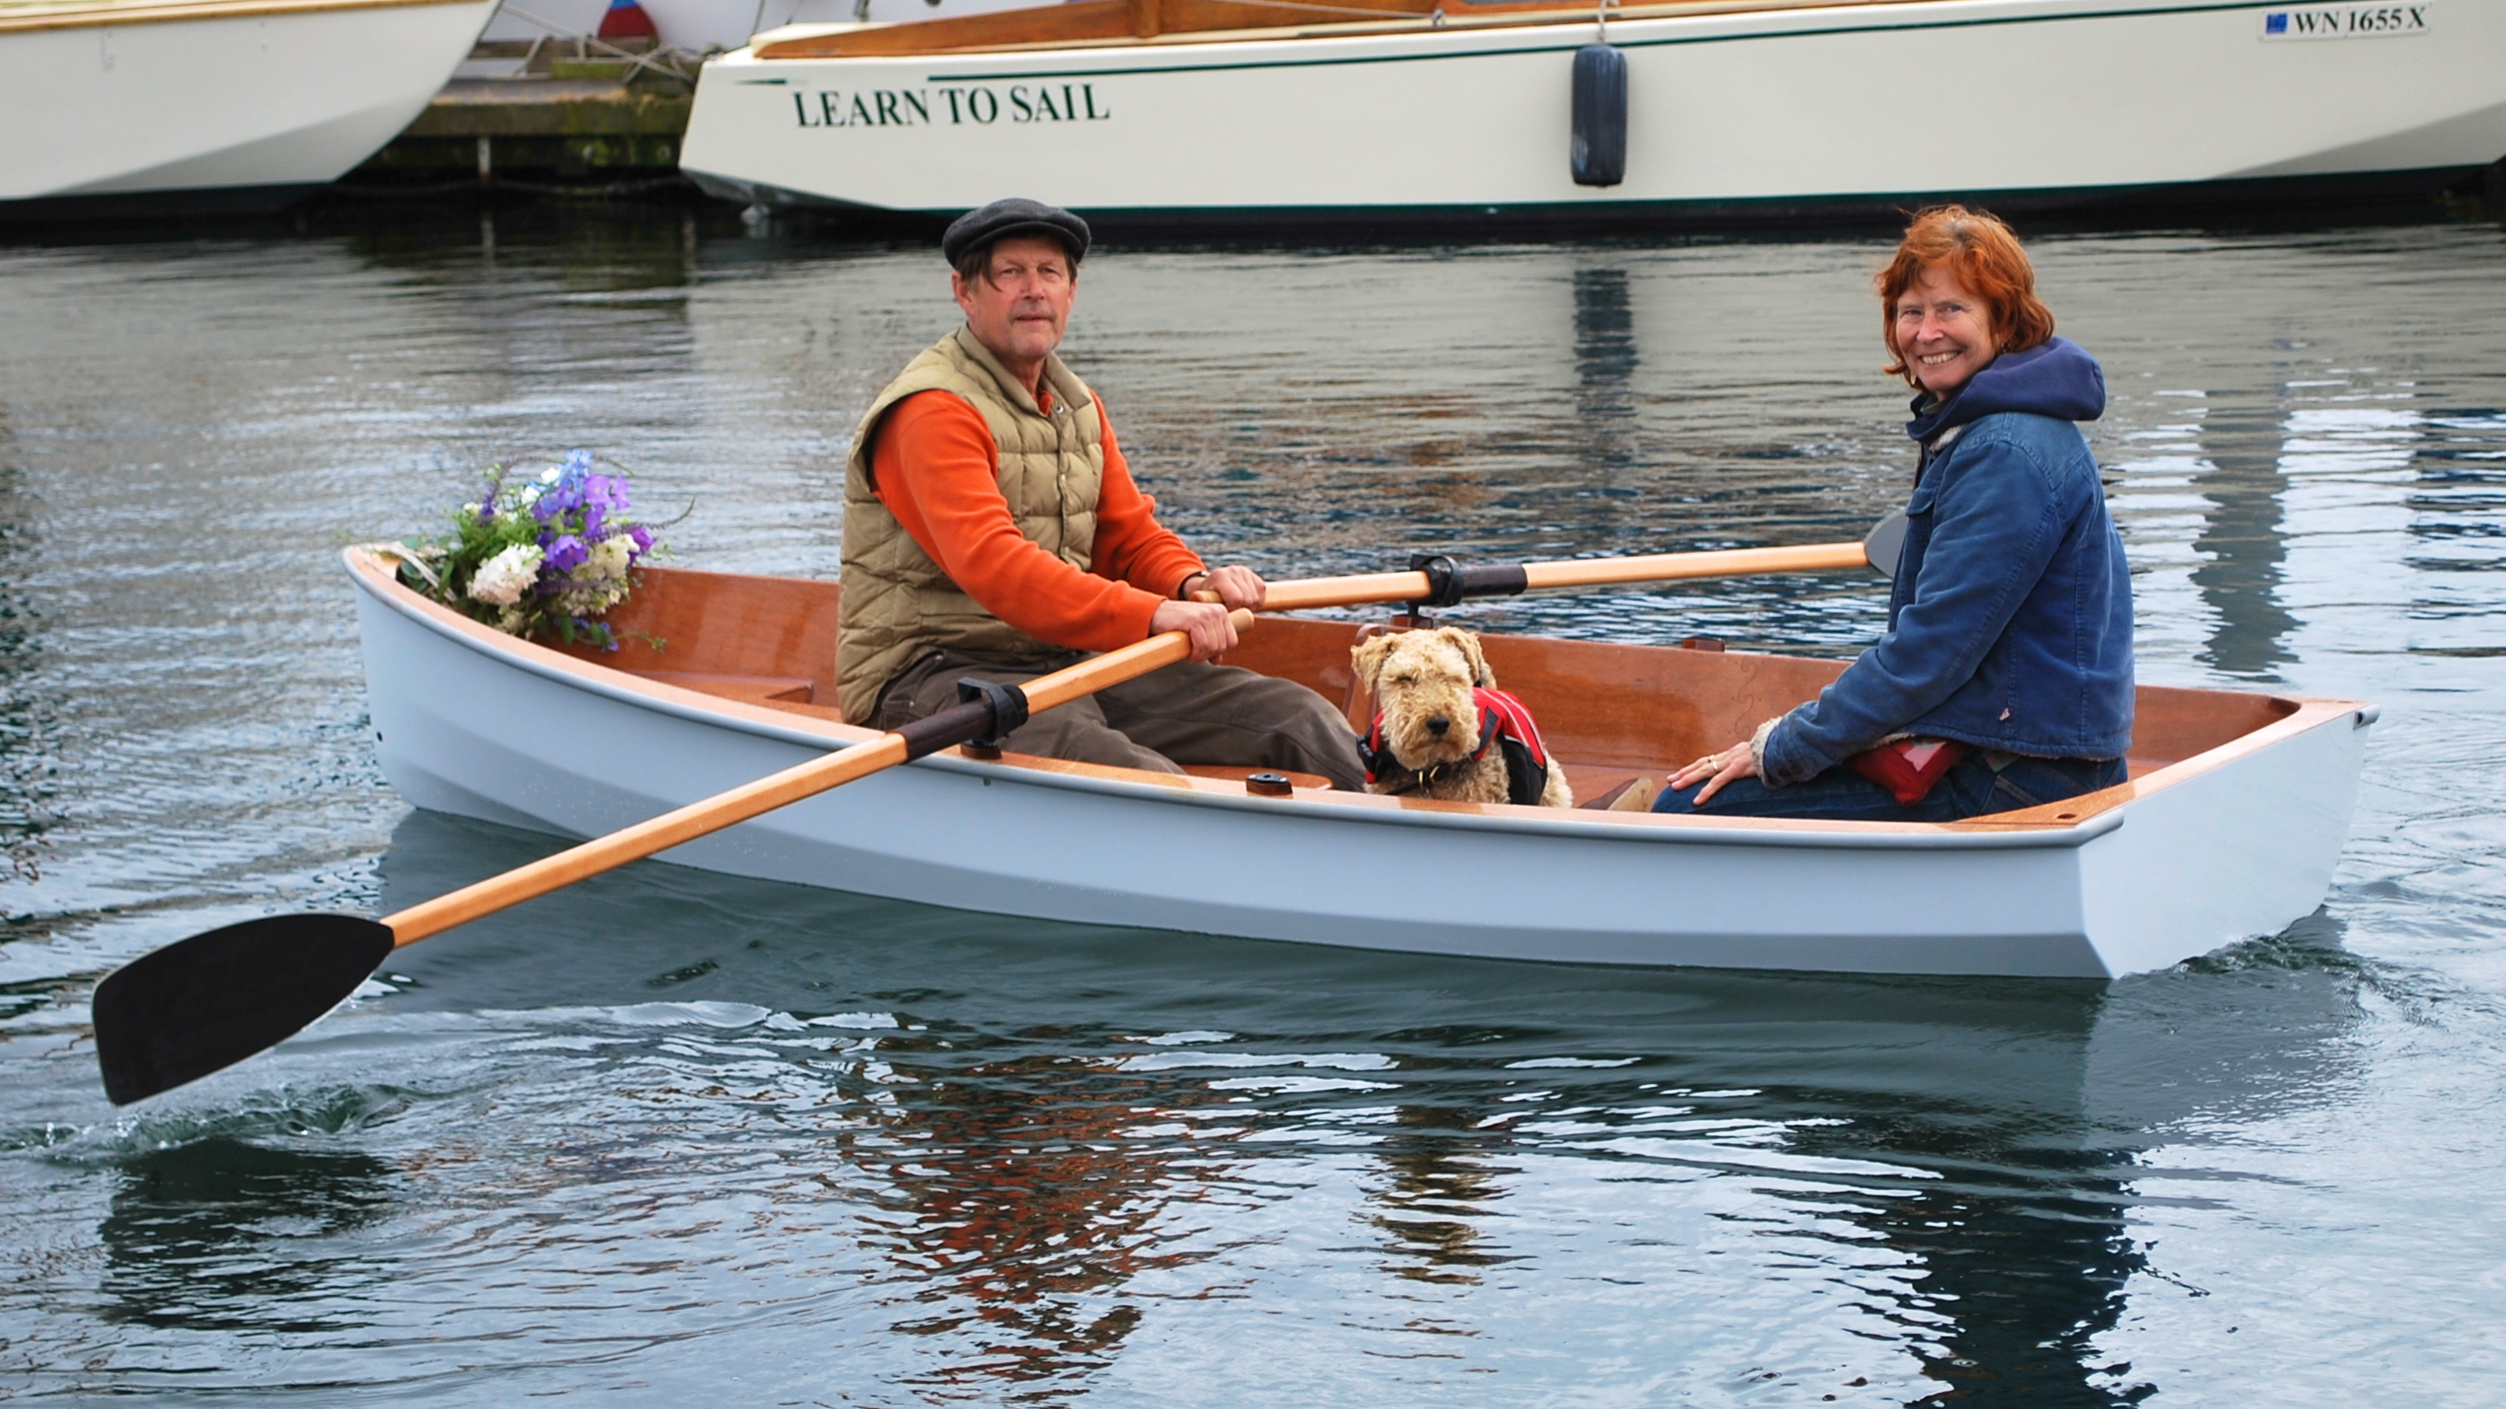
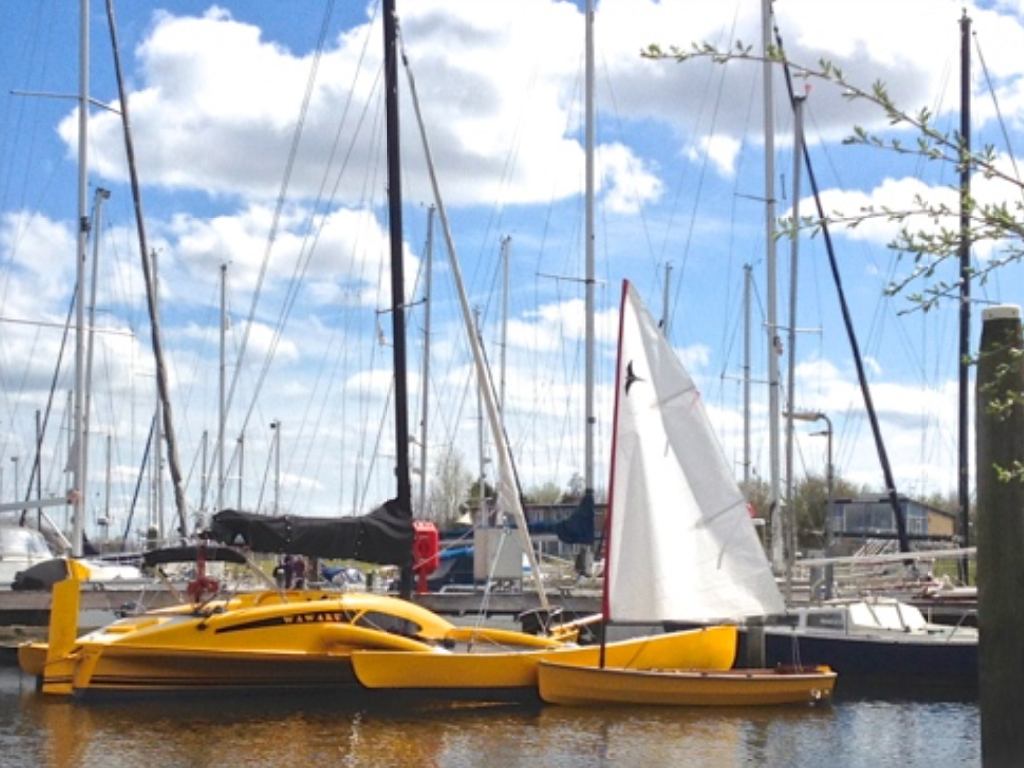
The Spear has a large back seat area, but because it has a hatch, we have to install baffles to form sealed air voids outboard of the hatch where they would do the most good in an emergency. Though the baffles under the back seat decrease the usable volume for storage, they make us legal and make you safer, and they make for a well supported back seat.  Below; Rowing the Spear with 2
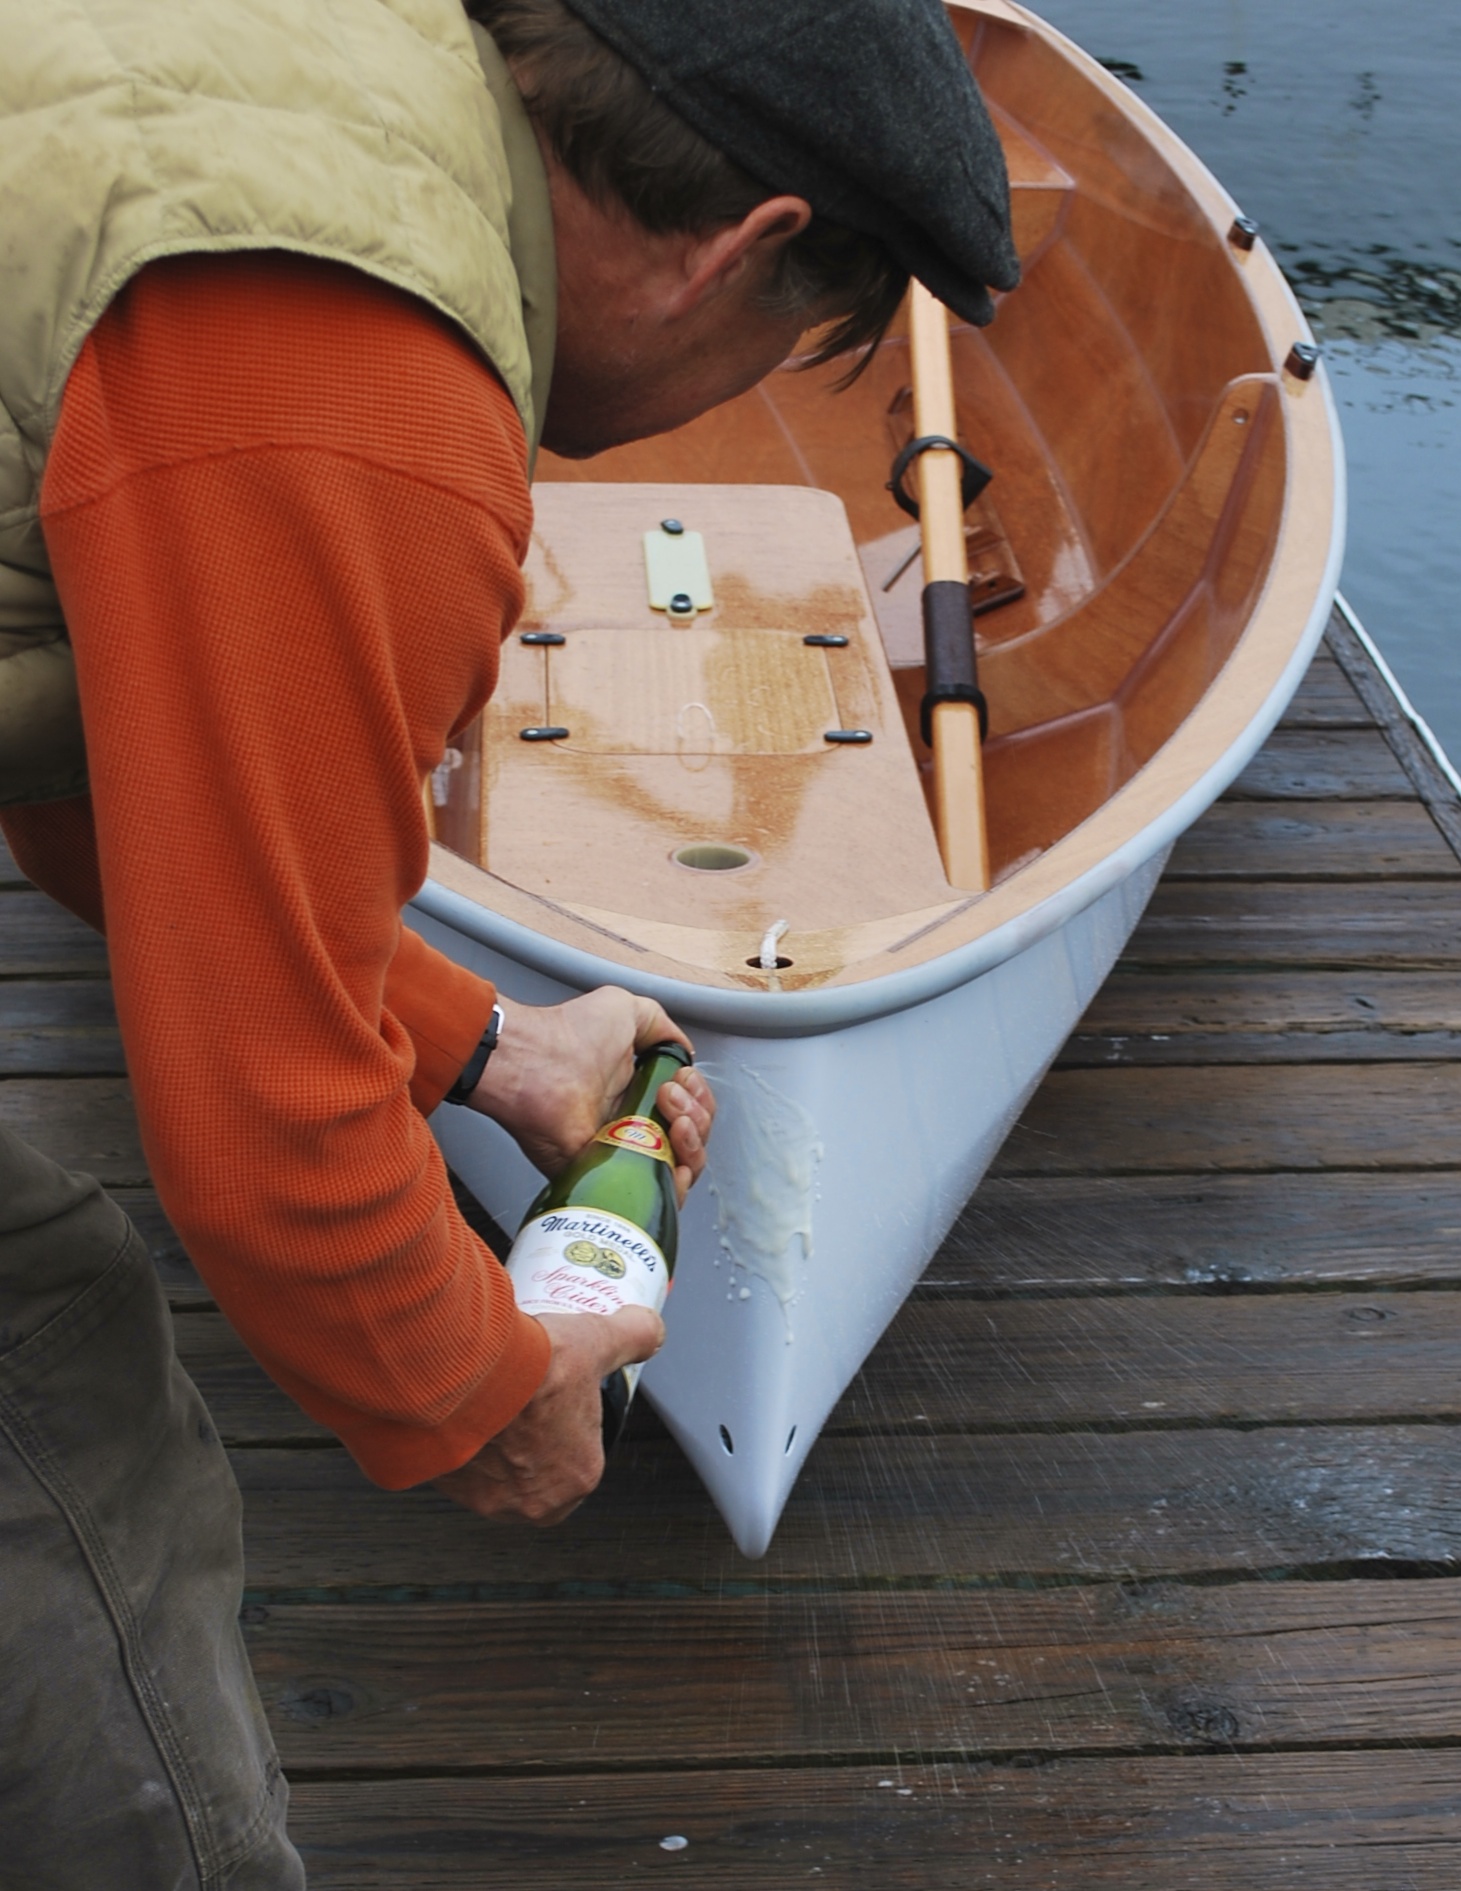
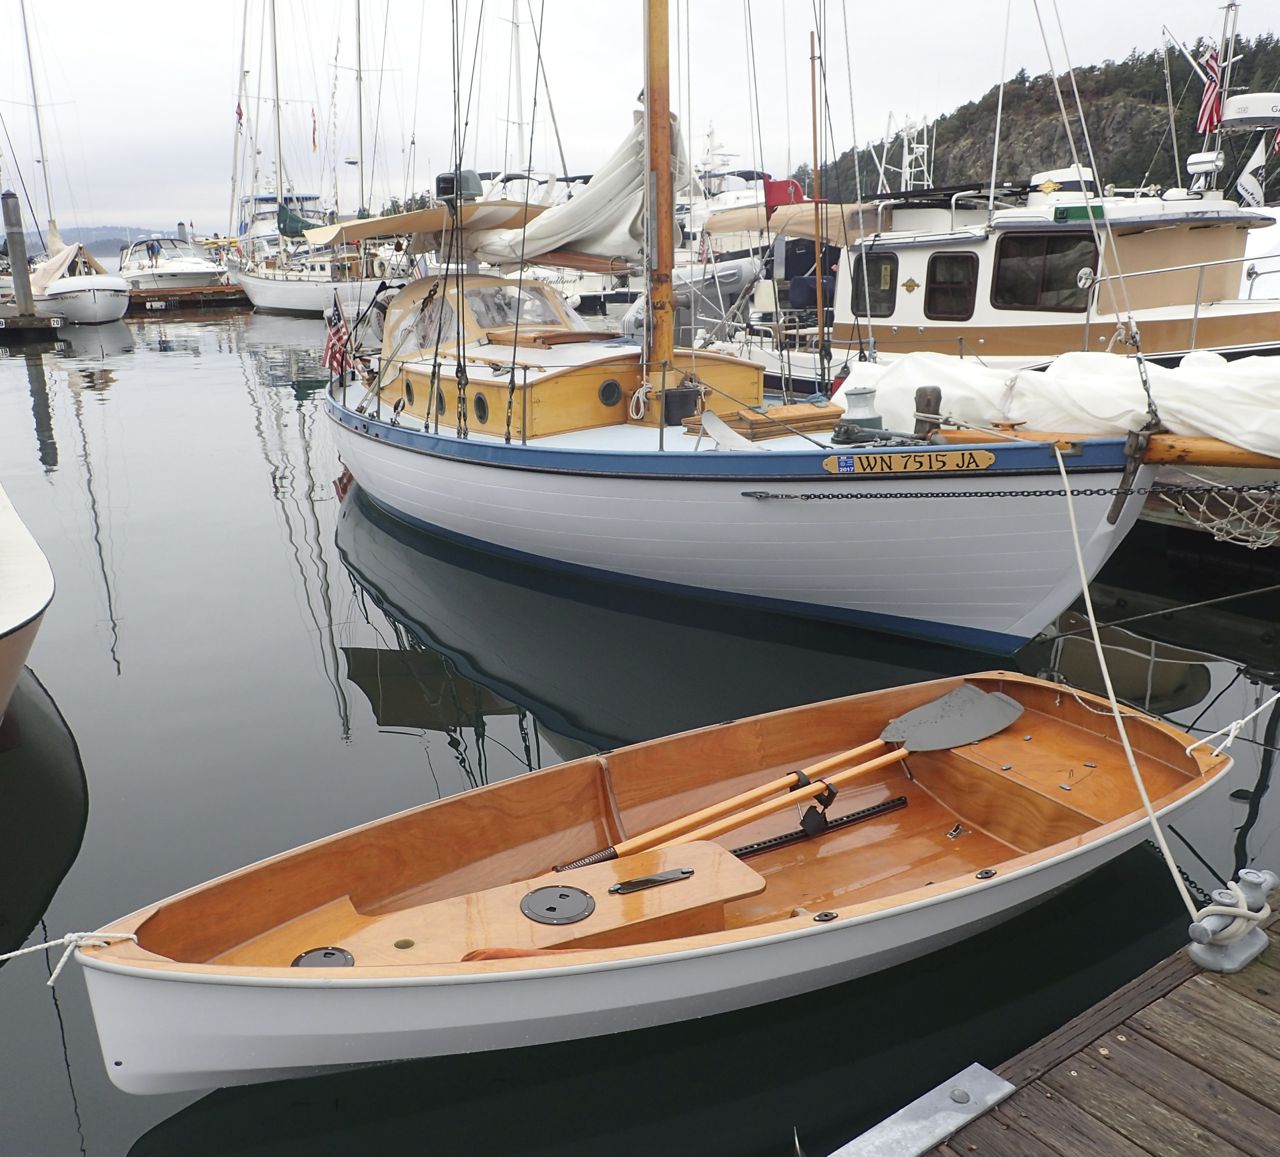
 The finished boat pictured was a beta prototype built summer 2012. Due to less specialty hardware required, the Spear base kit will cost several hundred dollars less that the nesting version. The boat will be lighter by 3 - 5 pounds. The various options, including sailing rig, offered for the PT11 nesting dinghy will be the same for the Spear. As of April 2013, we are taking orders for the "SPEAR" kit.
See our website for full information. PTW:)


 The Pacific Swift silhouette was a step in the right direction. From here I personalized it with the signature puzzle joint from our local CNC shop,(
 PTW
PTW