This year, 2019, the first leg of the Race to Alaska started on June 3rd in the face of a near gale. It was an exciting run to Victoria for those of us who had boats capable of handling the conditions. Team PT Watercraft in the G-32 did really well in spite of the bobbing and diving and water over deck. We were going fast, averaging 9 knots in waves stirred to peaks by strong wind against current. The GPS indicated from 8 knots up to 15 when the water flattened out a bit near Victoria.

ptwatercraft
Race start 2019 R2AK, Russell

We had a fun team with Alex Spear and myself joining Russell; me doing my darndest to hold the camera steady and all of us well braced to keep from flying to leeward at times. We kept within sight of the far more powerful, lead boat, Pear Shaped Racing, finishing some 20 minutes behind them. We just shake our heads in awe at the capability of this weird little boat designed by Jan Gougeon.

Ours was a 4 hour run having traveled more than the official 35 mile distance. .. all racers had to tack around the "no-go" zone. In Victoria, we hung out with some of the racers and support folks. Two boats sustained damage that made use of Russell's epoxy skills and it felt good to be useful instead of stressing about his own continuation of the race. We opted instead, to take a little cruise and that is another post. 😉

ptwatercraft.com
We had cruising gear, dinghy, and motor brought over by car on the Ferry so we could load up for our cruise north... so much 'stuff!

For now, here is a silly video of our first leg from this year. https://www.youtube.com/watch?v=SFO0sXEYek4

In the description is a link to more photos of the start by Sean Trew. Definitely worth a visit.

Happy Summer boating!

ptwatercraft.com
Dinghy loaded with gear ..motor, bedding, cooler...+++ We had to unload the truck from the parking lot and row to the marina.

Team PTWATERCRAFT aboard INCOGNITO is racing Monday morning June 3rd in the R2AK. We will be racing as far as Victoria and then taking off on a short cruise, hoping to see come of the lead boats along the way North. We will check emails a couple of times to be sure but if you don't get a prompt response, this is why! We thank our customers and, with great appreciation, are collecting deposits over the Summer for the next run of kits!

Please do email your questions. We will get back to you.

Safe boating to all! AEB 😉

ptwatercraft.com
Team PTWATERCRAFT's totally cool Gougeon 32, INCOGNITO holds the R2AK solo record for 2 years straight.

Sponsored by our favorite epoxy;ptwatercraft.com

ptwatercraft.com
the first hour


"I'm a tracker junkie and I'm okaaaay...." singing as I stay tuned to the Seventy 48 tracker. At 6:30am, Team Valhalla in the PT11 nesting dingy is still going 3.2- 3.5 knots after nearly 12 hours non-stop!  She has kept up with the some of the paddle boarders, including Skelty, our friend Tim Nolan who appears to be pushing through non-stop as well! If you know Tim you are duly impressed.

ptwatercraft.com
Loading the boat up in front of the Swan Hotel and Schooner Martha Foundation at Point Hudson
ptwatercraft.com
As of 7:15 AM June 1st, 2019

We will be cheering Inger on as she comes in down at the city dock in Port Townsend!

ptwatercraft.com
Rupert
ptwatercraft.com
An eery scene as this ship emerges from the fog just off Point Hudson.

PT 11 owners and builders may find these updates valuable. We have made PDF's for easy download and in color!

While we are much happier with the new gasket installation method, the hull gasket is still vulnerable to being yanked out of its notch at the lower corners. Why is this? Because surgical tubing is difficult to adhere to and its also very “grabby”, meaning, hard friction when assembling the boat or otherwise, can pull the gasket out of its notch.  Flushing with fresh water and re gluing is quite easy but we’d really like to test using neoprene for the hull gasket. Neoprene doesn’t have perfect memory but we think it would work fine for the hull gasket; it’s not grabby and it glues well.
For anyone who wants to try the neoprene hull gasket, we will send you 5ft of the stuff in exchange for a full report of its performance. New method for installing or replacing gaskets. PDF ptwatercraft.com

The surgical tubing is still our preference for the hatch and dagger board trunk gaskets.ptwatercraft.com

Installing a handle and bailer for the aft section of the PT 11. PDFptwatercraft.com

Finishing details from Page 290 in the new manual starting with the foot braces section.PDF

The above PDF includes the previous two 'PDF's along with other details from the end portion of the new manual starting at the foot braces section.

Another update we recently posted concerns a tight fit on some dagger boards due to over thick trunk log plywood.  If your dagger board is too tight, see the fix HERE.

😉 AEB

We have had a few complaints about dagger boards not fitting in their trunks, but we knew that we had designed in plenty of tolerance, right? We figured that it was sloppy epoxy work or wear strips that weren’t glued down tight. Imagine our surprise when the board didn’t fit into the trunk in our new boat!
What is causing this? Well, to start with, the board is binding at the fore & aft edges, where we thought we had enough clearance. Are the new boards longer in the fore & aft dimension? It doesn’t appear so.

Please see this printable PDF for the fix.

The solution to this problem for existing builders will vary depending on whether the trunk and foils have been built already, or one but not the other have been built.

We apologize for difficulties caused by our screw-up. We will ship out replacement trunk logs for anyone that hasn’t built the trunk yet and we will trim a bit from the aft edge (and re-round) any dagger boards shipped for existing boats.
Please keep in touch if you have any similar issues. We could have found and corrected this much sooner had we known that it was a fore & aft clearance issue. We care about this stuff a lot, so if you find a real issue, let us know.

The new PT 11 manuals are ready. Who needs one?

A very short update about gluing the bumper: We now advise not to use Tolulene to prep your bumper for gluing. It appears to be totally unnecessary. Just sand thoroughly and wipe clean before gluing as described in the manual.

Ashlyn & Russell

There comes a time...

...when one feels the need to alter course. Russell and I started PT Watercraft in 2009, to create an outlet to share Russell’s vision for a really good nesting dinghy. Since then, he has built 8 boats to define the build process, take the right photos and to update the manuals. A major revision of the PT11 and Spear manuals has only just been completed. He has also built parts for approximately 175 kits, including 130 for the PT 11 nesting dinghy.

By Intention, our business model has been a small and custom operation. We are more creative in nature than business minded, so expanding to include employees and larger production has not attracted us. Instead, we have farmed out many aspects of our production to the abundant local talent found in Port Townsend.
The level of detail and care put into each kit has earned us a reputation that we are proud of: that our kits take the kit concept to a higher level than others, at a price, but at excellent value for the money. Unfortunately, this is also a business model that is difficult to sell. Yes, when we started, we thought we’d create the business and eventually sell it.

What we find is that with open ended shipping dates, we never seem to get ahead of stocking parts and getting kits out the door. There are no gaps between for writing books that we have promised our book customers, nor to develop new ideas. By re-organizing our shipping schedules, we hope to reserve time for these creative endeavors. This might mean fewer kits produced but our level of quality and service would remain high.

What are the actual changes at PT Watercraft?

We have had to raise our prices. This was a really hard decision for us. In an effort to keep our prices in some sort of league with similar sized boats, we have never paid ourselves very well for the labor intensive product we produce and materials and shipping costs just keep going up. On the other hand, we are not willing to ship a lesser quality product.

Because most of our kits are sold in Fall and Spring, we are considering to restrict shipments to specific time frames within those seasons. Deposits accumulated in Summer and Winter will largely dictate the number of kits we ship.

We are suspending all exports. Exporting has always cost us more with extra paperwork and materials (heavy duty crates, for example). Customers abroad pay increasingly more for shipping and import duties. It just does not feel right and we sincerely apologize to those outside of the US who were hoping to get a PT 11 kit. Canadians can make a road trip of it or we can ship to bonded shippers on our side of the border.

What is NOT changing?

Our customers are really important to us. We are here for you and will continue to work through this transition. We are dedicated to good service and creating the nicest kits we possibly can.
Please follow our blog as we trial new arrangements. Our home page now has a clear explanation of what makes our kits special. Further details are continued on the PT 11 homepage. The website may appear a bit haphazard for a while. I am shuffling things around and trying to simplify it all.
Thank you for your patience and support.

Ashlyn & Russell Brown
March 1, 2019


As per our new homepage: the full text: by Russell Brown

Understanding the PT 11 nesting dinghy
There are many nesting dinghy kits available, but our PT 11 dinghy kit is a bit different.
Because our kits are quite expensive, we would like to offer some explanation. We would also like to make sure that our kit’s are an appropriate choice for anyone thinking of building one.
We are long-time designers and builders of high-performance sail boats. Nesting dinghies have been a passion for more than 40 years, during which time our study of the compromises and possibilities have been a bit of an obsession. Many prototypes have led to the kits that we now offer.
Could we have created a simpler and more affordable boat? Of course we could have, but it wouldn’t have the qualities that make the PT 11 such a great boat.
What features make this boat special?
The ability to assemble and disassemble the boat in seconds, in the water or out of the water. The unmatched strength of the assembled boat, a challenge in nesting dinghy design.
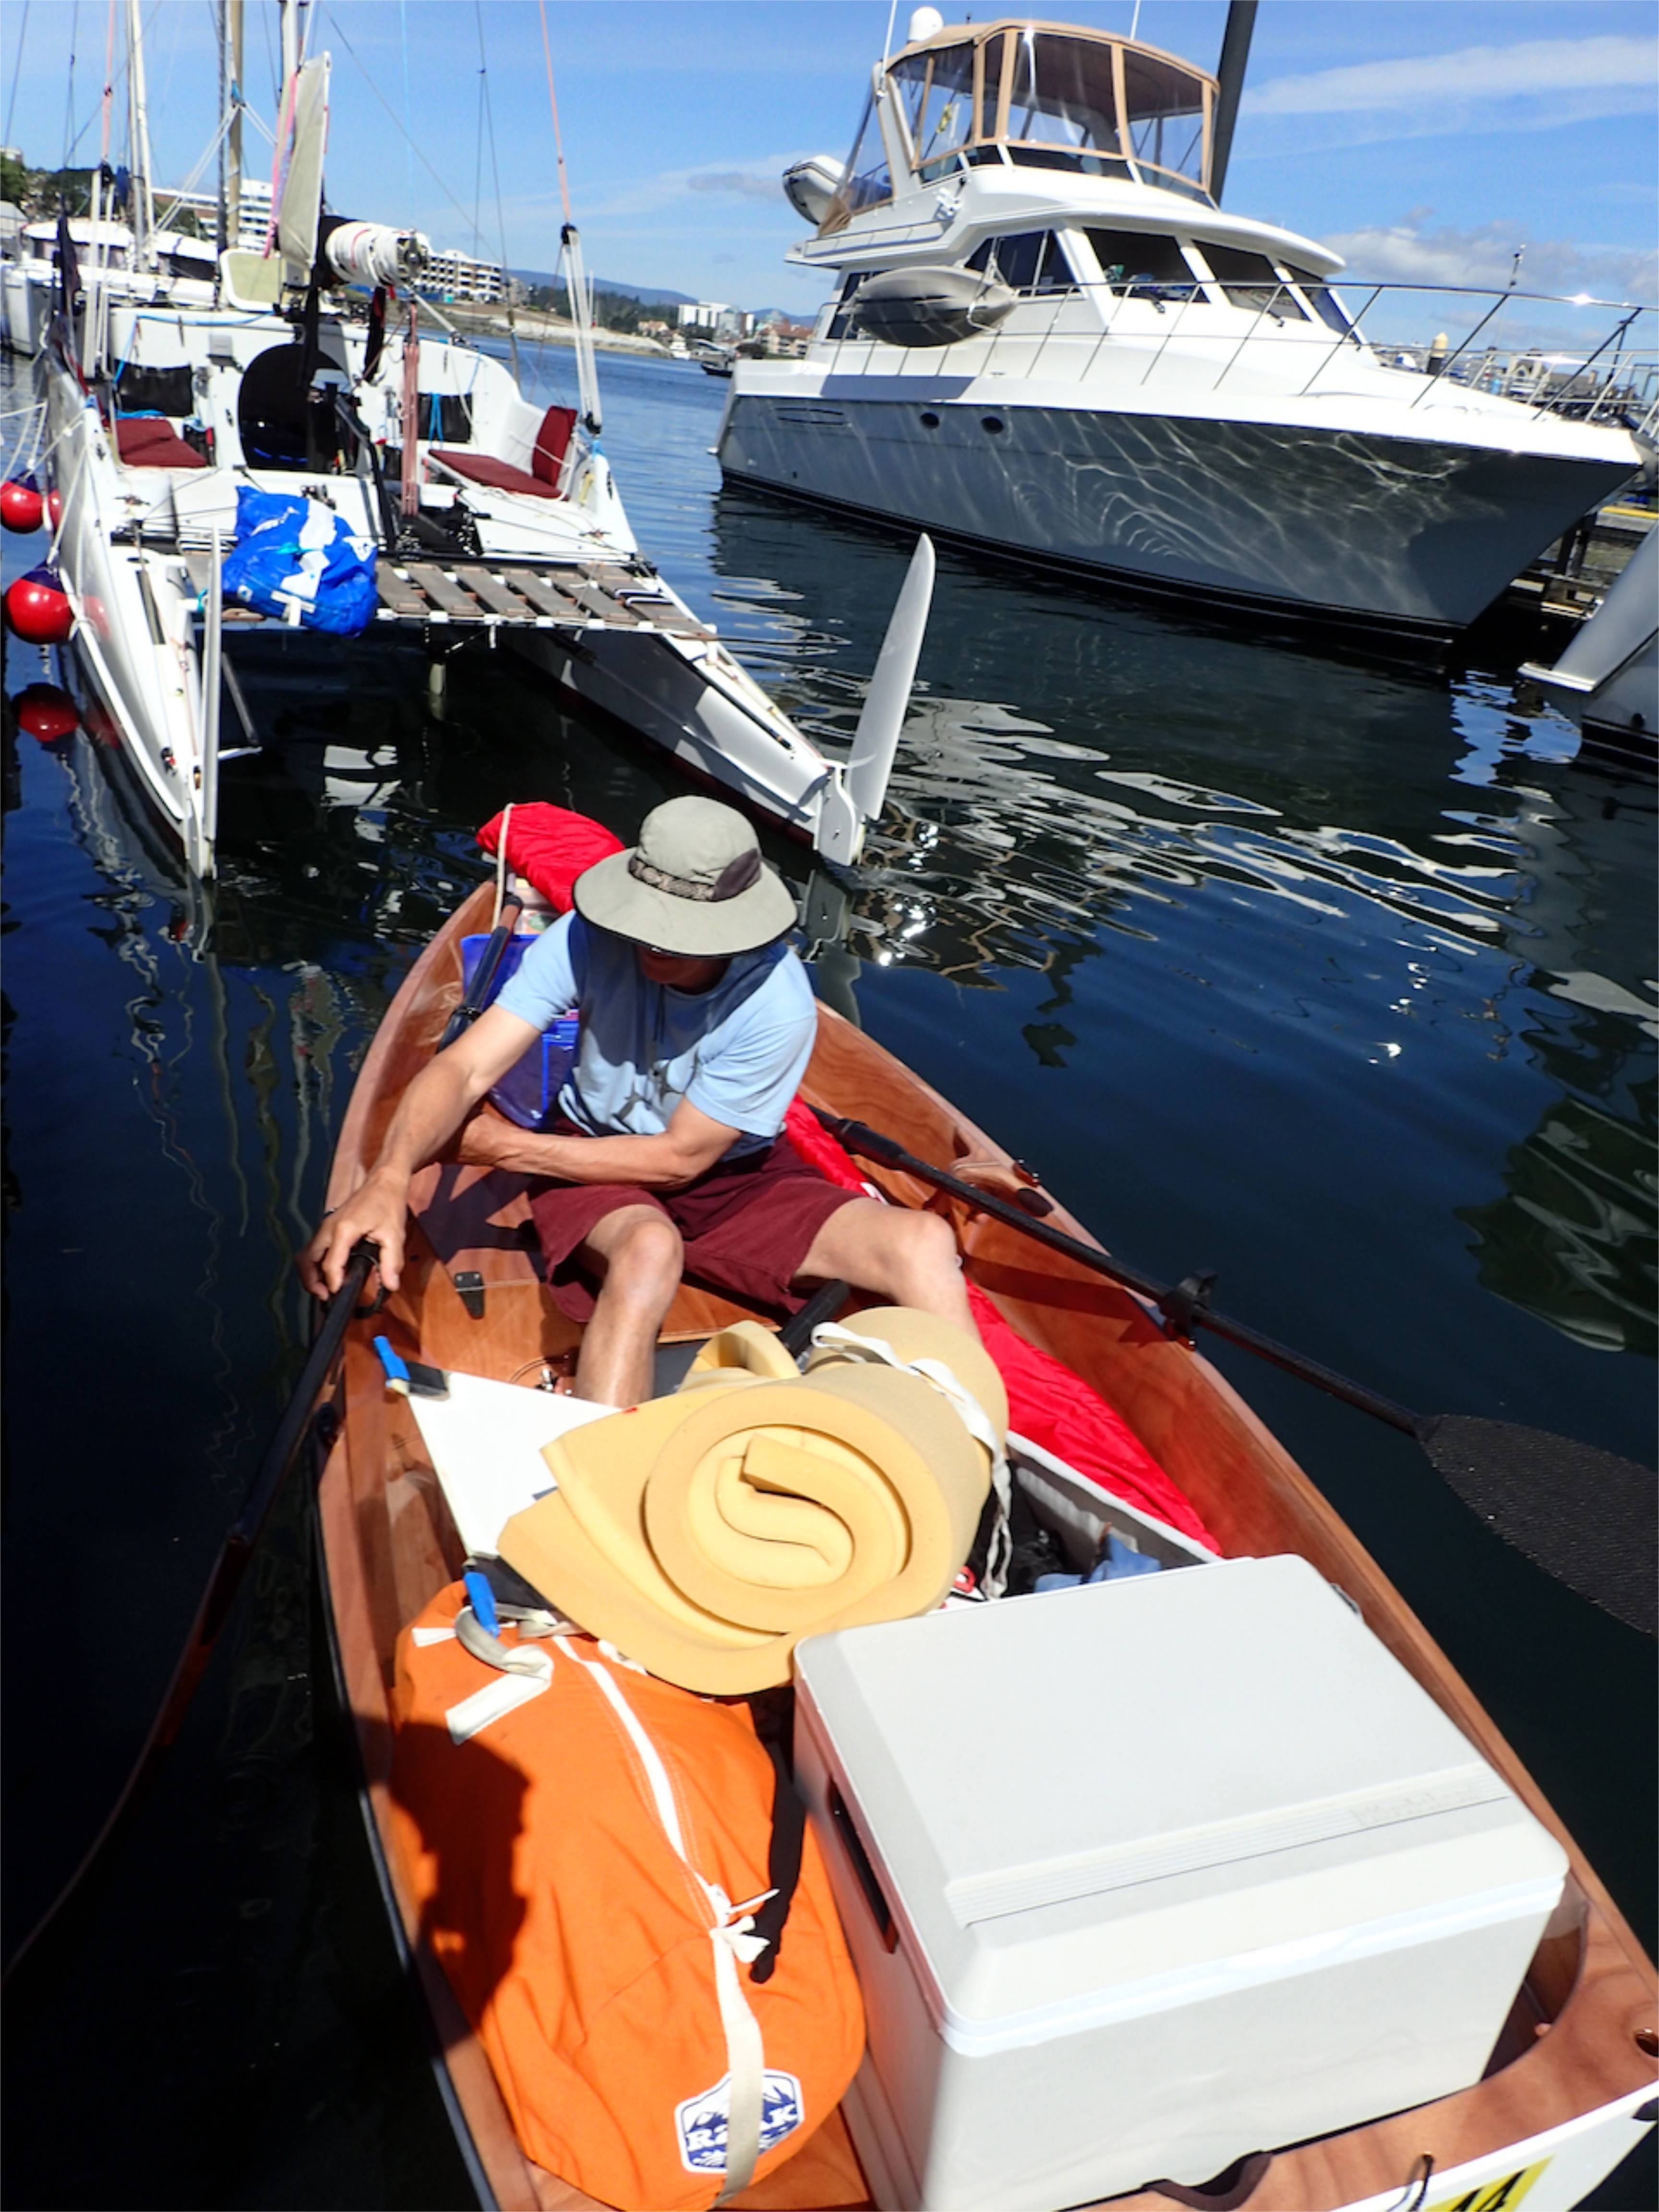
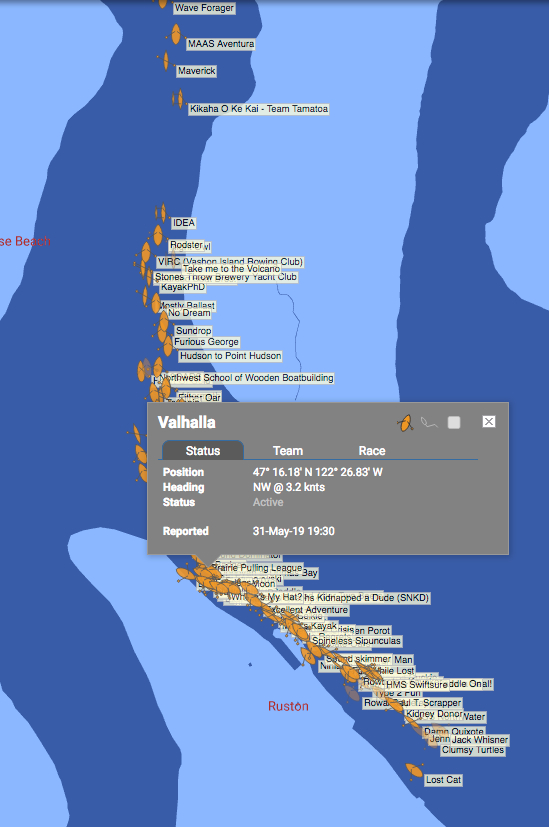
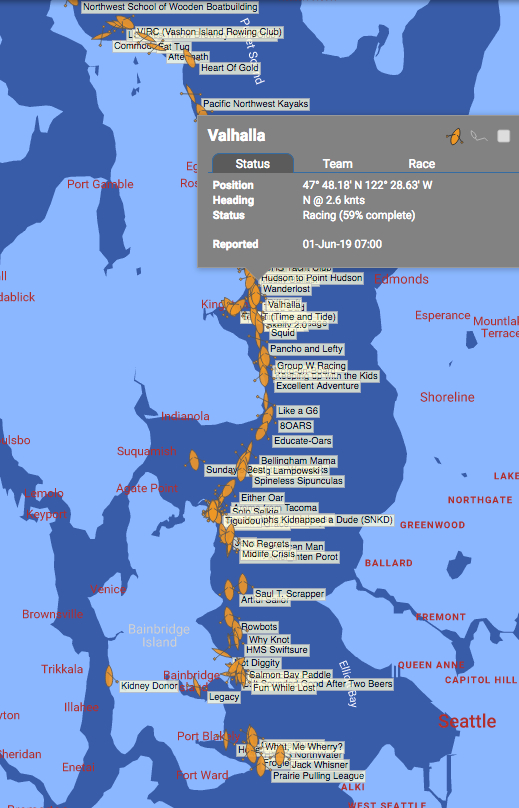
The rowing performance of our boats is quite amazing. One was used in a 70 mile endurance race last year, finishing in the top third of a 120 boat fleet in under 20 hours, surprising for an 11 foot dinghy. An outboard motor is quite unnecessary when using the boat as a tender.
The sailing performance is very good. The stock foils (machined daggerboard and kick-up rudder) help the boat sail upwind like a 12 meter. The rig is the lightest and easiest to use dinghy rig on the market. The two-piece carbon mast and boom, sail, and all rigging weigh just 10 1/2 pounds, store in a small bag, and assembles in minutes, making a quick sail in a new anchorage easily done.
Other prominent features include a large truly watertight storage area, sealed flotation tanks fore & aft, and a very dependable daggerboard trunk cap that allows towing in rough water and at high speeds. Two rowing stations and multiple foot brace positions allow keeping level trim with multiple passengers and allow rowers of different heights.
These qualities are combined with many other well-thought-out features, some that make construction easier and many that make the boat easier to use, lighter, and more efficient.
What do we not like about the PT 11? It’s complex. While we have not over-engineered this boat and we continually work on making the build simpler, a really good nesting dinghy, especially one that could last forever, requires complexity. Much of that complexity is on our end. We manufacture many custom parts for the boat and we aren’t shy about expensive alternatives.
The fact that we have sold so many kits for the PT 11 with almost no advertising says a lot.
Builders of the 11 see the value of the kit, the manual, and the finished product. Resale values of well built PT 11’s also point to a well conceived product.
Is the PT 11 for you? If you are attracted to the boat and it fits your needs, then maybe. Are you right for the PT11? Probably, if the next sentences work for you.
If you want the performance that our kits offer and aren’t afraid to put in the effort and time required, if you look forward to a good winter or summer project, and are willing to carefully follow a very detailed building manual.
Building a boat can be a very satisfying and rewarding experience; an experience that is increasingly missing in modern times. We ask a lot of our builders, but they get a lot in return. They get the experience, a new set of skills, and in the end, they get a very versatile boat.
Because we have very high standards for what we want in a boat, we start with the best materials:
We hand pick through units of high grade Okoume plywood to find the best looking and flattest panels of five different thicknesses of plywood. This doesn’t mean it’s always perfect, but we choose the best available and it’s a wonderful material for this type of boat. Most of the plywood parts are CNC machined, but many of them are post-machined to bevel and round edges where appropriate. The lumber parts kit (foredeck stringers, glue cleats and reinforcements) are machined from high-grade Sitka Spruce. The foot braces, oarlock riser blocks, and back seat cleats are machined to a ready-to-finish level from Sapele mahogany.
We supply the best glass cloth of 3 different weights to protect and reinforce, while keeping the boat as light as possible.
Carbon fiber alignment clips, goose-neck fittings and fiberglass mast sockets are molded “in house”.
The foils are CNC machined from carefully selected Okoume plywood (2 layers of 12 mm Vacuum bagged together on a “flat table”) to make NACA section foils of almost 1” thick. For the weight and performance offered by these foils, they are relatively very affordable and not difficult to finish.
The machined 316 stainless connective hardware is machined by Paul Zeusche, an expert local machinist and boat builder. This hardware constitutes a large part of the value of the kit and is continually fine-tuned. We are extremely lucky to have some very smart friends.
The masts and booms are made in state by ICE, a maker of the highest quality carbon fiber tubes on the planet. The two-part mast and boom (almost 23 lineal feet of tapered custom carbon tubes) weigh just 6.7 lbs and that includes all the hardware and running rigging on the boom (5 Harken blocks, 2 snap hooks, 1 s-hook, 7 eye straps, 1 cleat, 37 feet of running rigging, and a goose-neck fitting.)
Many other parts and pieces are produced in our shop or locally. Besides the plywood, which is made in France, just about everything in one of our kits is made in the US.
The most valuable single piece of the kit is the building manual. We don’t encourage people without hand tool experience to build our boats, but the manual allows someone with no epoxy or boat building experience to build a really good boat.
It’s just the two of us running PT Watercraft, which means we can offer very good quality control and economy,
We are now completing our 8th PT 11, built to improve the manual and fine-tune the kits (as were the other 7). We do this so that our builders can get the most value, pleasure, and longevity from their boats. The kits and manuals for the PT 11 and PT Spear are getting better every year.

We have also been working on a video series with Off Center Harbor, showing the more technical parts of building a PT 11. These video’s will be available free to our builders. We hope builder will follow the blog for important updates.
Featured comment from March 2019: “ I would like to reiterate one point as far as the value is concerned: I've yet to float in my boat, but I'm confident it will work as designed. The money spent was worth it, just to have "taken the class" on working with epoxy, and stitch and glue boat building, getting a sweet boat at the end is of course a nice bonus. The manual describes such nuance of technique, I feel like an expert, despite limited experience with epoxy and glass. That said by a working guy on a budget.” A.S. Stowe Vermont

...

Transitioning from 2018 to 2019 has had its challenges for PT Watercraft. One of the big issues for us has been to update our builder’s manuals. The PT 11 manual has just endured a big rewrite while Russell built another boat following the existing manual. This was something we had been working on for a while. We felt the final push to finish it when a customer asked a simple question about screw size. The realization that we had been instructing builders for the last two years to use a screw size that was inappropriate,  was a shocker. The size screw we called for on the gunwale reinforcement, #12 instead of #10, would have worked but could have caused some serious hydraulic pressure issues (when installing with epoxy) considering that the hole size we called for was based on #10 screws.
--This PDF -- has some updates to the manual including that new section.
Over 100 PT 11 nesting dinghies have been built with our ever evolving manual. To console ourselves, we prefer to credit the ‘quiet-type’ builders with seeing our errors and correcting them on their own. We hope so. For those who blamed themselves thinking, “I must have done something wrong,” we humbly apologize.

ptwatercraft.comWe have created a fairly technical boat. To get the most out of our kit, the builder really has to follow the manual. To get the most out of our builders, they have to have a manual that really does the job.  We feel very strongly about our designs and we want the boats built to be the best examples possible. For Russell personally, he puts so much effort into producing the kits, and has built one every time he felt the need for serious revision of the manual, that if the manual falls short, or has real errors, he feels like he is falling down on the job.

A good manual also reduces the number of questions for our limited capacity to respond, but without feed back, we might never have known where the problems were. Thank you. We are humbled by our inherited family of kit builders; the novice in particular who takes on such a big commitment with enthusiasm and dedication.

In general, we want to congratulate every, single, one of our builders. Our kits are not the simplest or easiest to build. So many of the technical steps are geared toward longevity, the potentially extreme conditions of use, and the intention that your investment of time and money has resulted in a worthy boat. The new manual may not produce a “better” boat, but, it will make it easier to get the most out of your kit.
 Please check in with us by email or follow this blog. There will be more updates coming soon, (also regarding kit availability and what other interesting projects are happening.)
For those of you currently building the PT 11 Nesting dinghy, view the PDF here and/or contact us. We want to know where you are in your project. Many of you should get a new manual. We expect they will be available in February. It is a big hit for us to send everyone a manual at our expense so we need to charge for printing and shipping.
Another note to our builders; We have been doing a lot of gasket testing but are still puzzling over our options. Please give us more feed back. We’d like to hear from you if your gaskets are working fine or if you have had issues and if so, what have they been?
For those building the PT Spear, updates are coming. If you get stumped, do not hesitate to ask questions.;-) AEB

ptwatercraft.com

...a video opportunity...
We recently had the opportunity to document painting a PT SPEAR. I put together a video of applying the first coat and some highlights of the third coat. The video is not a “how-to” but rather a demonstration that may be most useful to those of you preparing to paint your own home built boat with Interlux Perfection 2-part LP paint. The book, Rolling Perfection, really shows the technique Russell uses, from mixing, thinning, and applying onto a variety of surfaces, including non skid. You might note that we do not use a primer. Our boats are built using WEST SYSTEM resin and 207 Special Clear Hardener; saturation, fill, and gloss coats. This prepared surface has been perfectly suitable as a base for applying this paint (and its Interlux predecessors) on Russell’s boats over the last 30 years.
So here is the video. We hope you find it helpful. 😉 AEB