Find discounts throughout the store from kayaks and canoes to sailboats and rowing craft, paddleboards to powerboats, even Teardrop Campers and ProKits. All of our complete kits and wood-parts-only kits are marked down. Most carry discounts up to 10%. This sale won't last long, so get on board now for the best prices! Through Tuesday, February 20th.
Savings on complete kits:
- $400 off PT ElevenKit
- $379 off Peeler SkiffKit
- $313 off Southwester DoryKit
- $300 off PeapodKit
- $271 off Tenderly 10 DinghyKit
- $235 off microBootleggerKit
- $219 off Expedition WherryKit
- $205 off Night HeronKit
- $150 off Petrel SGKit
- $160 off Wood Duck 12 Hybrid Kit ... and more great deals!
Tag: Nesting Dinghy
A Galling Subject
* Update to this article: We have received positive feedback on a product called Tef-gel, used by riggers and boaters for the purposes of anti-galling and anti-corrosion in marine environments. We have not yet figured out how to get mini quantities into kits cost effectively but there are small-ish versions available in your local chandlery or online.
The PT 11 Nesting Dinghy Connective system is unique and it makes up a decent portion of the cost of the kit. After roughly 200 PT 11's sold to date, there have been very few issues with this connective system. In this article we are aiming to share some lessons learned about these parts based on customer feedback and experience.
A brief description
Our key to easy and fast assembly (of the two hull-halves) is to separate the two main functions of aligning the two halves and joining them. The alignment hardware is molded from carbon fiber, but it is robust and affordable for us to produce.
The connective hardware, used to join the two hull halves as they are correctly registered by the alignment hardware, are CNC-machined from 316 stainless steel.
This hardware consists of threaded sockets bonded into the forward half of the hull, and sockets with threaded pins and knobs bonded into the aft half; these parts are pre-positioned in the structure. Clip rings ride on the pins to make them captive, and this system allows assembly of the boat in the water without leakage.
The manual instructs builders to keep the stainless parts clean throughout the process of gluing and painting the boat. It is after the boat is finished that we instruct builders to lightly grease their hardware.
Here is where some additional explanation is needed.
A few customers have had a pin get stuck at some point in the completion of their boat. The why of this has been a challenging topic but when it happens, it is terrifying for us as well as for the builder and can be costly to remedy.
According to Wikipedia, "Galling is caused by a combination of friction and adhesion between the surfaces, followed by slipping and tearing of crystal structure beneath the surface.[2] This will generally leave some material stuck or even friction welded to the adjacent surface, whereas the galled material may appear gouged with balled-up or torn lumps of material stuck to its surface. Galling is most commonly found in metal surfaces that are in sliding contact with each other. It is especially common where there is inadequate lubrication between the surfaces."
Why and What to DO:
So, the question is why do the pins sometimes seize and what do we do about it?
The why is a bit of a mystery to all of the experts. One recently seized after it had been greased, so it's not just the lack of grease. We could also change the material of just the pin but hundreds of these have worked fine in all stainless steel.
Tight clearances are probably the cause, but we think we need the snug fit in both the forward and aft sockets to keep the hardware aligned when it's being installed. We are opening up the tolerances a bit on the next run of hardware, but it looks like the best insurance is going to be using a never-seize style of grease, applied after your boat has been finished (to keep grease from screwing up your painting and finishing).
It seems that the seizing is mostly happening at the tail end of the building process, so apply Never-seize * when re-installing the hardware after finishing. Clean the sockets and pins and apply a tiny bit (with a skinny stick of similar) in the threaded sockets and in the aft sockets and rub a little bit on the shiny part of the pins.
If you feel anything like seizing when assembling your boat, STOP. Is there misalignment? If you back out the rest of the pins, will the problem pin loosen up? Do your epoxy shims under the alignment clips need to be block sanded down just a bit? Are the outside edges of your alignment clips contacting the bulkhead edges?
If a pin feels stuck, remove the knob using two wrenches; 14mm and/or 9/16" to remove the knob, nuts and washer.
Put two nuts together on either end of the pin and tighten them together very tightly with the wrenches. (photos below)
Stand the hull half on end so that a bit of penetrating oil * can be applied and run down into the socket. Now try tapping and banging on either end with a hammer and wrenching on the end with the double nuts. Remember that the pin can only be removed from the socket in the forward direction because of the captive pin clip.
Still stuck? Get in touch with us.
If the pin leaves any roughness or scoring on the inside of the socket, that can be removed with a custom tool. Here's how:
Take a short piece of 3/8" dowel, chuck one end up in your drill, wrap sandpaper around the other end, hit the trigger and sand the dowel down until it fits loose enough in the socket that you can wrap some fine (400 or finer grit) sandpaper around the dowel and have it just barely fit in the socket. The sandpaper can be spray glued and rolled tightly on the dowel before using it to sand away any and all burrs and roughness. Finishing with an even finer paper is probably a good idea.
Spray-glue a bit of sandpaper to a flat stick to remove burrs from the pin before cleaning, applying the never-seize, and re-assembling the hardware.

- Caring for your connective hardware;
-Keep it clean before and after installation.
-As soon as grease is no longer a threat to gluing or paining, grease or ant-seize your hardware.
-At the first sign of binding, stop and assess alignment and possible causes.
-Refer to the chapter in your manual titled: Re-ASSEMBLY of Connective Hardware (p.288) including installation of the alignment clips. Precision parts require precision alignment.
-After a season of use, consider removing your pins, clean and reapply grease or anti-seize, and re-install. Refer to manual pgs. 319-320, "PT11 User Guidelines"
We continue to work on this and may update this blog in the near future as we learn more. You can download a PDF of this post HERE: PT 11-Connective Hardware Blog 2023
Ashlyn & Russell Brown
Customer comments:
When building I felt a little stickiness as I assembled my fasteners. I backed them out and applied a bit of lube. Even mold release wax should do the trick. I would guess that's what I used. A wipe with a paper towel.
Tefgel is great stuff. As is moly anti seize. Any of these can be applied and cleaned off by wiping. Enough will remain. When wiping make sure the bottom of the threads has lubricant. I use paper towels and put my fingernail in the thread to wipe well. You do not need to see the lubricant for it to work.
Galling is subtle but can be felt as it happens. It is a grinding crunchy feel as you turn the screw. If you feel that stop! Relieve any load on the fastener you can and back it out.
As well, a tap or die can be used to clean up galled threads. With lubricant of course for cutting.
Wd40 is not great here as it eventually evaporates.
PT 11 Foils kit 2022
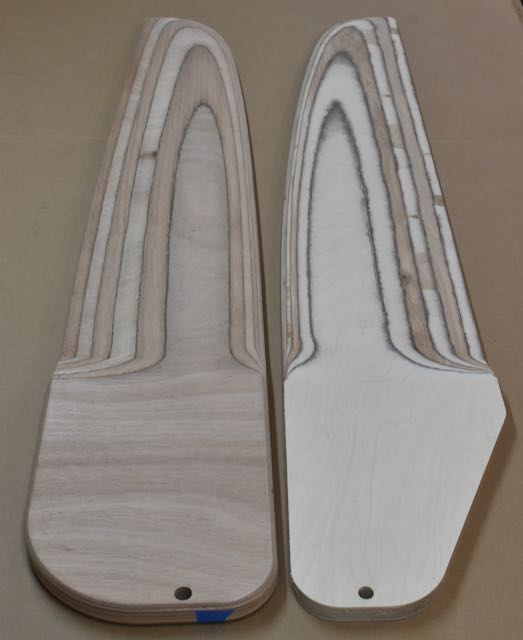
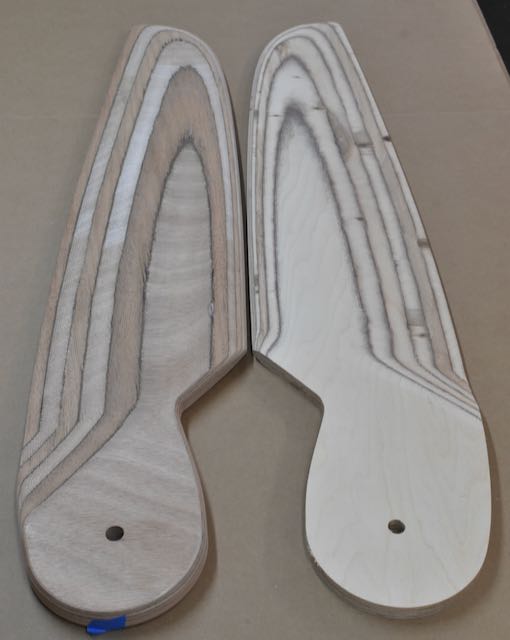
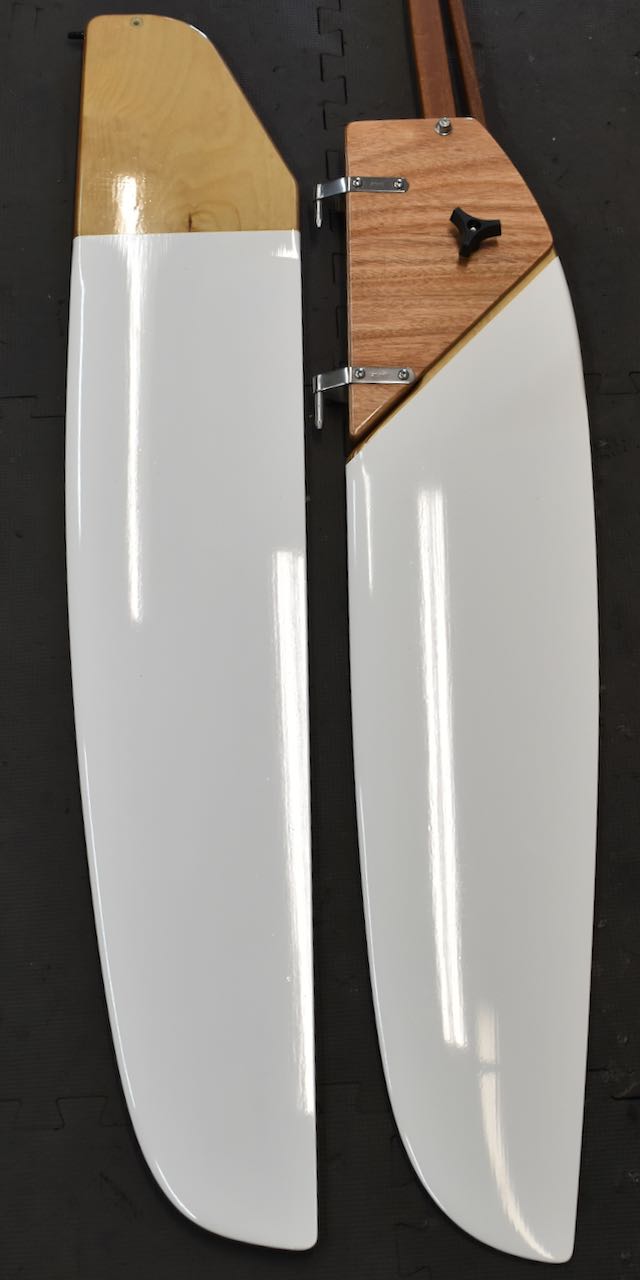
As previously mentioned, 2020-21 was largely spent reviewing our production process. Another redesign included the PT 11 foils kit. We took our ideas to Paul Bieker of Bieker Boats for his expertise with foil design. The new foils are thinner, using 18mm Birch plywood instead of 24mm Okoume. The Birch plywood is more dense, chosen for its strength at this thickness and not for it's looks. The machined birch plywood is not as handsome for clear coating as the Okoume but we are quite pleased with the overall change.
Modifying the foils kits affected many other parts of the kit, so those changes are are reflected in a total rewrite of the foils manual and changes in the boat itself (the daggerboard trunk is narrower, etc).
Machining the daggerboard and rudder from high-grade plywood is a good way to produce very efficient and relatively light foils. The process is far from easy though. It has taken much trial and error and a very good CNC programmer (Turn Point Design) to come up with the final product. The price of this foils kit reflects quite a lot of machine time for each set.


Goosenecks
The PT 11 sailing rig is one of our creations that we are quite proud of. The carbon tubes are engineered specifically for this rig and manufactured in Washington at Innovative Composites Engineering.
It is fun for us to imagine our tubes along side Space-X & NASA tubes, and among top name windsurfer and paddle boarding tubes. Mostly we are proud that this quick-to-set-up rig, with sail and all hardware & rigging, weighs a scant 10.5 LBS.
Our boom attaches to the mast with a custom gooseneck. For years we have made these goosenecks out of vacuum bagged carbon & epoxy in a multi step process that included a lot of carbon dust, finishing, tapping, assembling, and hand stitching tubular webbing onto the forks for a soft contact point on the mast.
After hundreds of these, there just had to be a better way.
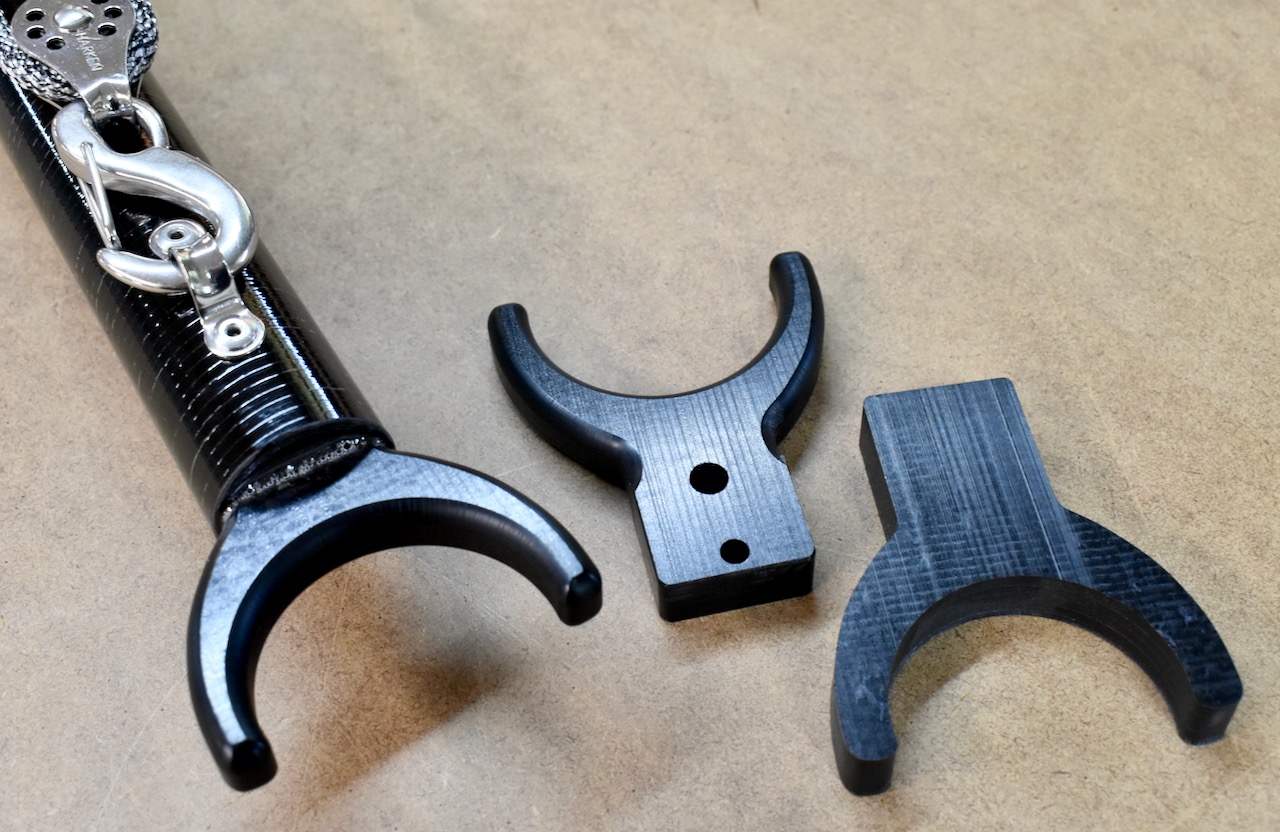
In 2021, as we sought to offset increasing costs in general and reduce labor where we could, one of the things we did was redesign our gooseneck. After years of trying to think of a better way, Russell began sketching out a new design based on using 1/2" Delrin plate and CNC router technology.
The resulting gooseneck is clean, practical, stronger, and most importantly, much less labor to finish and install. The new goosenecks are installed by pouring epoxy around them. A tight fitting foam plug traps the epoxy. Speaking of tight fitting foam plugs; there are 7 plugs in the 3 tubes that these rigs are made from, 5 of them custom made of different sizes from dense rigid foam. Why? To keep them from filling with water and sinking of course. Why do we need 7 plugs to plug both ends of 3 tubes? The seventh plug is a secret. 😉

PT 11 sailing rigs are still produced by Russell and drop-shipped from Port Townsend. They can be purchased through Chesapeake Light Craft. Customers who purchased their PT 11 kits from PT Watercraft pre-2021 should contact us directly regarding PT 11 options. We have experienced periodic delays so lead times vary.
Happy Sailing! ...AEB 😉
A review of the EP CARRY
This September we had the opportunity to play with an EP Carry electric motor for the first time. Dinghy owners often ask about an outboard for the PT 11.
Our preference is to discourage outboards on our dinghies because good rowing and sailing boats never make great motor boats. But some people really want to be able to use an outboard. That's understandable, but the fact is that the smallest gas outboard motors currently available are really too big for our boat; too much power and too heavy.
Now there is an option we can support; the EP CARRY electric "outboard". All of the technical information about this innovative little motor can be found on the website ELECTRICPADDLE.COM. Though it is compared to a 1HP on their website, it has sufficient power to get the PT 11 up to a cruising speed of about 4 knots. The USCG however, considers all small electric outboards as "2HP". Based on that formula, the PT 11 and PT Spear are rated for "2HP" so, the EP CARRY aligns with the Coast Guard figures. The amazing thing about this motor is that it weighs only 14.4 Lbs. This makes it very easy to mount and remove. The battery pack weighs 6.3 Lbs, making the total package less than 21 Lbs. There are several design features that add to the ease of handling as well. 
(At this years wooden boat festival, Russell showed up with the motor in his bicycle bag.)
Our recent experience with the EP Carry was very positive and to my surprise, I caught Russell grinning after speeding off to visit other boats in the anchorage. "Mr. anti-outboard" was actually having fun and we enjoyed it further by taking a friend on an evening "cocktail" tour of Reid Harbor, a deep bay with lots of shoreline and many boats to observe.
We spent a couple of days, driving along the shore of Sucia in the San Juans, in Shallow Bay making watery doughnuts, backing up, going forward, generally goofing off, and then venturing out to 'Danger Reef' to "brave" close proximity to a group of Stellar Sea Lions. We were pleasantly surprised by how far the battery went on one charge. You will notice in our video that we carried our oars with us but we did not need to employ them. 
This motor is not silent. Neither is it loud. Our lightly built plywood boat seemed to acoustically amplify the sound a little. Even so, there was no need to raise our voices for conversation. In fact, we could almost whisper and still communicate. This was a plus to me. Loud outboards in quiet anchorages are, in my mind, a real nuisance and many of us are familiar with boaters talking in their loud dinghies barely hearing each other and assuming no one else can hear them either...but of course we hear every word. Sound is a funny thing. With the EP Carry, the birds, seals, and sea lions were undisturbed by our passage. It made it a great modus for exploring the nature around us.
Another thing that is really attractive to us about this motor, is that even with our limited house battery power, we could re-charge the EP Carry Battery. It does require a 150-200W inverter, but this lithium battery requires a third of the power than comparable models to recharge. At home, it is simple to plug it into a normal outlet. Beyond charging the battery and rinsing the unit after use in salt water, there is virtually no maintenance. Yet another plus.
(see our video exploring Sucia with the EP CARRY)
When our EP Carry arrived at the door, unpacking it was quite amazing. The care taken to pack it and the detailed contents made for a well thought out and complete package. It was a positive reflection of Joe and Linda who have spent years perfecting their product. They, like us, had a vision that they worked and reworked in every detail. In fact, the original mount did not fit the PT 11 and now it does. Further, the EP Carry, designed right here in WA State, is assembled in the USA. It is yet another example of admirable American ingenuity with style and a small business making a positive difference in the world. Of all the outboards on the market, we feel confident that the EP Carry is a good fit for the PT 11.
14ft Fiberglass Nesting dinghy for sale

Every now and then a friend has a boat for sale that they would like us to post on our website. We do this selectively for free. Paul Zeusche, who makes the connective hardware for our kits, has recently finished refurbishing a molded fiberglass nesting dinghy (14 feet) that he and his wife used extensively on their cruising boat. It looks like he did an amazing and thorough job on this boat.
This boat is much longer than our nesting dinghy. The advantage of length is higher rowing speeds. This boat can be rowed by 2 people at once, using either 4 oars or just two.
Because the boat is relatively narrow and a very slippery hull shape, I would describe it as having "long legs."
You can check out the photos and specifications here.

PT11 rig
(Updated)
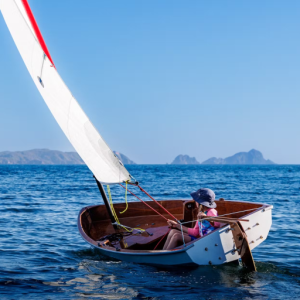
We took the sailing option very seriously for the PT 11 and it's a good thing we did. Most of the PT 11 builders have chosen our rig and foils. The sailing performance of this boat is not only measured in sailing ability, but also in simplicity and ease of setting up the rig. Setting up and breaking down a sailing rig is always a bit of work, especially if you are doing it alongside a cruising boat. It's true that the easier the set-up, the more one goes sailing. Our rig is as light and easy to use as possible. The carbon fiber mast is two-piece and sleeves together. The boom carries all of the hardware and running rigging. The gooseneck fitting is made by us. It has no moving parts, installs instantly, and is held to the mast by the sail and vang. High quality snap and "S" hooks make set-up significantly faster.
The sail is small (54 sq. ft.), but it's a powerhouse, thanks to a good sail designer, Sandy Goodall. The sails are made from DK 160 Challenge.(TM)
The PT 11 sailing rig is sold complete and ready to use.
The rig comes in its own bag shipped in an 8ft long x 7" x 7" box.
In the 94" bag: carbon mast, boom, running rigging, and 54 ft sq sail. All this weighs barely 11 pounds! Assembled, the mast is 15' 1" tall with a 10" bury. (socket on the PT 11 and Spear dinghies.
Out haul and main sheet tackle.
Line colors change with various batches.
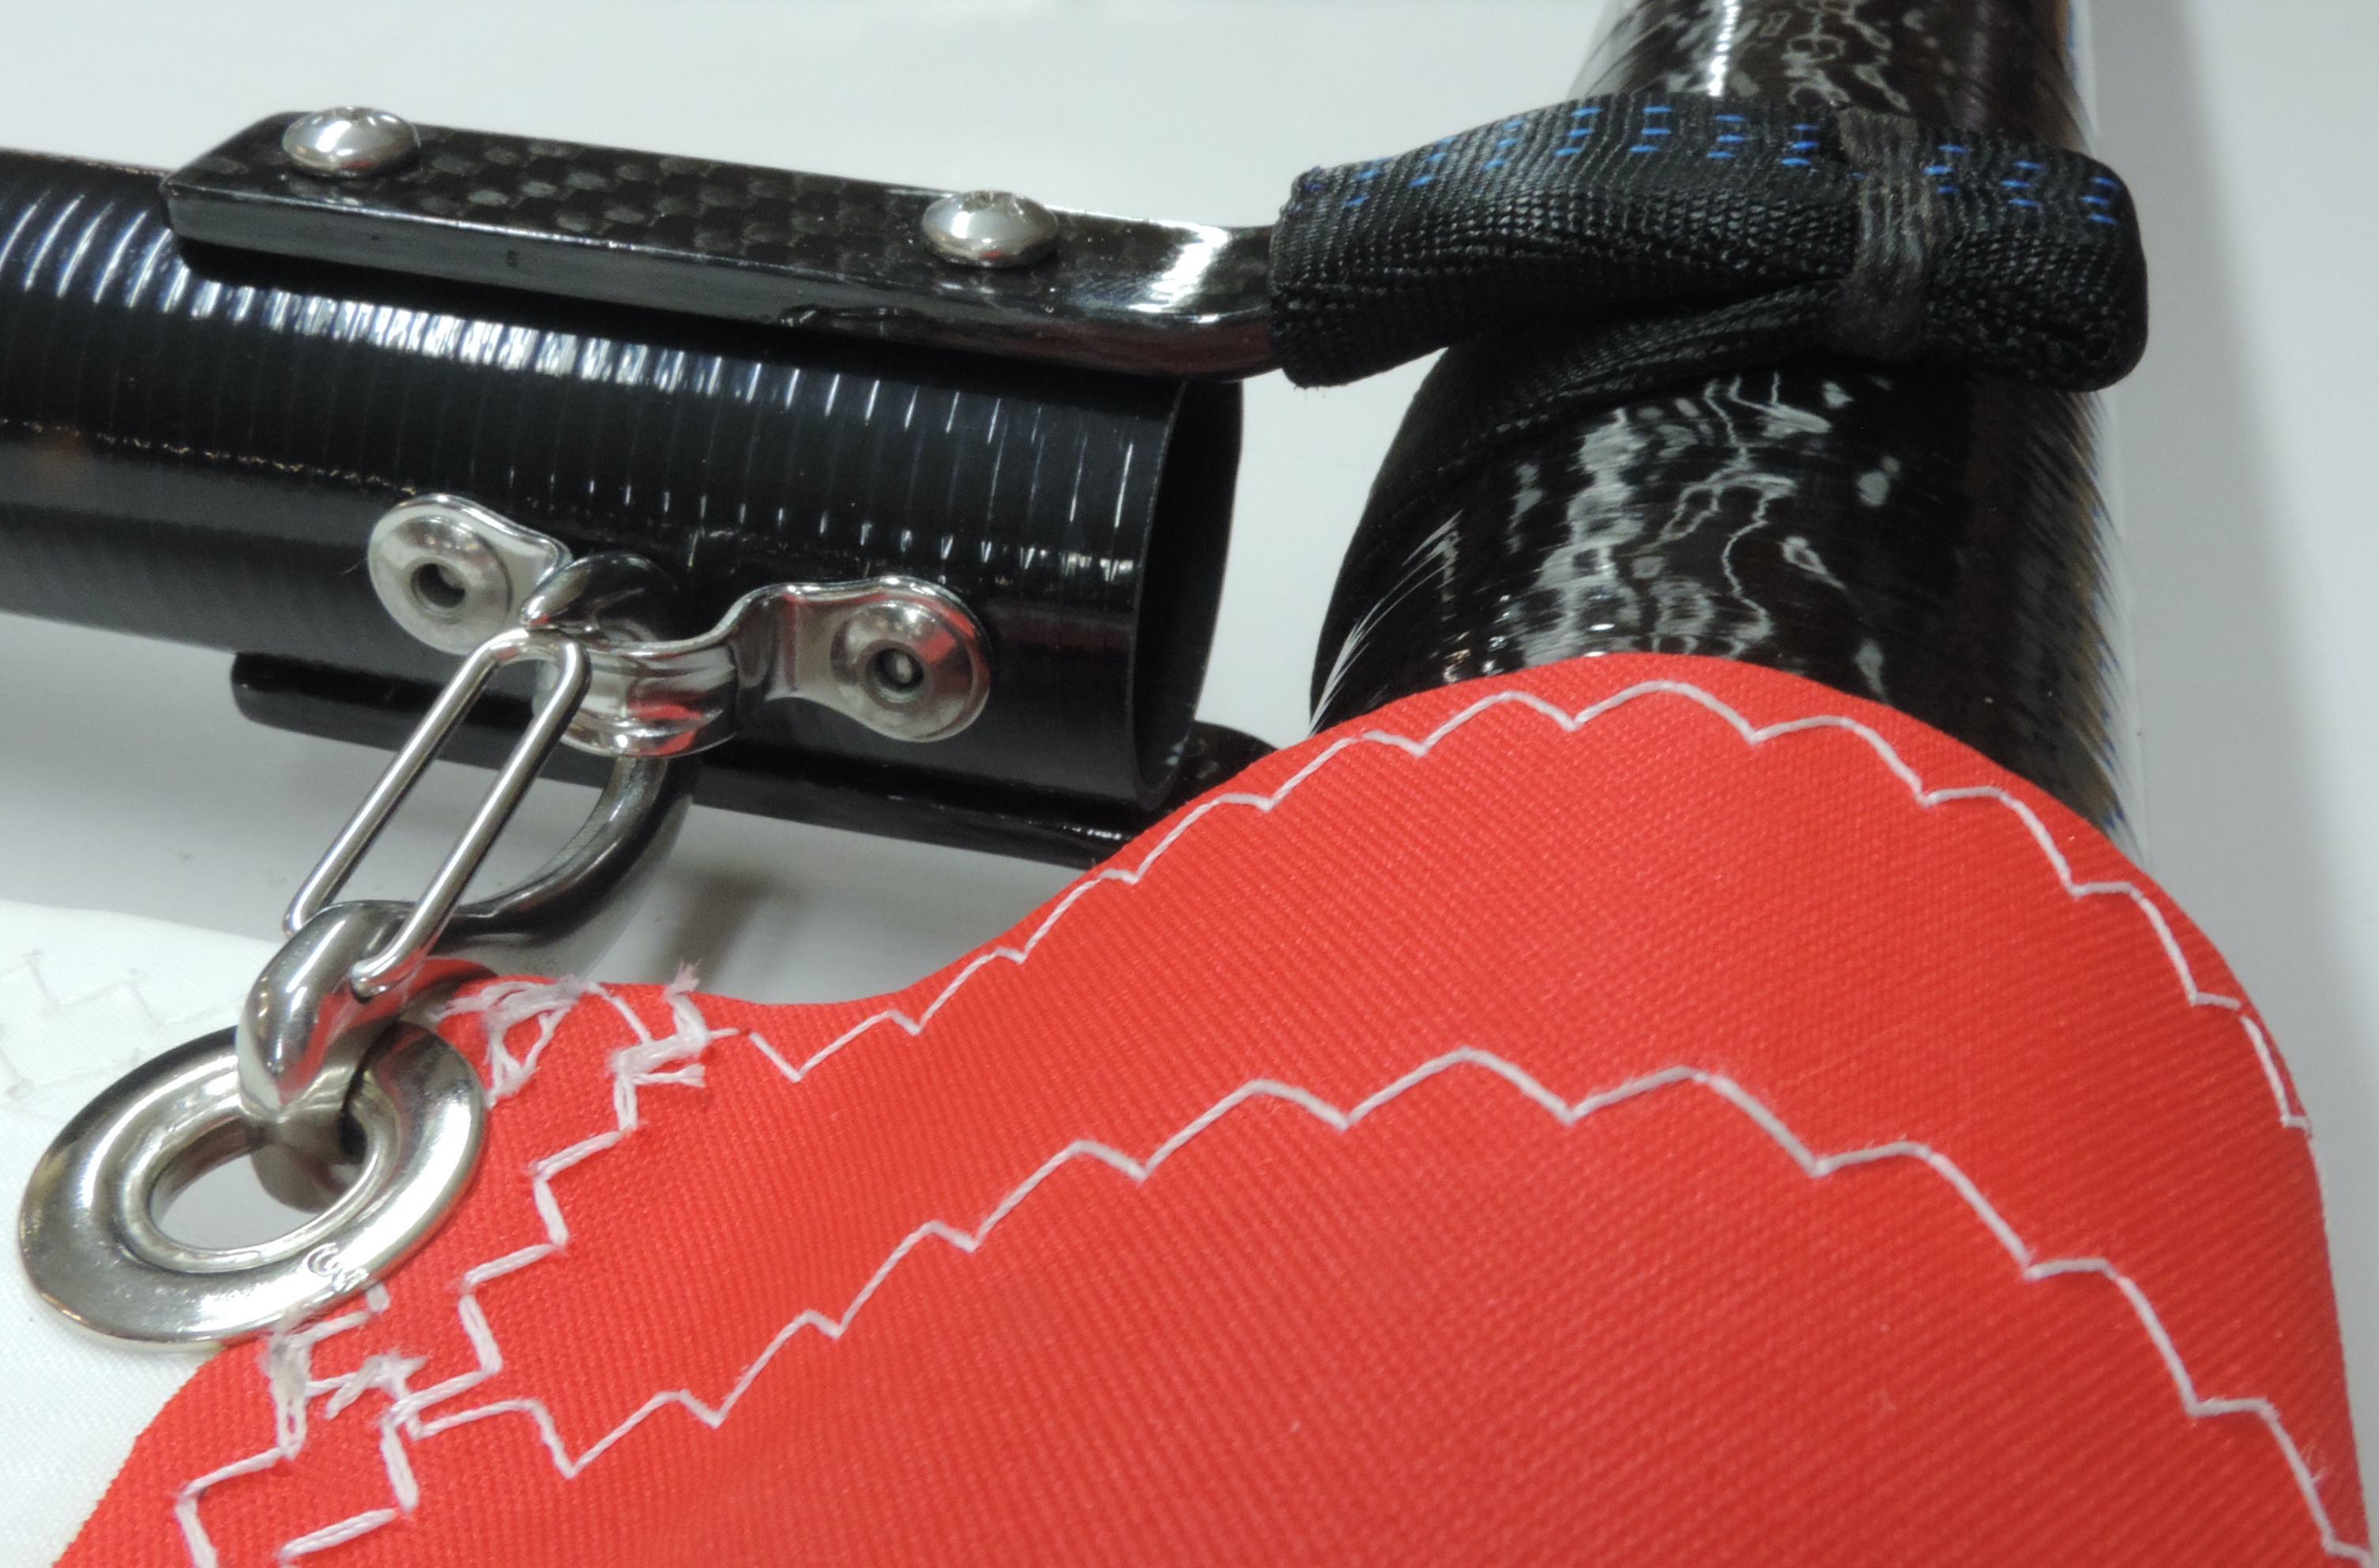
Below: Gooseneck and vang The red part is the sleeve on the sail.
The gooseneck left was our original design that turned out to be quite labor intensive.
We have since developed a machined Delrin gooseneck, (below) glued into the boom rather than riveted and that has been working great. 
Earlier model above with an S-hook, currently below with a snap-hook.
Having fun!
Complete rig: includes a 2-part carbon mast + boom, all associated hardware and running rigging, sail and bag. It is extremely lightweight (barely 11 Lbs) and quick to set up.
Our Spar tubes are custom made in the USA + Harken, Ronstan, & Allen Hardware)
The masts and booms are made in state by ICE, a maker of the highest quality carbon fiber tubes on the planet. The two-part mast and boom (almost 23 lineal feet of tapered custom carbon tubes) weigh just 6.7 lbs and that includes all the hardware and running rigging on the boom (5 blocks, 2 snap hooks, 1 s-hook, 7 eye straps, 1 cleat, 37 feet of running rigging, and a custom gooseneck fitting.
Pricing on the CLC website
We have minimal notes for builders to create their own sailing rig as an alternative, starting with 2 standard diameter 460 windsurfer masts.
About the PT Eleven sail :
A foil shaped, luff sleeved sail with 2 short battens, app 54ftsq. (DK160) Challenge(TM) sail cloth is made in the USA. This type of sail does not reef and we have not missed such a feature. It is a single, relatively small sail well shaped for a variety of conditions. There is no jib or spinnaker.
PT 11 Sails are designed by Sandy Goodall and prototyped by Sean Rankins of NW Sails & Canvas. Production modifications by Bob Pattison of Sails International. *Production by Neil Pryde/Sails International.
Read Sandy’s Review of Sailing the PT 11.
Notes on the design; Look for ‘REEFING THE SAIL?’
In dinghy sailing events placed in the same class as Lasers, we found the PT 11 to be competitive upwind as the foils and sail allow for pointing very high. However; The PT 11 is not designed as a racing dinghy, but it is a very fun boat to sail. AEB
The PT11 Nesting Dinghy
The first PT 11 Nesting Dinghy kit has been cut as of April 15th and construction has just begun. The photo shows the plywood parts only and the finished prototype in the background.
We have really been attempting to set up the pictures to the highest instructional advantage so actual building progress is happening is small steps. We will be updating the blog regularly with construction photos.
Nesting Dinghy Progress
I know some of you must be wondering what is with the long silence and lack of images on Nesting Dinghy progress. What we have so far is a rough working prototype that will be the basis for the final prototype soon to begin. The good news is that this hull rows really well and has great initial stability in contrast to previous versions. The connecting hardware prototypes look great and work great making assembly a matter of a few seconds. The nested package is more compact than before and it fits neatly in the back of our little Toyota truck. We are working through the sailing rig and oar/oarlock & foot brace arrangements. Final design work will happen late Feb into March and then Russell has to crank out the new boat and manual. If I can manage to get some half way decent photos (weather and time permitting) I will post them soon. This blog is finally waking up! Cheers, Ashlyn
Nesting Dinghy is happening
Things are moving forward on the Nesting Dinghy. With the idea of incorporating what Russell feels are important properties, and taking into consideration the wishes expressed by some of you following this boat, Russell has revised the design. A test hull is presently being built.
This hull is different from the prototype pictured on our website in 2 main ways.
1. reduced size of the nested package
2, changes that increase stability & usability
Once tested, he will begin working on the actual prototype and the builder’s manual.