
Users of the PT 11 and PT SPEAR have generously shared their solutions for lifting and hanging their boats on the mother ship. Since I get the question from time to time, it seems best to post these ideas in printable format to inspire or guide others.
A PT SPEAR on davits is described here in this printable PDF. sample lifting points installation PT Spear:11 
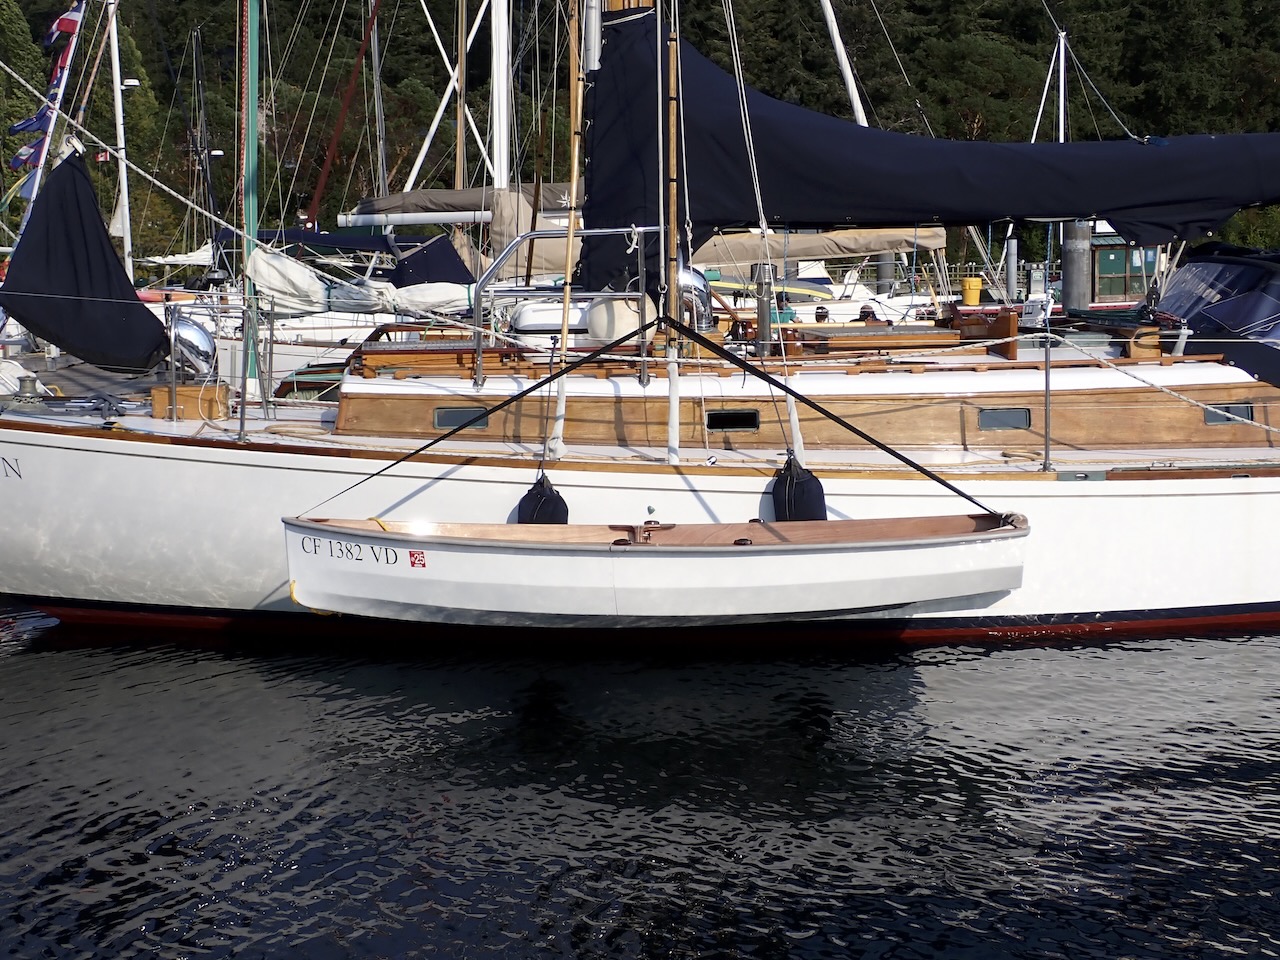
A PT 11 nesting dinghy gets lifted and hung along the mothership's gunwale when at anchor or in port described in this printable PDF.. PT11-BEAN's-Lifting Bridle idea
As new photos arrive I will update this page. If you have set your PT 11 or PT SPEAR up for davits or created a sling or halter you are happy with, please send us some pictures! ptwatercraft@gmail.com works best for photos. Use "PT 11 photos" in the subject line.
Thank you!


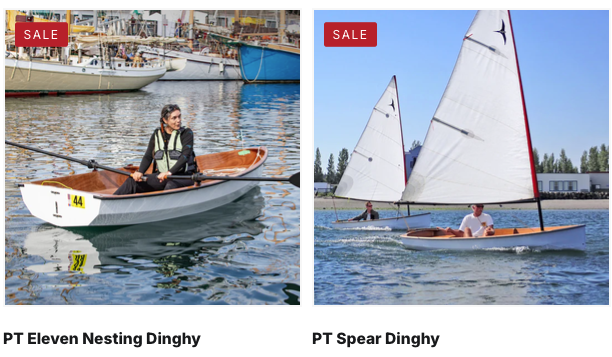
 Suitable for the PT Spear and the assembled PT 11 nesting dinghy


