PT Watercraft designs dinghies that are efficient, functional, modern, and attractive—available as kits you can build yourself. We also carry small boat parts and instructional books.
…a video opportunity…
We recently had the opportunity to document painting a PT SPEAR. I put together a video of applying the first coat and some highlights of the third coat. The video is not a “how-to” but rather a demonstration that may be most useful to those of you preparing to paint your own home built boat with Interlux Perfection 2-part LP paint. The book, Rolling Perfection, really shows the technique Russell uses, from mixing, thinning, and applying onto a variety of surfaces, including non skid. You might note that we do not use a primer. Our boats are built using WEST SYSTEM resin and 207 Special Clear Hardener; saturation, fill, and gloss coats. This prepared surface has been perfectly suitable as a base for applying this paint (and its Interlux predecessors) on Russell’s boats over the last 30 years.
So here is the video. We hope you find it helpful. 😉 AEB
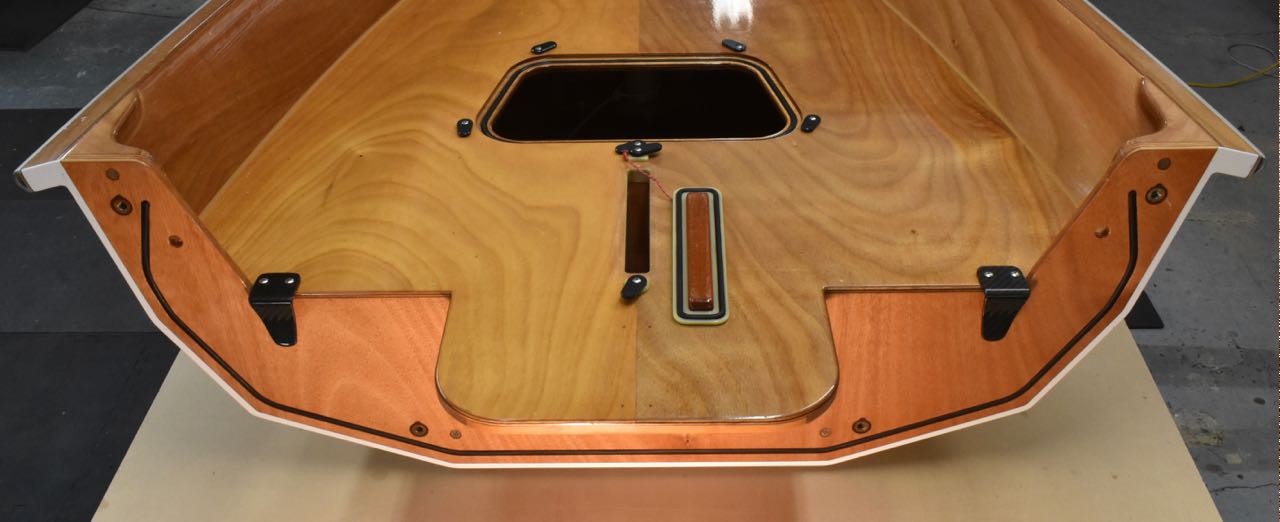
The PT 11 and Spear are very dependent on gaskets. The 11 has a hull gasket, a hatch gasket, and a trunk cap gasket. The Spear has two hatch gaskets and a trunk cap gasket.
We are fairly proud of the gasket systems we have developed, but nothing is ever perfect. The latex tubing gaskets set in notches of the correct depth work amazingly well, but we have had some trouble with two things:
One of the issues is that gluing the latex gaskets is difficult, so they can come loose.
We have tried just about every adhesive and have finally found one that works much better than the contact cement method described in the manual. More about that in a soon-to-come blog post.
The other thing we have recently had happen is the outer face of the gaskets becoming stuck to their mating surfaces. This seems to be a problem mostly with the trunk cap, where the gasket is pressed much more firmly, due to the gasket notch depth being limited. We tried coating the outer face of the gasket with a few different lubricants, Vaseline being the one that seemed to work.
We will do a blog post about gluing in new gaskets with the adhesive we have found to work, but first we would like feedback on gasket issues from our customers. -What issues have you had?
-Do you need a new set of gaskets for you boat?
-If your gaskets are working fine, consider rubbing a light coat of Vaseline (or maybe you know of something that will work better) on the outer face of the gaskets, especially if your boat is being left assembled for long periods of time.
This September we had the opportunity to play with an EP Carry electric motor for the first time. Dinghy owners often ask about an outboard for the PT 11.
Our preference is to discourage outboards on our dinghies because good rowing and sailing boats never make great motor boats. But some people really want to be able to use an outboard. That’s understandable, but the fact is that the smallest gas outboard motors currently available are really too big for our boat; too much power and too heavy.
Now there is an option we can support; the EP CARRY electric “outboard”. All of the technical information about this innovative little motor can be found on the website ELECTRICPADDLE.COM. Though it is compared to a 1HP on their website, it has sufficient power to get the PT 11 up to a cruising speed of about 4 knots. The USCG however, considers all small electric outboards as “2HP”. Based on that formula, the PT 11 and PT Spear are rated for “2HP” so, the EP CARRY aligns with the Coast Guard figures. The amazing thing about this motor is that it weighs only 14.4 Lbs. This makes it very easy to mount and remove. The battery pack weighs 6.3 Lbs, making the total package less than 21 Lbs. There are several design features that add to the ease of handling as well.
(At this years wooden boat festival, Russell showed up with the motor in his bicycle bag.)
Our recent experience with the EP Carry was very positive and to my surprise, I caught Russell grinning after speeding off to visit other boats in the anchorage. “Mr. anti-outboard” was actually having fun and we enjoyed it further by taking a friend on an evening “cocktail” tour of Reid Harbor, a deep bay with lots of shoreline and many boats to observe.
We spent a couple of days, driving along the shore of Sucia in the San Juans, in Shallow Bay making watery doughnuts, backing up, going forward, generally goofing off, and then venturing out to ‘Danger Reef’ to “brave” close proximity to a group of Stellar Sea Lions. We were pleasantly surprised by how far the battery went on one charge. You will notice in our video that we carried our oars with us but we did not need to employ them.
This motor is not silent. Neither is it loud. Our lightly built plywood boat seemed to acoustically amplify the sound a little. Even so, there was no need to raise our voices for conversation. In fact, we could almost whisper and still communicate. This was a plus to me. Loud outboards in quiet anchorages are, in my mind, a real nuisance and many of us are familiar with boaters talking in their loud dinghies barely hearing each other and assuming no one else can hear them either…but of course we hear every word. Sound is a funny thing. With the EP Carry, the birds, seals, and sea lions were undisturbed by our passage. It made it a great modus for exploring the nature around us.
Another thing that is really attractive to us about this motor, is that even with our limited house battery power, we could re-charge the EP Carry Battery. It does require a 150-200W inverter, but this lithium battery requires a third of the power than comparable models to recharge. At home, it is simple to plug it into a normal outlet. Beyond charging the battery and rinsing the unit after use in salt water, there is virtually no maintenance. Yet another plus.
(see our video exploring Sucia with the EP CARRY)
When our EP Carry arrived at the door, unpacking it was quite amazing. The care taken to pack it and the detailed contents made for a well thought out and complete package. It was a positive reflection of Joe and Linda who have spent years perfecting their product. They, like us, had a vision that they worked and reworked in every detail. In fact, the original mount did not fit the PT 11 and now it does. Further, the EP Carry, designed right here in WA State, is assembled in the USA. It is yet another example of admirable American ingenuity with style and a small business making a positive difference in the world. Of all the outboards on the market, we feel confident that the EP Carry is a good fit for the PT 11.
We now have a pattern for the PT 11/Spear cover. This option allows owners to pay their local canvas shop for time and materials to stitch it up but not for the time to measure and make a new pattern. Owners may also have the skills to stitch their own. The cover is for the PT 11 assembled to its full length or the PT Spear.
These photos show the first prototype cover that now belongs to PT Spear Hull #10. I regret not getting better photos with the poles installed to peak the center line but you can see one sent by a customer at the bottom of this post..
The pattern can be ordered here on our website. It gets shipped US MAIL rolled in a tube. The roll is 36″ x 12 ft. long and includes general instructions.
Bow detailShown here with 18″ dowels installed to raise the center line to shed water.
Sometimes things look right until you try to match the parts. For example, we check puzzle joints on every kit before shipping. However, it is easy to assume that a really simple little part is right. This is what happened recently when a customer in Australia wrote saying, after everything else being so perfect in the kit, the mismatch of this one little part, the inwale doubler, had to be a mistake. Well, he was absolutely right and we really do not know how many kits went out with this little part that does not fit correctly. I can only imagine that quite a few of these kits went out and quite a few builders just dealt with it quietly.
The curve does not match and it should.
How did this happen? We used to cut this little doubler on the router table with the nesting notch that matches the notch in the transom inwale. Then we started having it CNC cut. I guess we never really checked.
So, we now have a stack of correctly cut inwale doublers. If you are not yet at this point of your build, please contact us to get the new piece. If you had to adjust or re-cut this little piece, please accept our apologies.
If you have a part that looks wrong or does not fit, we count on you letting us know. Thank you for choosing a PT 11 nesting dinghy kit!
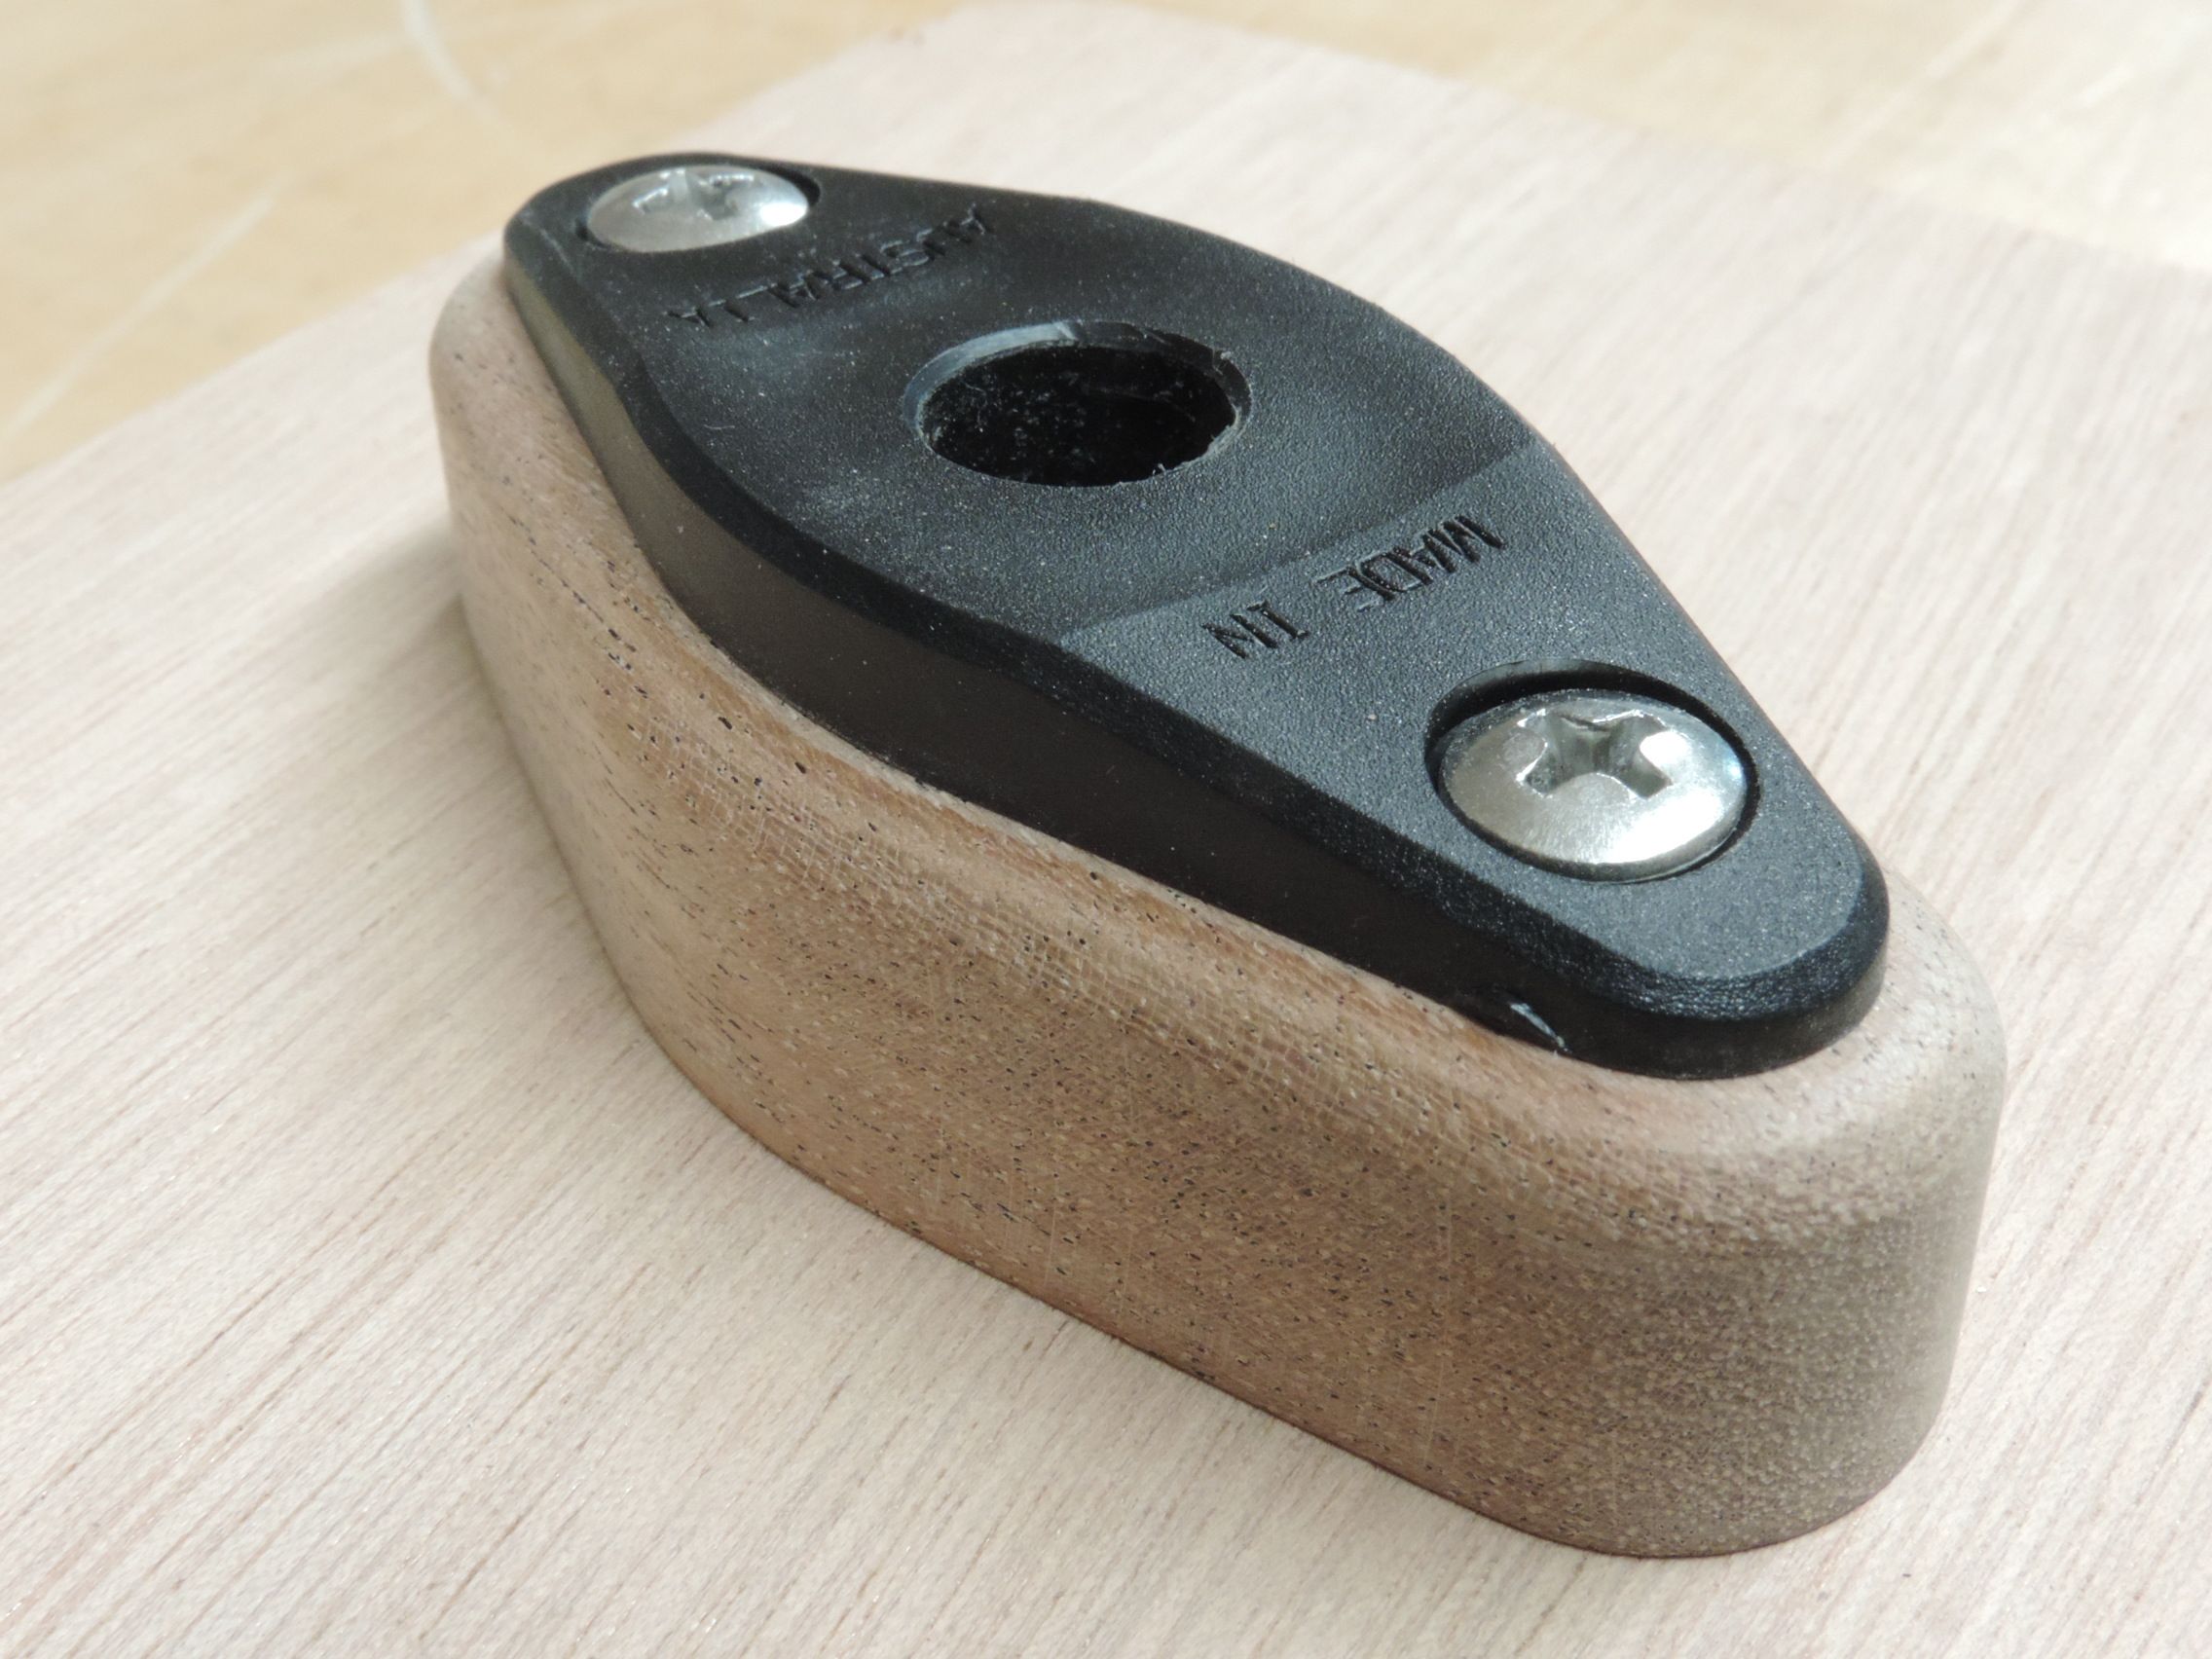
Our mahogany riser blocks of the past were beautiful complex shapes that performed a nicely functional duty; to give the oarlock socket more bearing and to offset the height of the seat relative to the height of the oarlocks. They were, however, rather beastly to make in the quantities we have been needing.
To improve production, Russell took the design to Turnpoint Design and figured out how, with minor changes, they could be machined on the CNC router. The remaining labor, (sanding out the tooling marks and rounding the upper edges ) is a great deal less time consuming than the previous version.
Comparison photo, new style left, previous version-right.
They are still made out of Sapele Mahogany. For those of you who wanted riser blocks this Fall when they were not available, this is our new product. Please let us know what you think. We have them IN STOCK! 😉 AEB
In August, we launched our “new” cruising boat, downsizing from Jzerro to a trailerable catamaran, unique in that genre, the Gougeon 32. We have managed to get away twice this year, on a shakedown trip to Deer Harbor and a week long trip into the San Juan’s after our local Boat Festival. On this last trip we took the PT 11, mounted on a custom made platform. I managed to miss getting a photo of it nested on its platform so we have to get that later.
Mary H is virtually opposite to the G32
We ‘rendezvous’ed with ‘Vito Dumas’, our frequent sailing buddy, in Shallow Bay, Sucia. It turned into a stormy night but we still got in a good hike and a fun row. I snapped the above shot simply because I was struck by the interesting contrast of vessels. ‘Mary H’ is owned by a lovely couple, Lou and Al, who even offered to serve as a ‘dock’ when our anchor was not cooperating. Lou and Al are lifelong sailors only recently giving up their sailing home of decades, for more comfort without giving up mobility on the water.
Vito leaving Shallow Bay, Sucia
Russell and I do enjoy rowing around and exploring. Having Alex with us in his PT SPEAR, ‘Pato’, makes him our best model. He is both a great sailor and rower and I am ever grateful he has not fired this photographer for being such a pest. I cobbed together a short video of our week.
As the wind picked up the next day, we decided to move around to Ewing Cove.
A short run to the other side of Sucia…
We were able to pull the dinghy onto the platform without taking it apart, for the short runs.
The G32
After a day in Ewing Cove we sailed to Stuart Island into Prevost Harbor. ‘Mary H’ had moved there and Madam Pele, with Ian Andrewes showed up too. Ian was aboard the R2AK 2016 winner, Mad Dog Racing. Al Hughes on ‘Mary H’ was Captain on the 2015 R2AK winner Team Elsie Piddock. It felt like a small world, in a good way.
Vito Dumas and Da Capo in Reid Harbor, San Juans
From Prevost we moved to Reid Harbor. There Alex and I practiced our capsize drills. An effort was made to film all of this but the resulting video is mostly out of focus. A camera glitch…Bummer!
Lil’ B, Pato, and Rascal
Scotty, on ‘Da Capo’ joined us in Reid Harbor. Now we had a PT 11 and 2 PT Spears in the fleet; Lil’ B, Pato, and Rascal.
The next day we all had a good sail to Skull Island. (Orcas Island) There we enjoyed some sailing, rowing and hiking before heading back to Port Townsend. There was an impressive wooden, converted work boat crossing the straights with us. The view was beautiful. Photos follow. Video HERE.
AEB 😉
Click photos for larger view, then back tab to return.
View from the trail near Shallow Bay, Sucia
Rock formations on Sucia Island
Dramatic evening sky over Vito Dumas
A short run to the other side of Sucia…
Shallow draft is nice to have sometimes…
Our temporary heater…
Tidal rips and a good wind..
Vito Dumas and Da Capo in Reid Harbor, San Juans
Scotty taking an evening row at Skull Island
Beaitiful evening and Da Capo
friends and nice anchorages…
Crossing the Straights of Juan De Fuca
wooden converted work boat from Alaska headed for Port Townsend..
In the parking lot a Ferrier Tri lowers its mast one way while the G32 lowers the mast the other way.
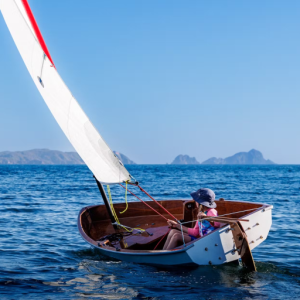
This year was the 39th annual Victoria Classic Boat Festival. Among our friends who participated, Alex Spear was there with his beautiful boat, Vito Dumas and her tender, ‘Pato’, a PT SPEAR. ‘Pato’ is in fact the very first PT SPEAR.
In Alex’s words, ‘An esteemed panel of judges, including our local Carol Hasse, selected the PT 11/SPEAR as the “best open sailing vessel in the show”.’
This is a great honor. According to Alex, ‘Pato’ was not independently entered in the show but it garnered so much interest and attention from the judges that they deemed it worthy of mention. Our humble gratitude goes out to the judges.
Vito Dumas and tender, Pato, at the docks in Deer Harbor.
From Victoria, ‘Vito Dumas’, ‘Sir Isaac’, ‘Sparkle’ and other familiar and beautiful wooden boats converged at the Deer Harbor Wooden Boat Rendezvous.
Vito Dumas and ‘Pato’.
Below, Looking back on a rainy Deer Harbor.
Looking back on Deer Harbor as we head back to Port Townsend.
Since we first started selling kits for the PT 11 we have been continually updating the kit, building process, and the boat to make it better. It’s in our nature to do this and it means the boats get stronger, lighter, easier to build, perform better, etc.
click the photo for a detailed post about our rigs.
A good while back, through friends in the high tech world, we developed a connection with a company called Innovative Composite Engineering, a renown carbon tube company in Washington state. They now make our lightweight booms for the sailing rigs.
The 7 1/2′ booms are incredibly lightweight. The tubes start at 20 ounces each. With the gooseneck, hardware, main sheet & vang tackle, they weigh 40 ounces. No one is likely to get knocked out by one of these booms in a gybe and so far they have been strong enough (remember not to over-do the boom vang).
While the masts we sell have been extremely reliable, we knew they could be lighter. After a year of bugging I.C.E. to come up with a mast for us, we finally got a prototype.
The masts that we have been using are modified windsurfing masts. We have to modify them because they are stepped in a short socket and the loads where the mast comes out of the socket are quite significant and different than the loads applied to a windsurfer mast.
The new masts have extra layers of carbon at the lower end starting just above deck level and ending just above where the boom connects to the mast. These extra layers of laminate mean that we will have to do less work to the lower end to make them strong enough.
How light is the new mast? It’s light! The current two-piece masts weigh 104 ounces (2937 grams); already impressively light. The new mast weighs 69 ounces (1950 grams)!
We stress tested the prototype mast as shown on land (and on the water) using two 180 pound people on the rail and the mast was fine.
Having two people on the rail is strongly discouraged by us because of the twisting loads it puts on the boat, the very high loads at the mast step, and finally the mast.
In other words, what we are really after is a feather weight mast, not a mast that could break the boat.
The weight of the rig is directly related to ease of use. Our theory (and it seems well proven now) is that the easier the sailing rig is to use, the more it will be used. Our rig was already the lightest, easiest to use, and most power-per-pound dinghy sailing rig out there. Now it is significantly lighter.
We will pay quite a bit more for the custom masts, but because they will be less work to finish we will likely be able to keep the complete sailing rig cost the same.
Ashlyn can’t get much mast bend.Russell and James hike out with approx 360 Lbs.
We did a load test on the ground, tying the mast to a building and getting two people hiking out on the rail. This was a little scary, but a very effective way to see if the mast was strong enough. (RB)
Ashlyn’s footnote: Our ballast assistant in these photos is a local luthier. Here he is holding the 15′ 1″ mast up by the tip to see how it sounds as a Didjeridoo.
What sound can it make?
See this silly video to hear….
I had him lower the tip for the video because, in the camera, the green house behind appeared to dominate. I regret this now since it would have looked fine. It was impressive how easy it was to keep it up in the air. (AEB.)
As more PT Spears are built, the question of an ideal dolly has been asked. Recently, Russell and I joined friends in Port Townsend for a day of sailing. Our friends both own PT Spears; the one-piece version of the PT 11. Each are transported differently. “Pato” arrived in this truck. This is actually an older photo on a day when we left from the launch ramp.
“Rascal” has its own little trailer.
Rascal has a small trailer
Both PT SPEARs have dollies since their humans often launch by themselves. One uses a kayak cart purchased from our local Pygmy Kayaks. We found that the kick stand on this particular cart was a little tricky to get to and adjust with the dinghy being wider than a kayak.
using a kayak carttipping into the water..
“Rascal‘s” human, being a plumber by trade, created his own sturdy dolly.
PVC pipe with a fixed “kick” stand. Sturdy and always in the right place so no need to access to raise or lower.
Made from PVC plumbing- support stand visible here.eazy-peazygetting ready to splash
I also found while writing this post, that there are thousands of images online for kayak and dinghy dollies. It is important to note that the PT SPEAR, at 85 pounds, is easy to manage with a very simple dolly (like a kayak dolly) compared to most of the more complex dinghy dolly designs shown online. UPDATE: One customer has offered his design and details for a PVC dolly he uses for his PT SPEAR: PDF HERE
getting ready to sail away…The perfect day for a dinghy sail…beach picnic