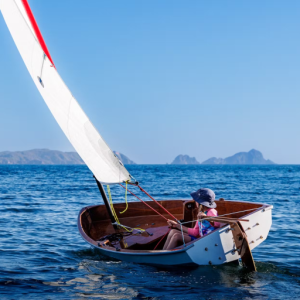
PT Watercraft designs dinghies that are efficient, functional, modern, and attractive—available as kits you can build yourself. We also carry small boat parts and instructional books.
Yet again, the Port Townsend Wooden Boat Festival succeeds in educating, inspiring, and show casing a truly beautiful fleet. We had a good show even though the loss of Meade Gougeon was often the topic of discussion. So many admired him. I want to thank everyone who visited our booth. Also, big thank you’s go out to everyone who showed their PT Watercraft masterpieces! There were 2 PT Skiffs present and Off Center Harbor just might be producing a video about them, featuring designers, Paul Beiker and Eric Jolley. Stay tuned! Several Spears and PT 11’s were present but there was literally no wind for the scheduled regatta so that was a non-event this year. Perhaps next year!
Thank you to WEST SYSTEM, our tent partners, Electric Paddle for test driving the new electric motor on the PT Spear, (stay tuned for more on that) and the NW Maritime Center for making it all happen. I will load up a few photos. 😉 AEB
PT Skiff Takin’ Fiveearly morning on the dock
etched glass on one of the boats.. loved the detail.
June 24th, Ketchikan Alaska. Russell’s solo R2AK successfully completed for 2017 and together we began our return voyage on our G32 catamaran. I could have written a small book about the trip which got particularly interesting for us after our brand new motor totally toasted itself. A summary article can be read HERE.
18 days later, we crossed the Straights of Juan De Fuca, and arrived into Port Townsend a little after lunch. I get excited when I see Point Wilson and the waterfront of Port Townsend, but I felt ready for home only as it came into view. I could just as easily have kept going. This trip was one of being in the moment. I was where I was at that moment, soaking up the sights, sounds, smells, atmospheric pressure, and the wonder of it all. I loved it. We loved it, and we both really needed it.
Another 6 weeks have passed and I finally have a VIDEO put together just to give a sense of what cruising on the G32 looks like. I had wanted to finish the video sooner so that Meade Gougeon (who was declining only a week ago) could watch it but, sadly, he left us sooner than we expected and too soon altogether for all of us who admired and respected him.
So, here is the video.. Here is more detail about our trip…
More about Meade Gougeon’s influence on Russell personally here…
Above header photo shows best friends Jim Brown and Meade Gougeon enjoying a ride on Jzerro..
from Russell Brown;
West System epoxies and the Gougeon brother’s work has had a big effect on my life. I have admired both Meade and Jan since I was 13 years old and I would say that no one but my parents have affected or influenced me more than Meade and Jan. Through them I developed good epoxy skills that gave me a livelihood, a creative outlet, and an identity.
I think that in many ways Meade is best represented by the company that he founded. Doing one’s absolute best seems to be the way of operating at WEST SYSTEM Inc., no matter how much work is involved. In their case, this is true to the point of wondering just where that kind of ethic came from. I think that a good part of it came from Mead.
Developing and sharing a new technology must have been exciting for the Gougeon’s, but a responsibility too. The way that Meade and his family and friends went about this task made learning the technology exciting, but it also showed a better way that went well beyond boat building and epoxy.
Continually improving the products, sharing the technology, being honest about the compromises, and providing good support for people using the products is how the company has been run for almost half a century. I know of no other company that has taken this approach to such an extreme and it has influenced me greatly in both how I approach my work and how I run my business.
Wood/epoxy boats have been Mead’s passion since his beginning with epoxy and it has been a passion that he passed on to so many of us, myself included.
Mead’s own boat, Adagio, is a 35 foot trimaran that he designed and built in 1970. Adagio has been continually raced for 47 years and weighs just 2700 pounds ready to race. If that’s not a testament to the technology that they developed, I don’t know what is.
I’ll miss Mead, even if I never knew him well. Mostly I’ll miss watching what he is going to do next.
Russell Brown
Gougeon 32 catamaran “Incognito” designed and built by the Gougeon Brothers.
Meade Gougeon experiencing proa Jzerro in Port Townsend during a Wooden Boat Festival
“…a bit of a blur” is the first thing Russell says about his Race to Alaska experience. It was also, interesting, fun, and educational. Educational because he started the race with one big concern; that he did not know the boat well enough. To him, that was the only really “crazy” thing about his entry. Leading up to the race, he had been changing and rebuilding many things including an entirely new rig, built from a naked carbon spar up. He made changes to some of the basic systems; steering, rigging, of course, plus new pedal drive, electrical, and, well, the list is long. WEST SYSTEM INC sponsored the boat with a new set of sails designed for the new rig. By the time the race started, Russell had only one overnight shakedown and a mere number of hours with the new rig and sails. Before the rebuild, we had sailed the boat a few times but never far.
Team PT Watercraft and Bad Kitty leaving Victoria
“750” miles (as the crow flies) is one way to get to know a boat. On the first day he learned that even though the pedal drive worked well and pushed this 32ft catamaran around 3 knots, fighting current and tide rips was a rather painful misery and could be dangerous to one’s well being, especially when trying to avoid a reef. On the second day, light winds and confused seas shook the crap out of the rig and crew, exhausting to the point of realizing that pushing too hard was not worth destroying the boat or its captain. He had almost caught up to the lead boats at the end of the second day but it was then he decided to back off. The goal was to survive and make it to Ketchikan in tact. “Regrets’? Mostly that he left False Bay too late and missed 2 ‘gates’ through Seymour Narrows, the second of which was simply too dark with cruise ship traffic, heavy rain, and hazards not worth risking. Had he not missed the tide, he could have kept a smaller margin between himself and the leading boats.
During the rest of the trip, Russell was focused on keeping the boat upright, avoiding logs, making miles, maintaining things on board, and getting rest at night so that he was actually having fun.
Fun, is a keyword here. “It is the most fun race course ever”. Tactically, visually, Canada’s nature, other racers, all make it awesome. What us ‘armchair racers’ could not deduce, and may never fully grasp from the tracker, were the conditions that the racers were dealing with, but the leap frog happening that first week, made me smile. I, for one, grumbled watching other boats pass Russell as he rested at night, only to cheer as he passed most of them the next day. When he saw those boats, he steered close to them to say hi.
North to Alaska in Johnstone Straights
He passed Team North to Alaska twice and was really impressed by their crew. Teams West Coast Wild Ones and Triceratops impressed him too. Seeing young people doing such a cool thing as the R2AK really struck him as positively significant in our digitally monopolized world.
Team PT Watercraft visits Team Discovery near Cape Caution
His ‘nemesis’ of sorts was Roger Mann; the man and record to beat. Roger was in motion a lot more hours than Russell was and he let Russell know that he felt the need to push harder knowing he had competition. Roger finished only 7 hours after Russell and his personal experience was quite literally, mind boggling. Russell finished almost 4 days ahead of the standing solo record, previously set by Roger Mann in 2015.
Team PT Watercraft and Triceratops at the dock in Bella Bella.
Unlike a lot of the boats, Russell did not have connectivity to Facebook or the tracker. Being inclined to ‘hermit-hood’, “it was a good thing” he was not aware of how many people were actually following him on the tracker. Beyond visuals, he had no idea where other boats were or who was ahead of or behind him. VHF weather was his primary source and with updates just twice a day, gales predicted early, sometimes petered out. He sought protected anchorages, at least once, miles out of his way, only to discover the predictions had changed. Then he had miles to make up in the morning with barely any wind and contrary current.
Tying to a tree.
Places to anchor with shallow enough water exist on the course but it required planning ahead and sometimes stopping early to use them. Mostly a paper chart kind of guy, Russell also made good use of the Navionics charts I downloaded onto an old iPad. It turned out to be a good tool though we question its tide information. Even when the Navionics claimed positive current, the GPS showed 1.5 – 2.5 knots contrary. This fact highlights the very real nuances of water flow along this course.
Team PT Watercraft approaching the finish line amidst cruise ship and fishing boat traffic. click to enlarge.
Russell is not a confident videographer but he did manage to take some good clips. He even tried once to narrate but the audio is overrun by wind noise. After a particularly fast and wet day, he set the camera up facing himself to chug his satisfied last sip of beer. He launched into Dixon Entrance the following day, sailing into Thomas Basin, Ketchikan, at the polite time of cocktail hour after an intense crossing of well over 100 miles. His reward: beer, cheer, and big hug from me. He had asked me to wait until he passed Bella Bella before buying my ticket to Ketchikan, which I stressed about but did, and barely arrived less than 2 hours before he did. Whew!
Teams PT Watercraft, Discovery and North to Alaska at the dock in Ketchikan
I put together a Video HERE and one of our return voyage will follow in a few weeks.
Many thanks again to WEST SYSTEM and other sponsors/contributors listed below. Also many thanks to Ole in Ketchikan, and all of the great people at the Ketchikan Yacht Club (more about their greatness later). Race Boss and all the racer greeters- thank you so much for being there.
Ketchikan-most of the cruise ships had left for the day.
As a final (or not) note: in Ketchikan, Russell declared that doing the R2AK once was enough. Three weeks later, as we crossed the Straights of Juan De Fuca toward home, he was musing about what he would do different next time… Parents out there, does that sound familiar? as in childbirth syndrome? I now think I know how partners must feel sometimes… both dread and excitement at the thought of a repeat performance. We will keep you posted.
Video and blog post about our trip home coming soon…
Port Townsend Watercraft is closed June through mid July this year as we will be sailing the boat back from Ketchikan after the Race to Alaska, discovering places new to us along the way. Getting to take a cruise of some kind every year is a big reason why we run our own business and it supports our ability to maintain our high standards of quality. It refreshes our minds and spirits so we can devote ourselves to producing these custom kits, writing books, and develop new ideas.
If you have just discovered our site or have been following our designs for some time, it is good to let us know sooner rather than later that you have decided to build one of our kits. We have a convenient Quick Deposit button on our website that puts you in a ‘first come, first serve,’ position. Upon our return, we will contact you and begin the process of preparing kits on order.
While we are away, some of our products can still be purchased with timely delivery. See the links below image.
Our booth with WEST SYSTEM EPOXY and 3 PT 11’s on display!
I am told that there will be several PT 11’s, Spears and Skiffs at the festival. We also hope that anyone in the area with a PT 11 or PT Spear, will come over for the “under 26ft” Regatta in the afternoon on Friday. Wouldn’t it be fun to have a fleet of our dinghies to compete against each other? There is also a rowing race on Saturday morning. They should have a schedule up soon; Tickets go on sale July 1st. We hope some of our PT11 family club will set up one class regattas over the next year and we will help spread the word via our Quarterly Newsletter.
We hope you will enjoy discovering all of the information on our website, Videos on our Youtube channel, and please do not hesitate to send your questions to info@ ptwatercraft.com. (no space) We will respond as soon as we can.
We have shadowed leg one of this race for it’s first 2 years and we have mused on what it would be like to participate. Well, now we know and are still as excited by it as ever. Russell always understood what was needed to enter such a race. Ignorant me had no idea, only enthusiasm! He has worked for months without time off to get the boat ready and to meet sponsorship expectations. We might never have entered had it not been for the encouragement of WEST SYSTEM Epoxy CEO Alan Gurski and founder Meade Gougeon. They were the first to say ‘do it!’ and offered to sponsor us with some new North sails.
At the time of this writing, Russell is at the north end of Johnstone Straits hunkered down while the wind screams out of the SE. Had either of us been more tech saavy, we could have been updating all along as some of the other boats do but the SPOT tracker will have to suffice. Gougeon Brothers designed and built our boat, Incognito, and we hope to make them proud.
Russell has had a few challenges along the way already. Starting with a rigging crisis that had gone un-noticed until June7th, the day before the start. It was in Victoria, after almost 10 times lowering the mast and later shimmy-ing up to check, that the issue was resolved satisfactorily. The first day out of Victoria, he lost his preferred pedal drive prop and prop nut. He had a spare and continued with that. He had a close call with the reef off East Point Saturna, battling current, pedaling “for my life!” as he put it. Being conservative with words by nature, I imagine it was pretty darn scary for him. Mixed chop made life uncomfortable up to Nanaimo and at Seymore Narrows, he chose not to go through at night and to do some precautionary repairs on the pedal drive instead. The boat clearly likes to move as portrayed by the tracker as he would catch up in the day to many of the multi crewed boats that passed him in the night.
I want to thank our talented old friends & talented new friends who have contributed custom parts, innovative equipment, rigging, problem solving, and general advice. Not all have websites but I will share as many links as I can here;
Depending on when Russell makes it to Ketchikan or any point between, I will meet him to sail the boat home, at a cruiser’s pace, of course. We will be closed until our return sometime mid-ish, July. 😉 AEB
As the days tease us with warm waves of air and then sudden plunges in temperature, I know Spring is almost here. Suddenly it feels like there is just so little time left before we have some deadlines looming. The biggest is the Race to Alaska in which Russell will be participating in a Gougeon 32 Catamaran. I am quickly learning just how much preparation there is in taking on such a challenge! Be sure to follow the race. It is entertaining and inspiring!
Entering the R2AK also means that we will be unable to ship orders during the period from June 1st through mid July. We will be sailing the boat back from Alaska so the office will be closed during that time.
At present, we have a number of kits available; Both Spears and PT 11’s. If you have been planning this Spring/Summer project, please let me know!
If your PT 11 or Spear is almost finished and you are ready for your sailing rig, We have a run of rigs almost ready!
The new batch of plywood is BEAUTIFUL and kits are rolling off the CNC machine.
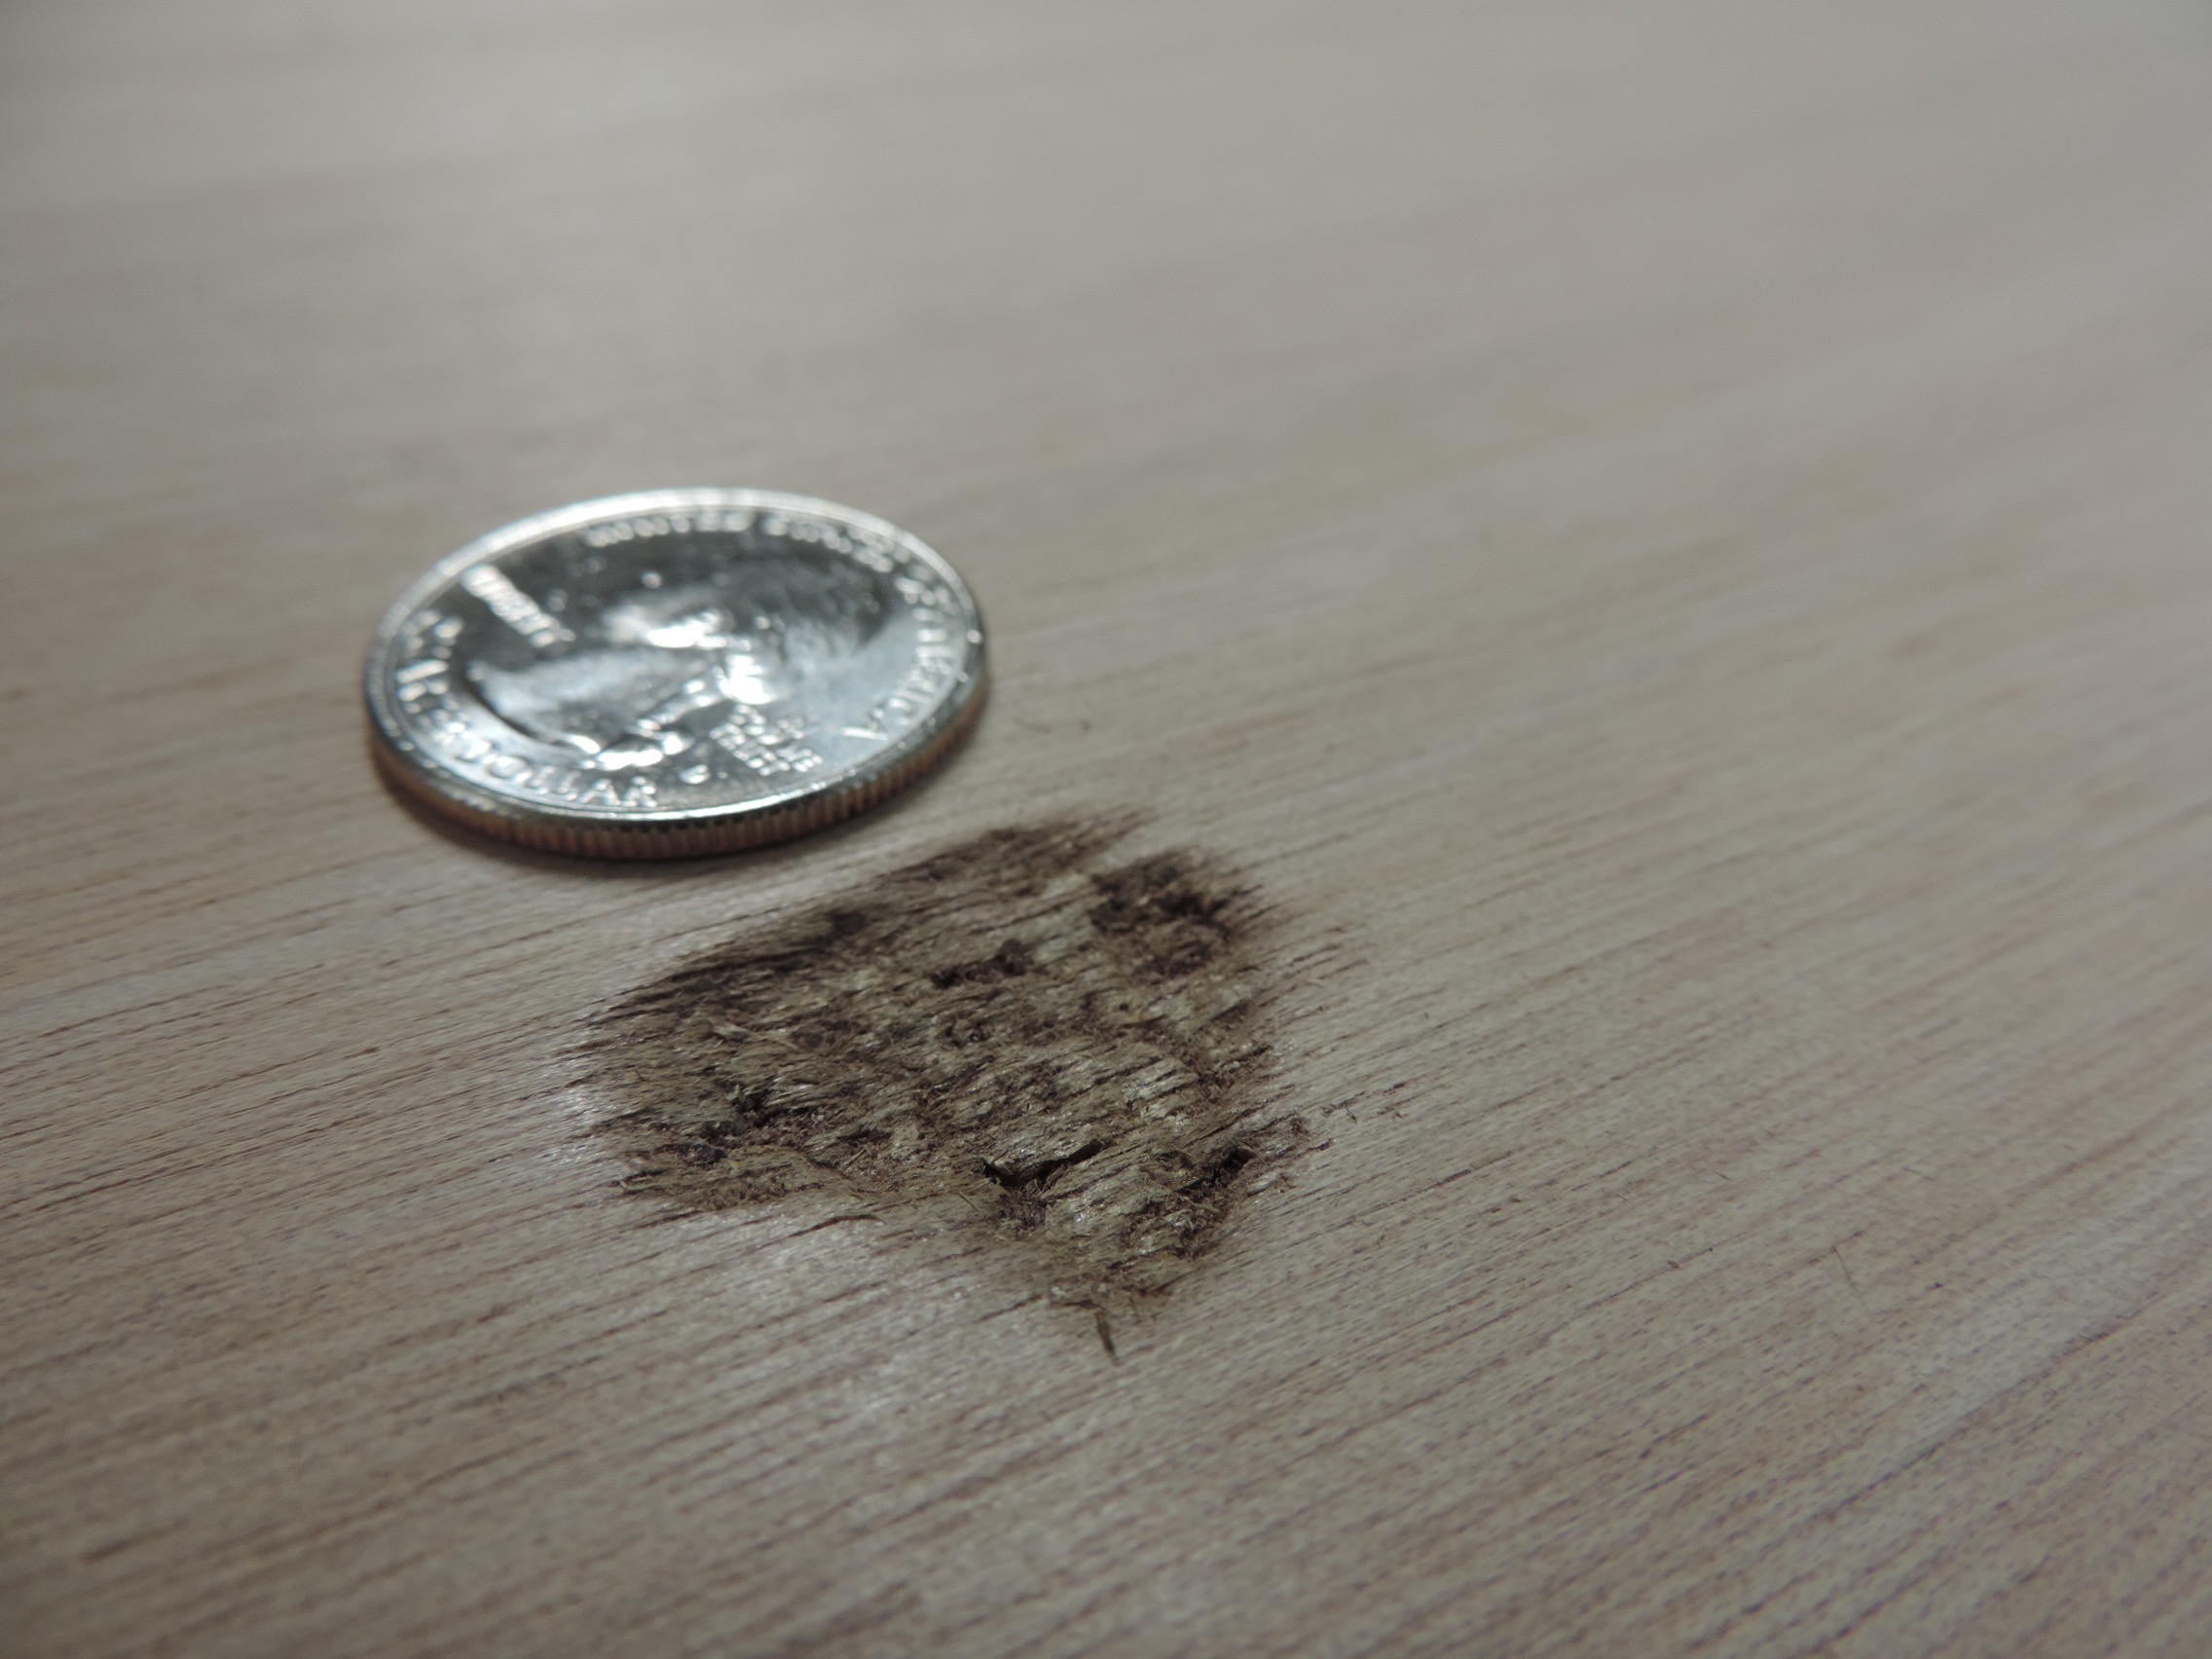
Out of this batch of PT11 ans PT Spear kits, everything is beautiful, except….one PT11 foredeck. As it is not cost efficient to cut just one new foredeck, we are offering this kit with a $50 discount. See the photo below to better understand this somewhat deep but pretty small flaw. (smaller that a quarter) Anyone want to try their hand at an inlay repair?
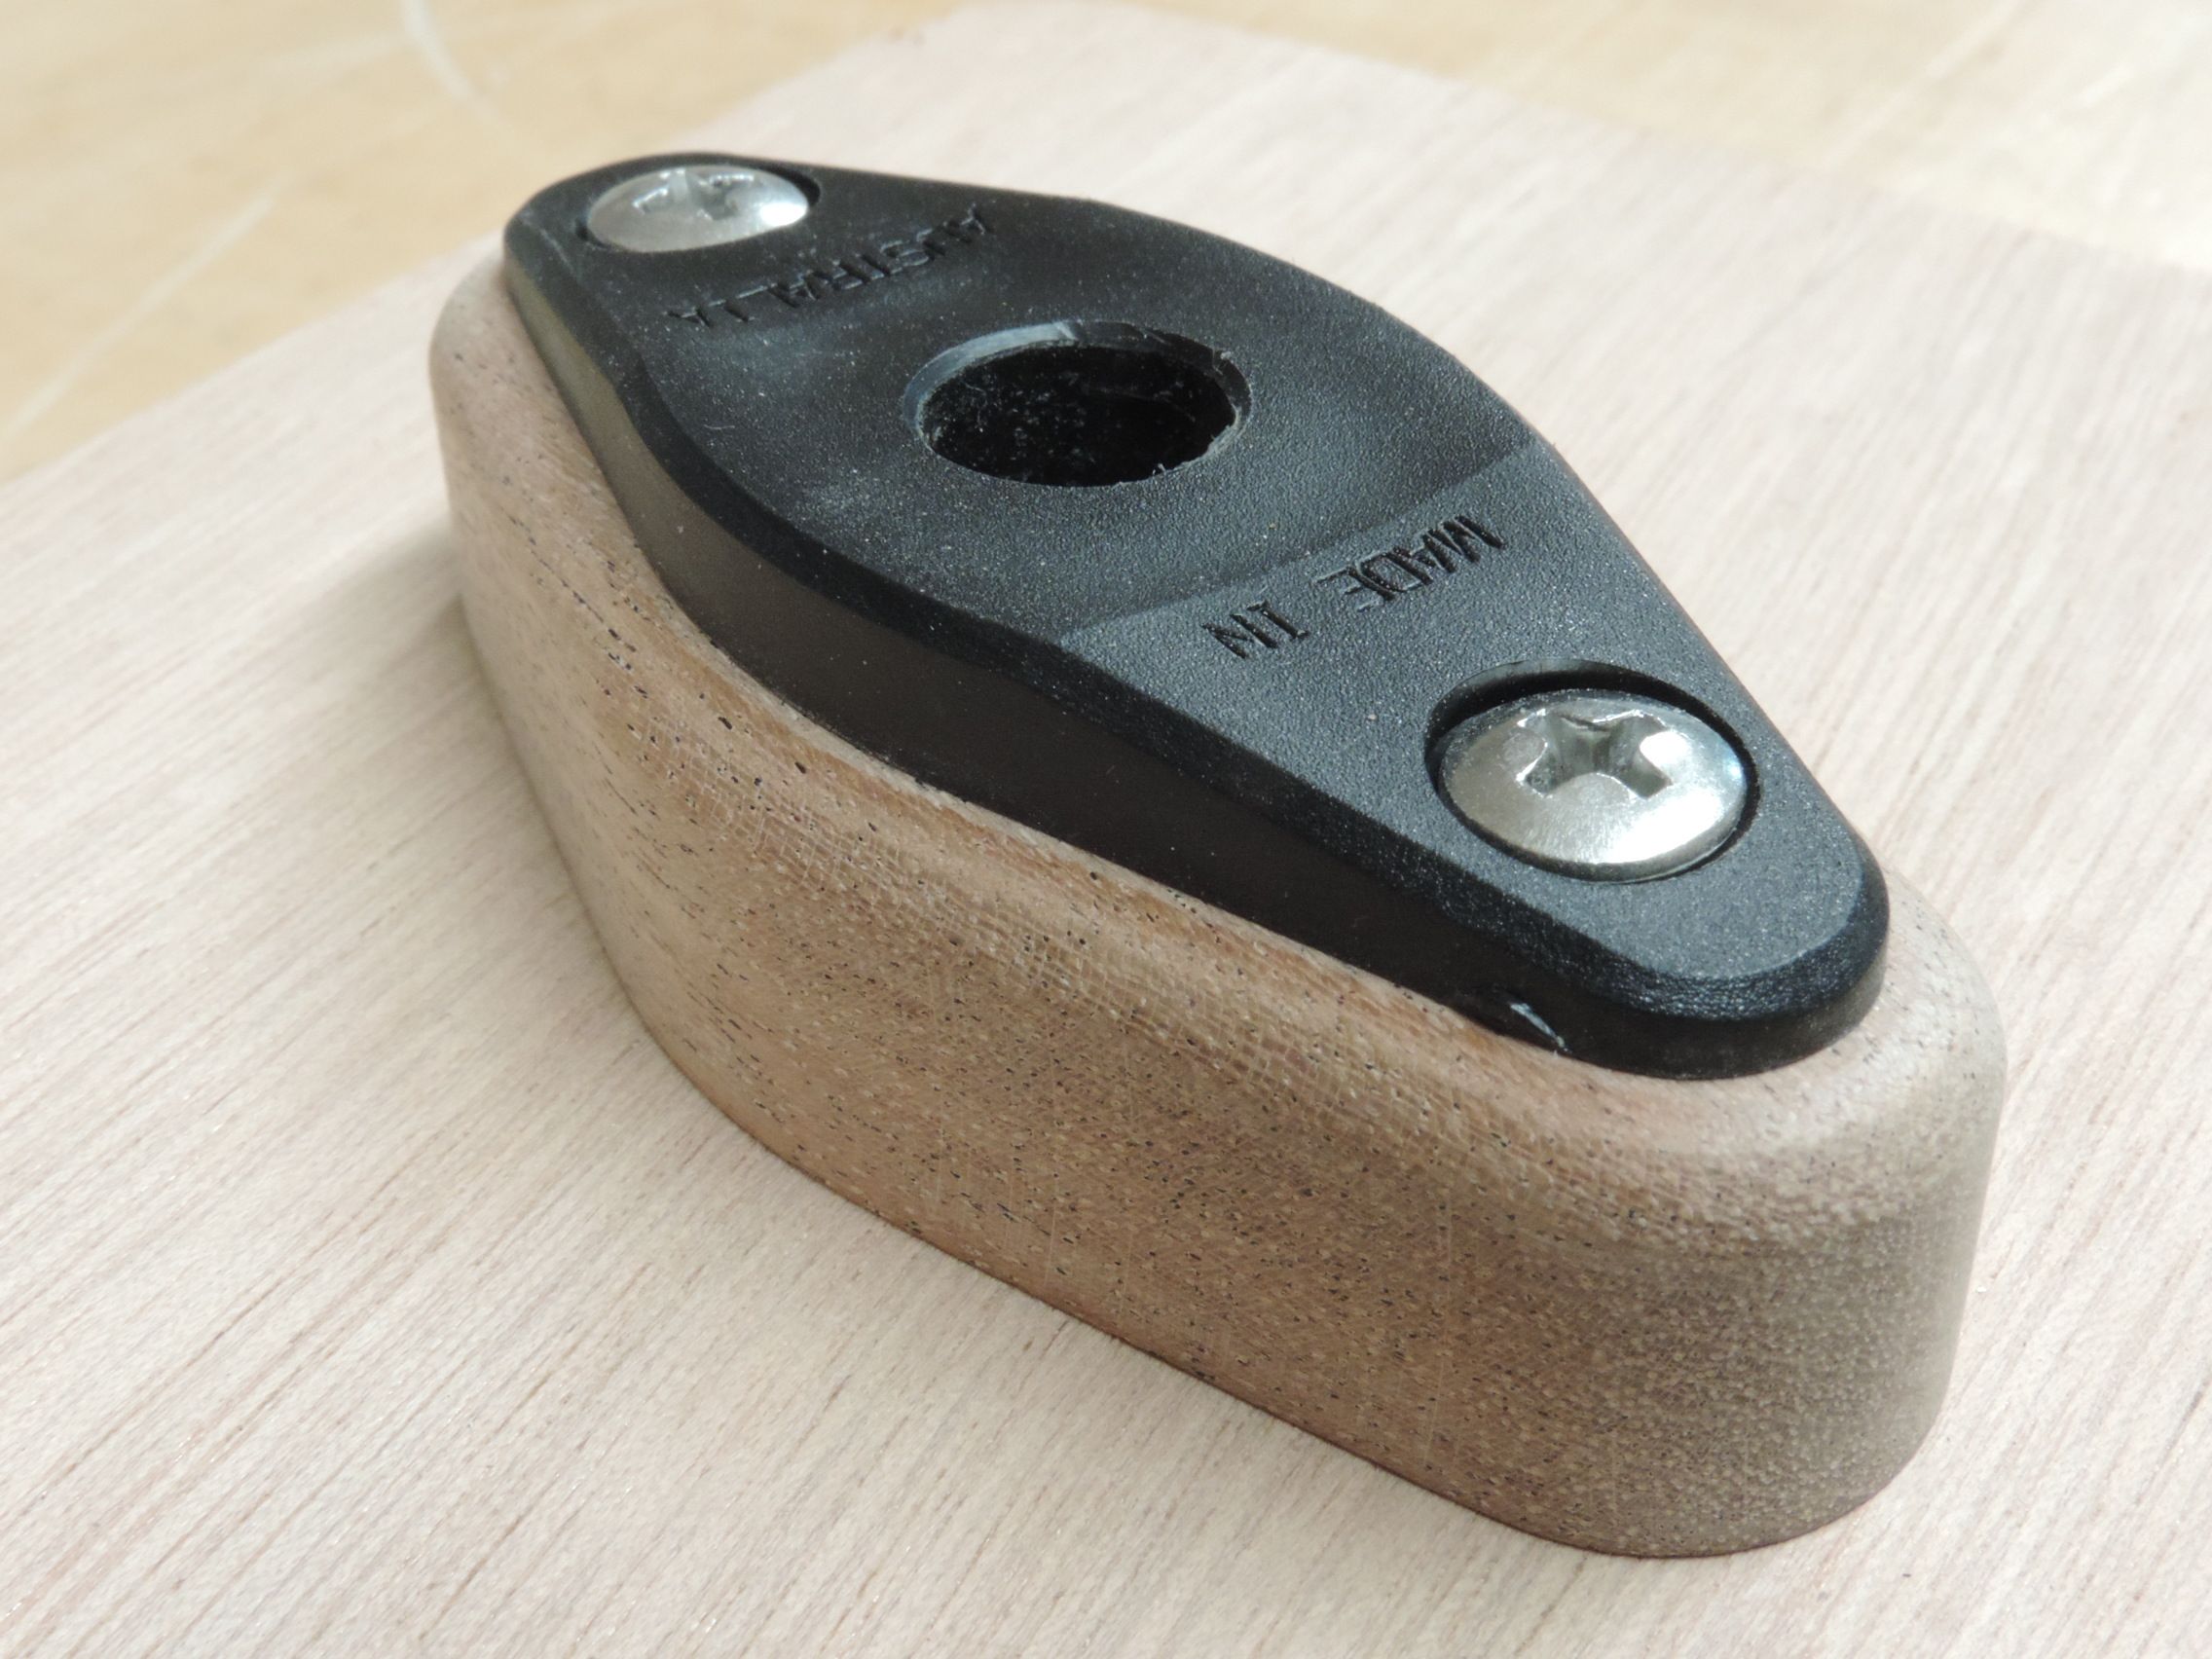
Our mahogany riser blocks of the past were beautiful complex shapes that performed a nicely functional duty; to give the oarlock socket more bearing and to offset the height of the seat relative to the height of the oarlocks. They were, however, rather beastly to make in the quantities we have been needing.
To improve production, Russell took the design to Turnpoint Design and figured out how, with minor changes, they could be machined on the CNC router. The remaining labor, (sanding out the tooling marks and rounding the upper edges ) is a great deal less time consuming than the previous version.
Comparison photo, new style left, previous version-right.
They are still made out of Sapele Mahogany. For those of you who wanted riser blocks this Fall when they were not available, this is our new product. Please let us know what you think. We have them IN STOCK! 😉 AEB