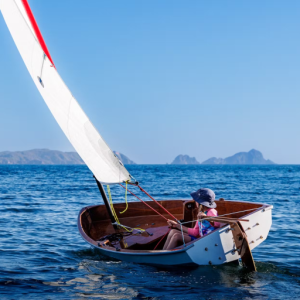
We recently finished our sixth (yes, sixth) PT 11 prototype. This was to incorporate a few design changes and re-write much of the manual in an effort to make the boat easier to build. Building this many boats can lead to some labor saving ideas and we felt that we needed to do our best to make this, “kind-of-high-tech” boat as easy to build as possible.

In the last related blog post we detailed some of the changes we have made to the boat. Everything worked well, the new manual is done, and kit parts are stacked to the ceiling and ready to fly out the door.

ptwatercraft.com
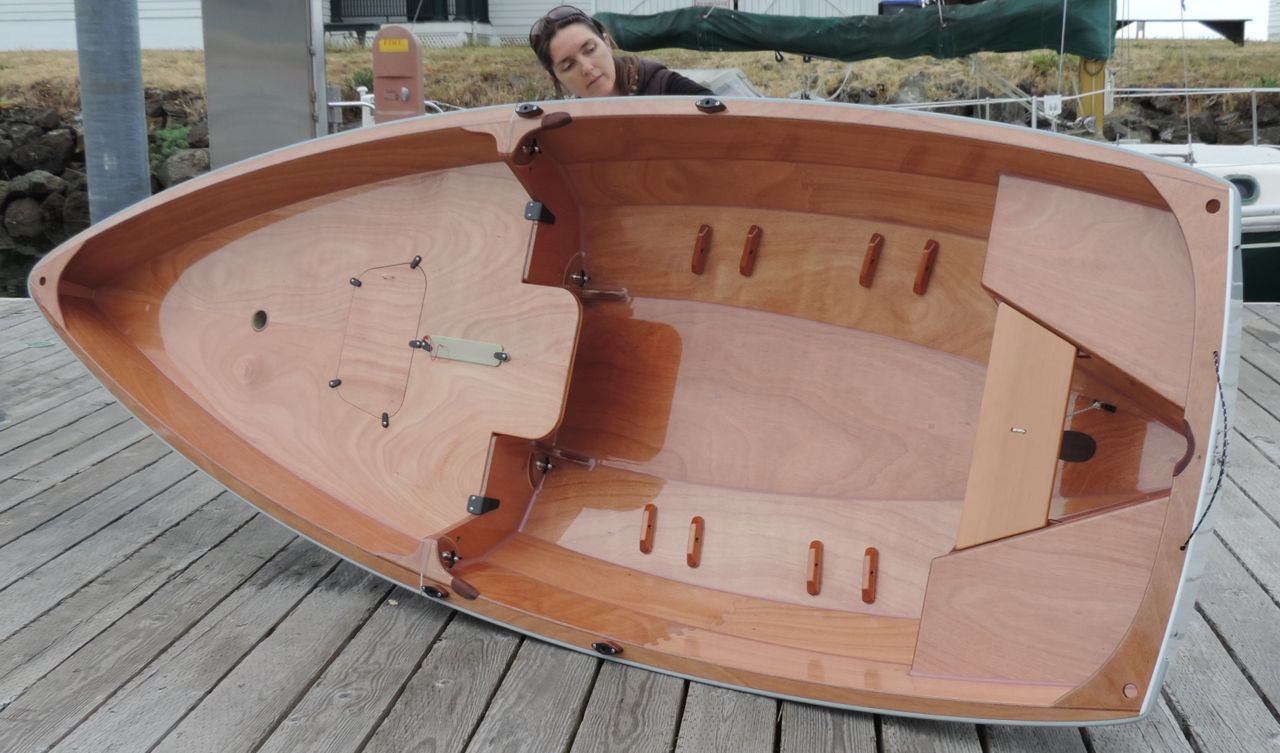
transom inwhale with bow notch allows for a more snugly nested package.

ptwatercraft.comRelevant details even if you already have a PT11;
We have a few new details to share. Most are in the new manual but could be useful for people that already have PT 11’s.
The back seat had two issues: One is that the seat needed a way to be held against the tank wall when nesting the boat. For some reason we never realized that if we trimmed 1/4” off of the aft edge of the seat (it’s now 7” wide), it could wedge between the cleat and the shock chord knot as shown below. It’s secure enough not to fall over when nesting the boat and that’s all it needs.
ptwatercraft.com
seat wedges neatly when ready to store the boat nested.

The other issue is that the back seat could slide forward, (even with the bunji cord) come off the cleats, and drop you on your butt.
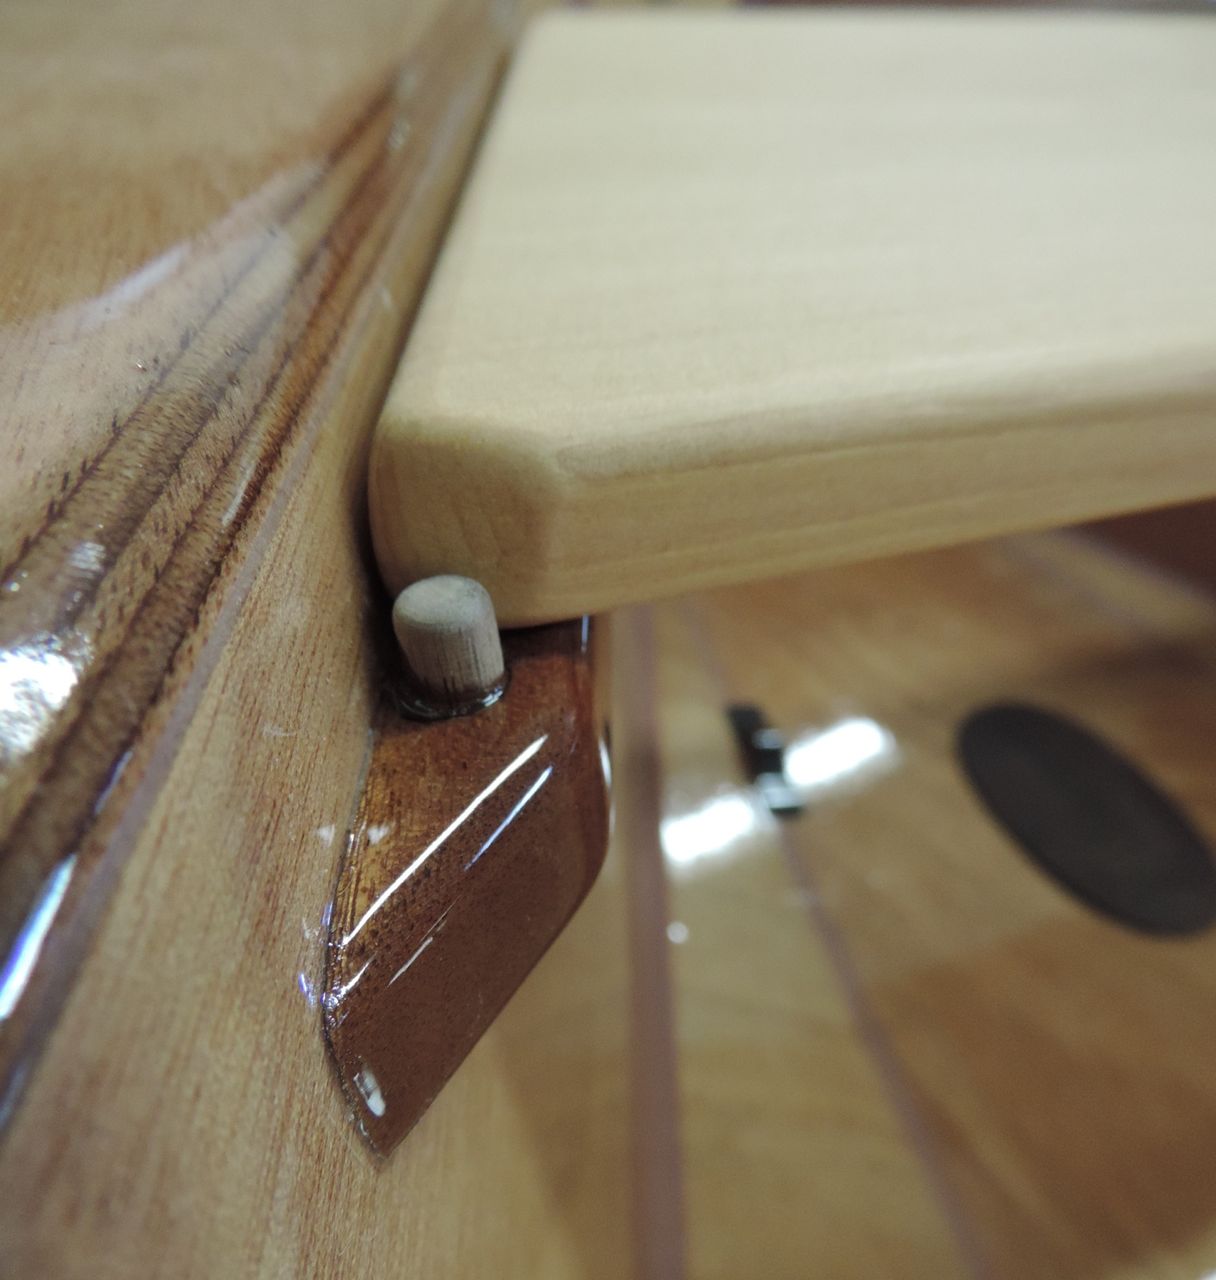
The fix is pretty simple. We trimmed a bit from the outboard edges of the seat with a sanding block (to move the seat aft) and we block sanded the forward corners of the seat as shown, all so that there was enough cleat showing to drill holes in. We then drilled 1/4” holes to a depth of 3/8” for the 5/8” long hardwood dowels to glue into.
This works well, it’s an easy fix, and if you already have a boat, we can send the dowels to you along with the handy-dandy tether washer we shown below.
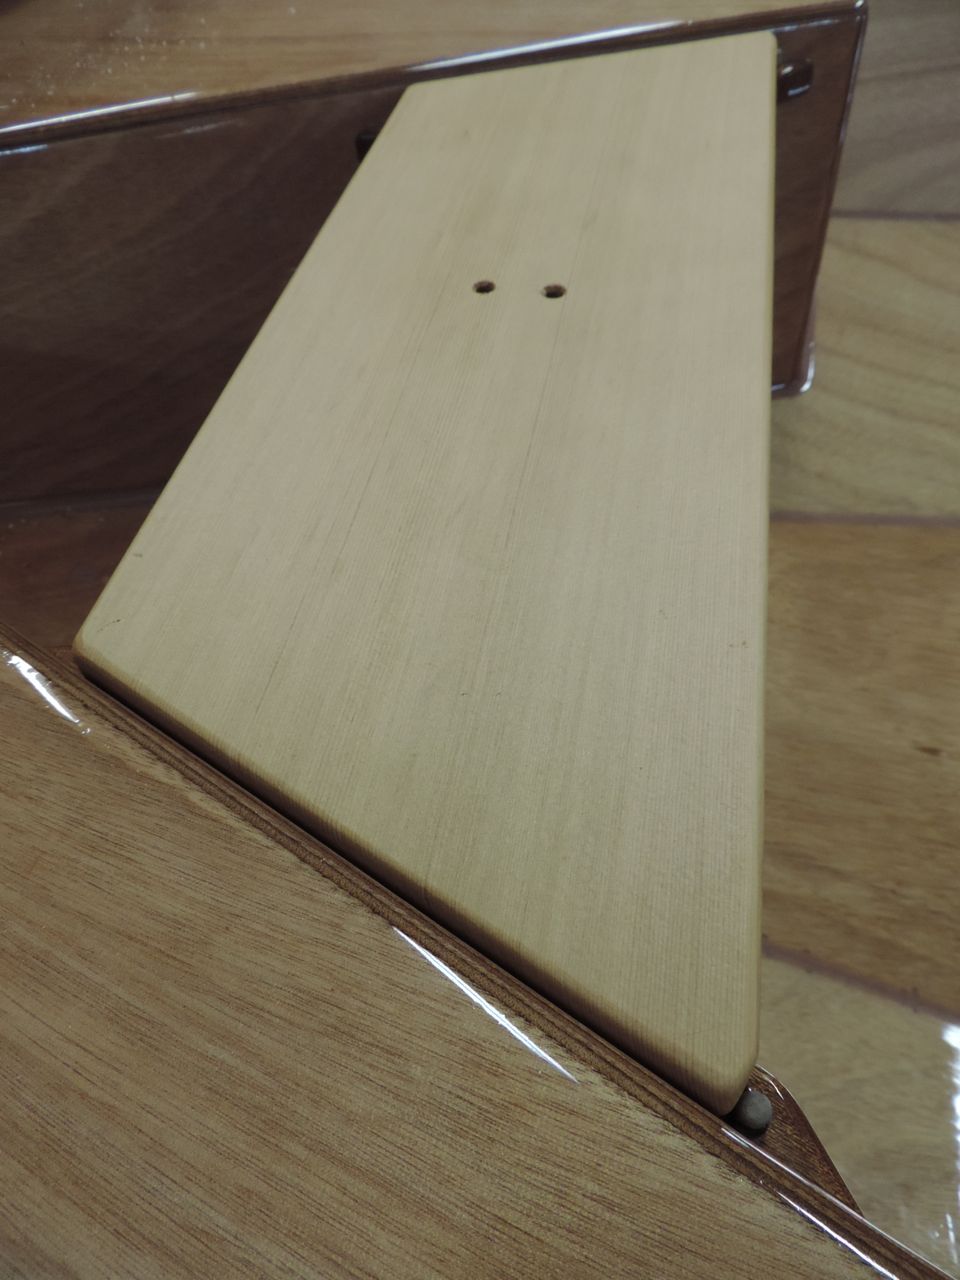
ptwatercraft.com
See the dowel stopper in the bottom right corner of the photo.
ptwatercraft.com
The back seat dowel stopper prevents the seat from slipping forward.


ptwatercraft.com
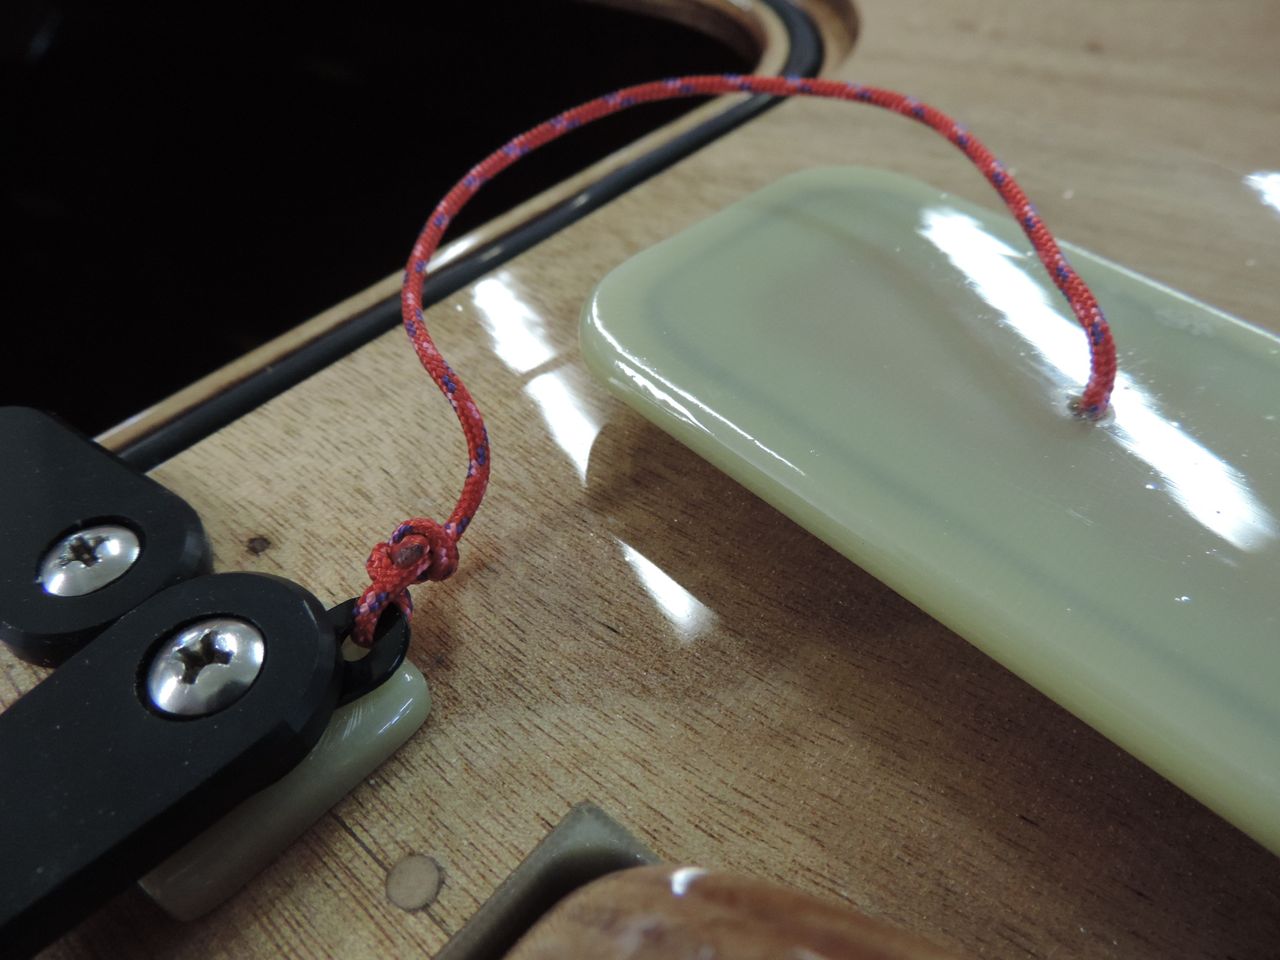
Custom machined Delrin (TM) washers with tether loop.

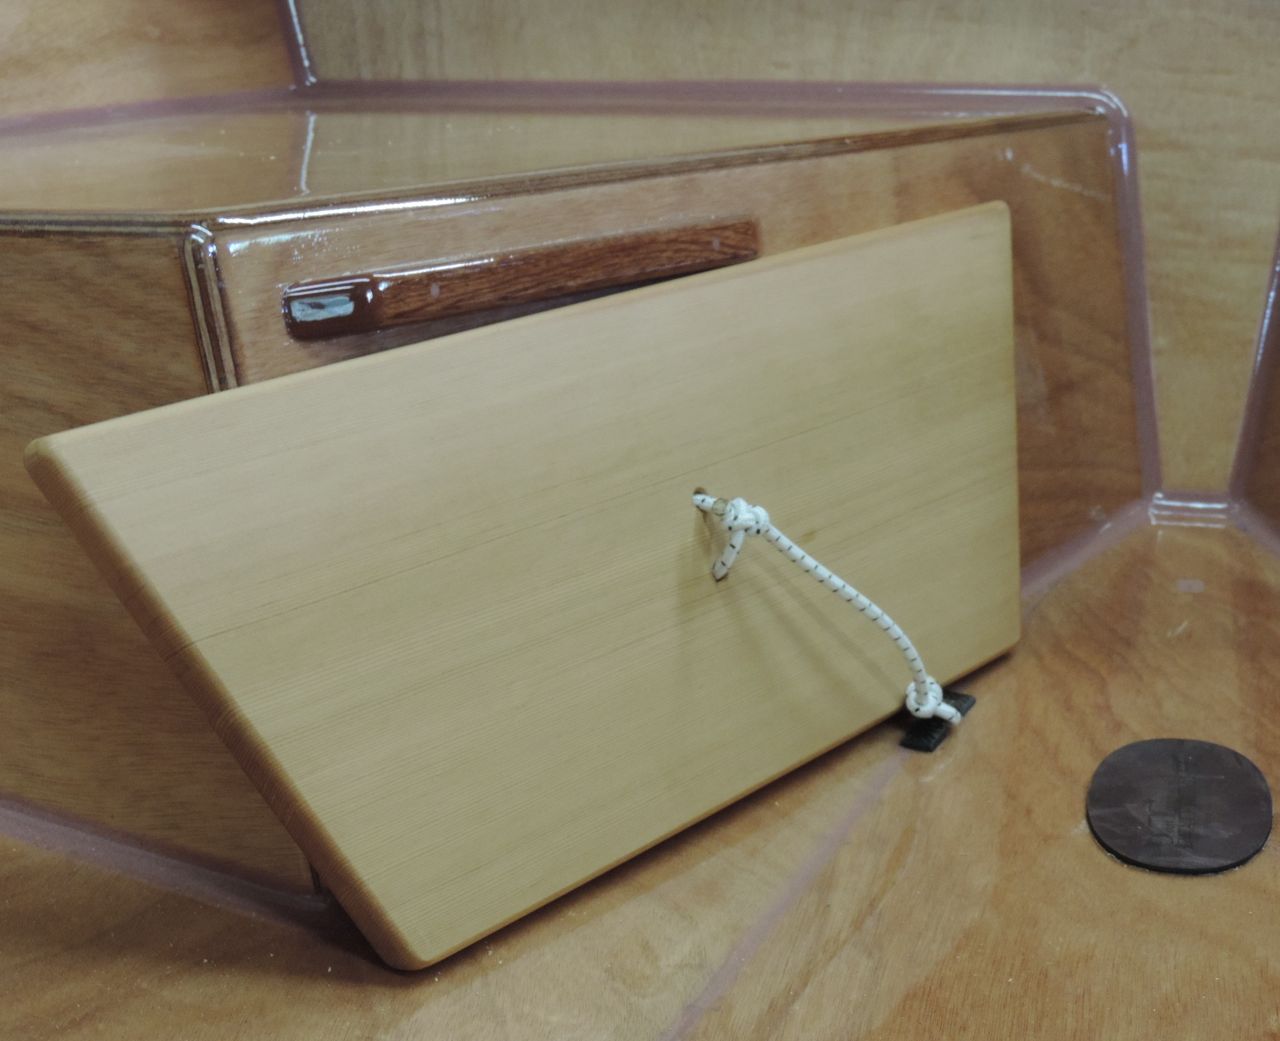
We have always kept our dagger-board trunk cap in the forward compartment, but it can be hard to find in there if it’s full of stuff. It’s easy to glue a tether into a hole drilled in the cap, but where to tie the tether? To the washer under the forward turn dog, that’s where.
It’s a special washer made for us by a neighbor who laser cuts other parts for us as well. This is a thin Delrin(TM) part, but we had a very hard time breaking one.
Replace the round washer with this one and rotate the washer aft for fishing the tether through the hole.
ptwatercraft.com
PT 11 dagger-board trunk cap with tether.

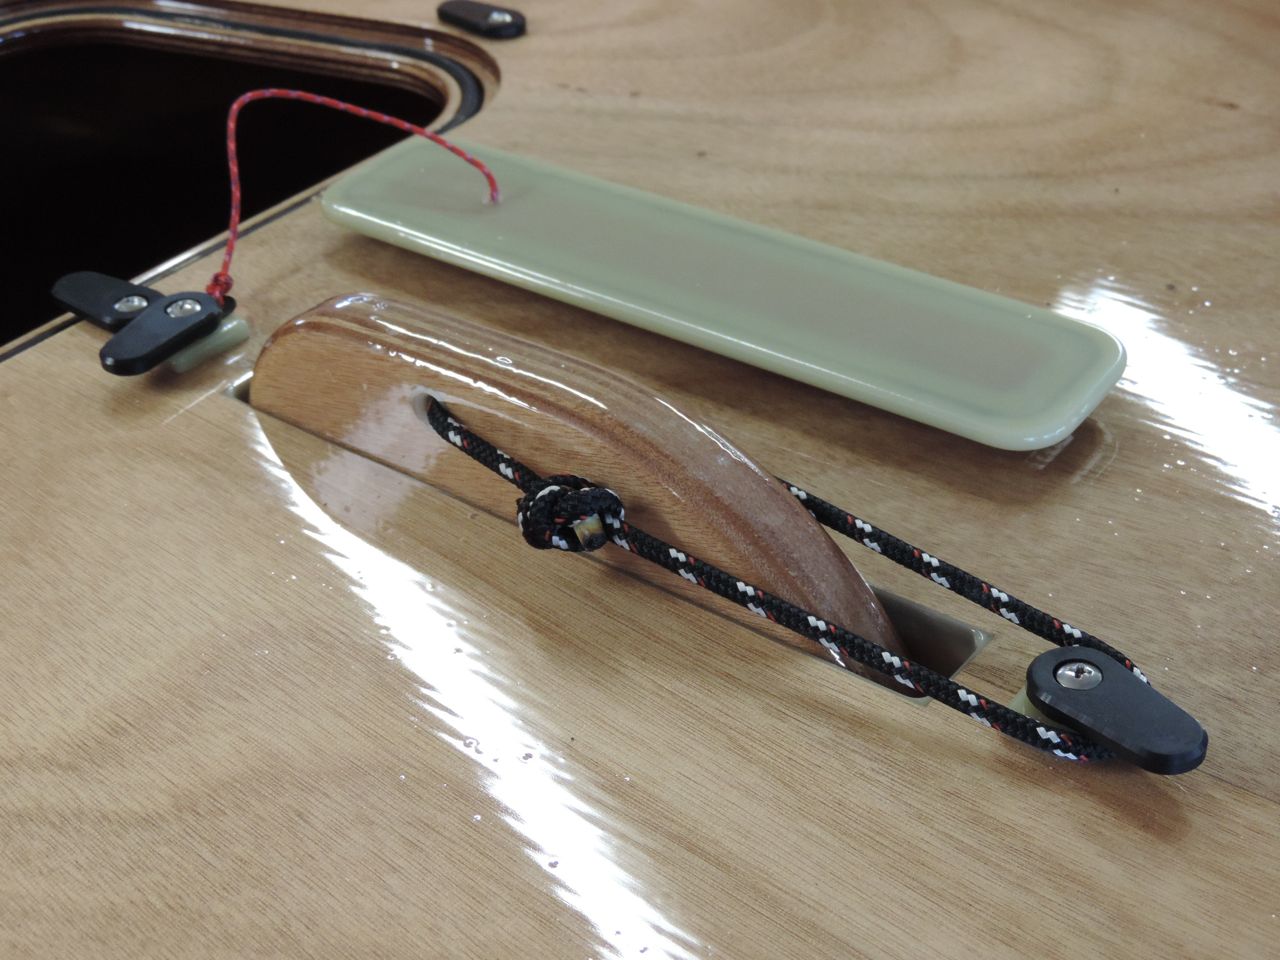
Holding the dagger-board down has always been done with a rope loop that can hook over the aft turn dog, but having the loop fairly snug (as shown below) keeps the board down all the way.
ptwatercraft.com
Having the loop the right length keeps the board down all the way.

Having the board down fully will make the boat climb like a 12 meter when sailing upwind and it will also help you run aground. No, what I meant is that it will help if you run aground.

ptwatercraft.com
-showing the dagger-board fully down at the underside of the trunk.

We hit a rock very hard and not only did it nearly throw us out of the boat, but the sharp trailing edge of the board hit the aft end of the trunk (because the board was up about four inches) and did a small amount of damage to the trunk. The dagger-board was fine, but we now sail with the dagger-board down all the way or we unhook it and let it float up (about a third of the way).

RB PTW

Work on a slightly re-designed PT 11 and a much improved building manual for the 11 is well underway.
We have long been planning to develop a smaller version of our nesting dinghy, but for several reasons, we decided to focus our efforts on making the PT 11 as good (and as easy to build) as we can make it.
One reason for this decision is that we are a small company with no employees (just ourselves) and even though the design process for the smaller boat was well underway, the thought of needing to stock all the parts necessary for a smaller boat seemed like too much.
Very few of the parts for the bigger boat would fit the smaller one. Even the rig and foils would need to be different, so the PT 9.5 has been put aside... For now.

The PT 11 has been a constant evolution. I have built so many prototypes and modified the manual so many times that I have lost count, but we love the boat and it has become quite a popular kit.ptwatercraft.com

The new changes in the boat (and the manual) are mostly aimed at making the boat easier to build.
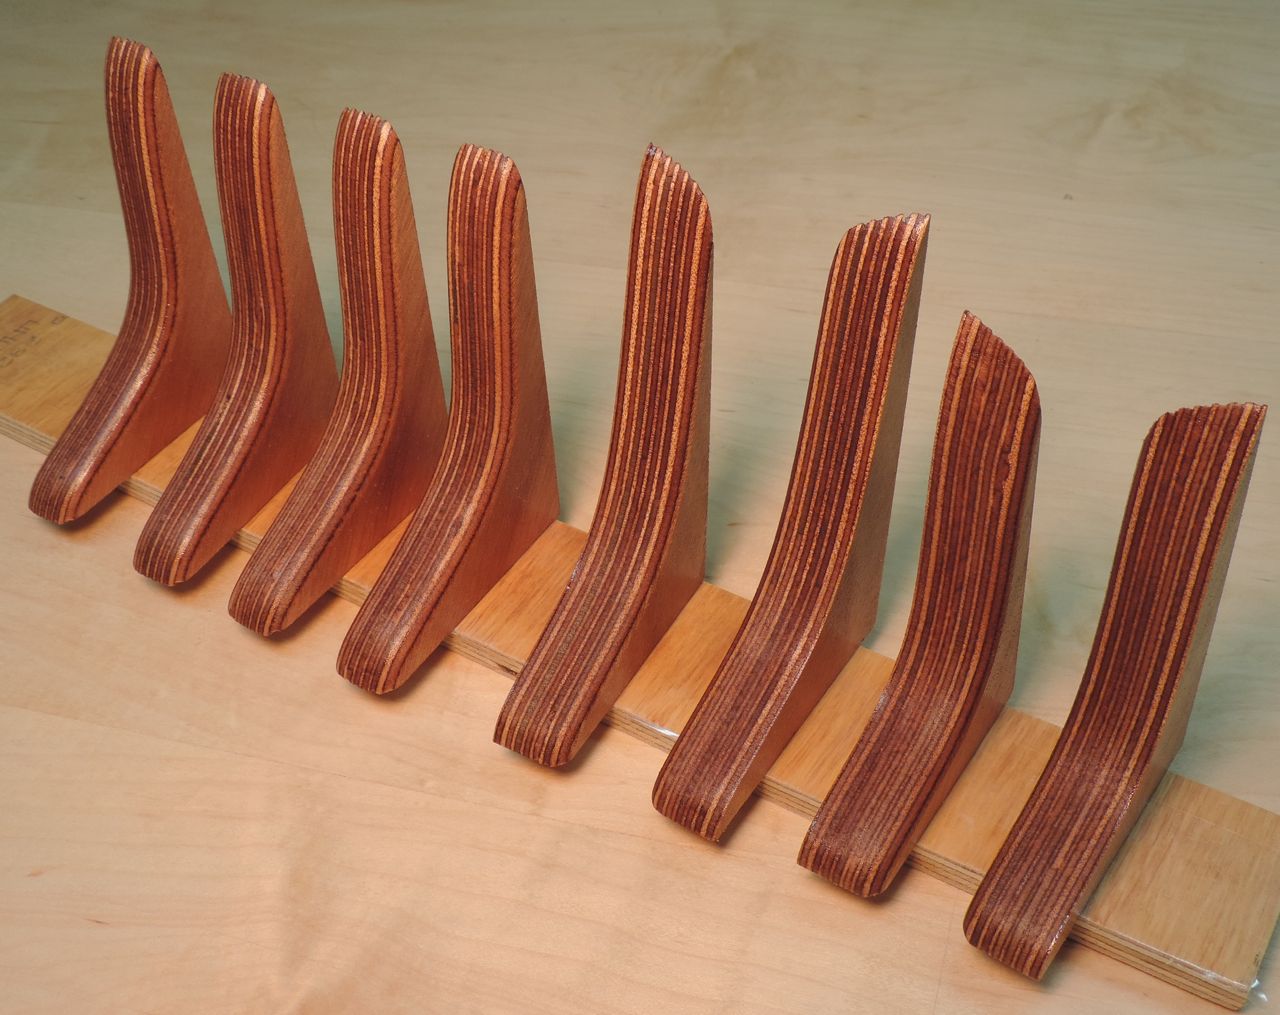
The biggest change is to make the gussets both thicker and slightly larger so that the builder can avoid the tricky job of applying the structural fiberglass over the gussets, besides making sense structurally.ptwatercraft.com
The gussets will now be pre-beveled so that the upper gussets fit the hull without the builder having to do it and the curved gusset edges will be pre-rounded so that builders without router tables can avoid the risk of rounding their finger tips.
We wanted to make the two halves of the boat key together more snugly when nested, so the transom inwale is now wider and has a reinforced notch cut into it that the stem fits into when nested.
That, along with the larger gussets will mean that the forward half will just fit into the aft half, and once it’s there it won’t be able to move.
We will have the new boat cut in half soon to check our tolerances and then machine new gussets and inwales for future kit orders.

In the manual we are changing many parts of the process, mostly just to clarify parts of the process with more photos and better text, but some parts, such as the process of fiberglass taping the chines has been changed to a much better method, one we have used on the last couple of prototypes.
We have also been working on a video of some of the more challenging parts of the process. This video will (eventually) include filleting, chine taping, glassing, gloss coating, and painting.

PTW

Having a bailer in a dinghy is a very important thing. Dinghy sailing in gusty wind can get wet, especially if the captain is not paying attention and dips the rail. Russell came up with a handy bailer idea. ptwatercraft.comThis oblong fabric softener bottle offers both a wide mouth scoop and a low profile that fits neatly below the seat tongue. Stashed inside for minor spray is a sponge. This green sponge was a waste of pennies. It does little more than spread spray water. A good absorbent sponge like this PVA sponge or 3M C41 7456-T is a much better choice. I personally like these pop-up sponges but they do not hold up well if left outside, which is kind of the point environmentally.. 😉 DSC09645This bailer installation does not interfere with nesting. There is room to spare. We used carbon glue on eyestraps and a bungee cord to keep the bailer stored out of the way but within quick reach.

If you capsize, sweeping the water out with your arm or sloshing out the water before getting back in gets most water out. See it all on this video.  PTW :-) PT Watercraft website


We have developed a simple and effective hatch that is water tight and flush with the deck. Russell has used similar systems for custom hatches on different kinds of boats.

The PT 11 foredeck hatch kit is offered as an option to the PT 11 nesting dinghy kit. Alternatively, one could use commercially produced deck plates or hatches. Some of these are not totally water tight, or are fairly heavy and, they are plastic..  Below, our hatch kit is shown with the foredeck, stringers, and glue cleats. The underside of the foredeck has a scribe mark for the hatch cut out. We often debate making this hatch a part of the base kit with the hatch opening machined already. But we are trying to keep builders' options open.

These hatches differ from their plastic counter parts in that they are actually water tight.  This is achieved with the combination of a very rigid lid and coaming, the right gasket, and really slick machined Delrin turn-dogs. They are a bit of work to install and finish but the hatch kits come with a very complete photo manual and the result is an easy to use, flush, and good-looking hatch.

We also have 2 other sizes of Hatch kits designed with the SCAMP in mind.

The kits include machined high quality Okoume plywood parts, (coaming, stiffener and lid), gasket, turn-dogs, fasteners, kevlar tether, and manual.

ptwatercraft.com
PT 11 foredeck parts together with the hatch kit.

The hatch kit you would receive includes the hatch lid, lid stiffener, coaming with the groove for the gasket machined out, machined Delrin turn-dogs, fasteners, and gasket. Shown below.

ptwatercraft.com"Building the PT Eleven" describes in detail, how to install and finish the hatch. Note the tether.

ptwatercraft.comThe hatch is flush with the deck when finished.  The turn-dogs are 3/16 inch high.

ptwatercraft.comVisit ptwatercraft.com for all of our kit information.

Every time Russell has a boat to build, he seeks better ways of doing things. In this case, a simplified method for gluing the puzzle joints revealed itself. The manual for the PT 11 'Spear' has this section but earlier versions of the PT 11 nesting dinghy manuals have an earlier method. I have created a pdf file of the 7 page replacement for pages 7 through 14 in "Building the PT Eleven" for those who have an older version and have not yet begun to build their boat. This may also be interesting to anyone building a stitch and glue kit with puzzle joints. Click  HERE to download the .pdf file.  (533kb)ptwatercraft.com

A new video has been posted showing the PT Eleven nesting dinghy being towed at 9 and 15 knots. Check it out here: Towing the PT 11

Also, as a heads up, we have yet to update our PT 11 water tight hatch blog. It just got lost in the stack of "to-do's". Since our original hatch blog last year, we offer an improved hatch kit with our PT 11 kits. This has recently come to my attention because this outdated blog has been referenced on some forums and I thought, hmmm, we need to fix this... Thus, a new post will soon be up. Coming soon, we will have 2 additional sizes of water tight hatch kits designed with the SCAMP in mind. Thanks to Howard Rice and Josh Colvin of Small Craft Adviser magazine, our hatch design has gained the interest of SCAMP builder's. A detailed post about this will also follow soon. PTW :)

FOILS (DAGGER BOARD AND RUDDER) KIT
Foils are like wings that operate underwater. As with sails, the shape of the foils directly affects performance. The PT 11 sails amazingly well against the wind, mostly due to good foils.
Dinghy foils are usually either very expensive or they are crude and inefficient. The PT 11 foils are neither, but like the boat itself there are multiple glass & epoxy steps to make them long lasting. One could just epoxy coat them and go sailing, but from our perspective that would be a waste of very high quality plywood and a lot of CNC machine time.
The kick-up rudder design is something we are proud of. The case is fun to build, works very well, and folds for stowing.
Building the case requires multiple epoxy steps and can be done while finishing the foils.

Our foils kit contents are shown in this picture, along with the optional tiller and hiking stick. The foils are a machined NACA .012 section.ptwatercraft.com

A detail of the steering hardware package; Note the scribe marks on the rudder case walls for aligning the pintels.ptwatercraft.com

The rudder and dagger-board are machined in halves from high grade Okoume plywood.

ptwatercraft.com

The halves are then glued together and vacuum bagged in our shop before shipping to the builder.ptwatercraft.comThis picture shows the finished foils.ptwatercraft.com

The Rudder folds for easy storage. ptwatercraft.comSee the OPTIONS PAGE on our website for prices.

Thank you Randy, for surprising us with  this video, http://www.youtube.com/watch?v=EYMEamd3ME8

Randy's channel also features the Boatschool cutting the PT 11 in half. http://www.youtube.com/watch?v=_7xLYkaX4LA&feature=relmfu

Cheers! PTW